Sunday, 24 March 2013
It's all Steve's fault really...
Steve over at http://steveswargamestuff.blogspot.co.uk/ had recently advocated the uniquely named 'Snappy Nappy' after trying out several rulesets. Being a dyed in the wool Volley and Bayonet convert, I resisted - well for about 48 hours, before ordering the rules based on the good things I was seeing in reviews.
The scale is larger even than V&B, with a two base unit catering for 4000 troops.
This has some unique selling points over V&B for Napoleonic warfare - and removes some of the 'fiddly bits' from a V&B battle of this size, such as skirmishers and division commanders, while still retaining differences between line and column and allowing squares at the brigade level.
The big advantage here however is the 12" to one mile ground scale - the intent being that campaigns over multiple tables or very large battles can be replayed.
Bases are 40x20mm for 15mm figures, which translates neatly to 50x25 for 20mm plastics - roughly equivalent to my 50mm x 50mm V&B bases if doubled up...so rebasing would enable use for both games...
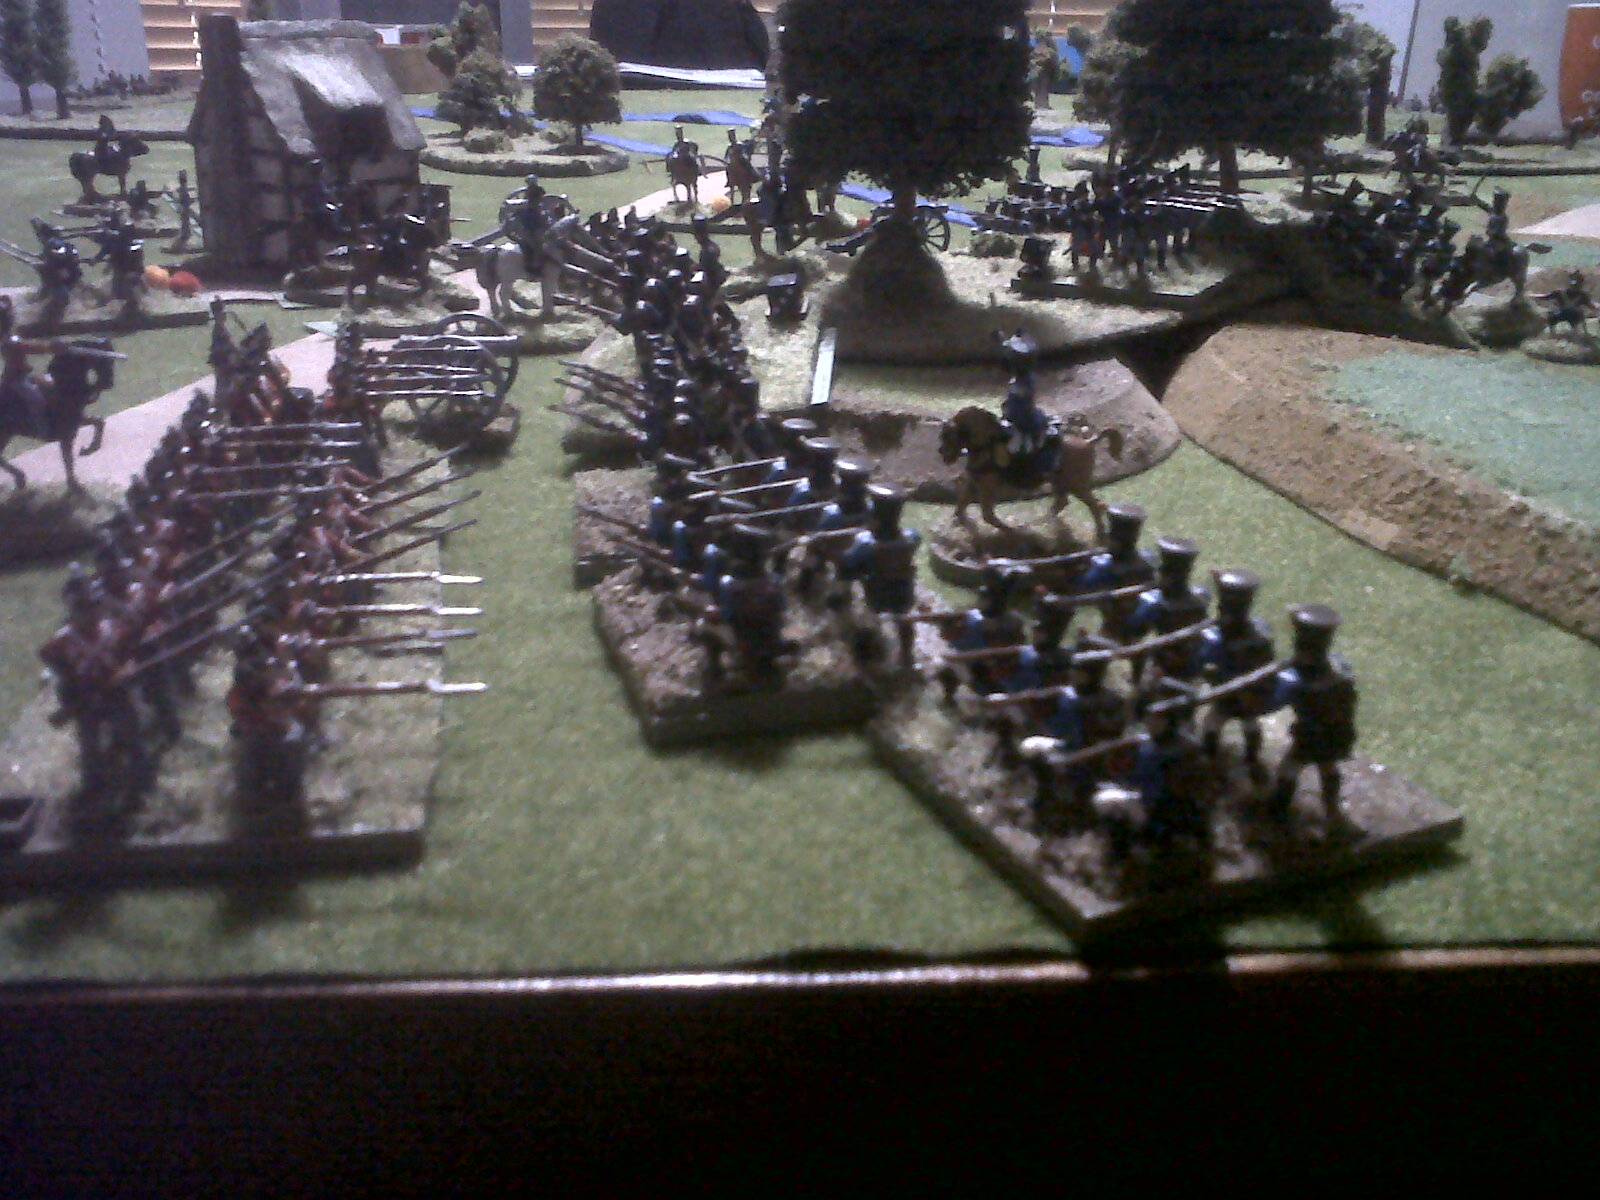
Should I rebase? *sigh*...here it is in progress...
Preparations for the Easter refight of Quatre Bras / Ligny on a single table. It was the scale and the neat mechanisms that got me in the end. The really BIG Napoleonic battles are what this thing is designed for - and both battles together? What's not to love. Battle report to follow.
Sunday, 17 March 2013
Game 9 - Top Malo House, May 31st, 1982
We had used the original Ambush Alley rules a few months back, with a view to getting into the lovely Osprey hardback version of 'Force on Force' (closely based on the older version). Initial impressions re. the rules were that they were all over the place in terms of layout and understanding. I think the grasp we had of the old Ambush Alley concepts certainly helped - especially in terms of interrupts and general reaction concepts.
Figures were old Matchbox with some Italieri NATO troops for the Royal Marines...
A few 'Firefight 20' figures from Tabletop Games in the 1980s (I'm dating myself again I feel...)
The Argentinians were an altogether different matter. These were Italieri (I think) modern NATO Germans/Belgians - painted as Israelis, though representing Argentinian commandos today. I hope that makes it all clear ;) ?
The marine assault force makes its way forward.
The support element moves into an overwatch position on the ridgeline.
Top Malo House, looking uncannily like a Russian Front cottage on this occasion, teeming with Argie commandos.
A dash to the right and the stone wall in order to secure the flank.
The dash to the outbuildings on the left not so successful, as reaction tests and overwatch take their toll - 3 serious wounds and a shaken unit.
...neatly allowing the marines to dash up the flank and secure the outbuildings.
Devastating fire from the marines, and poor defensive fire, as the commandos are pinned and outgunned.
This allows the flank fire team to assault the building, effectively outflanking the element at the enclosure and ending the battle. (Although not seen in the pics, a little sniper duel also ended the commandos' day quite rapidly).
Surrender remains the only option today.
A nice game, and gameplay did not suffer from the stoppages that we feared it might. FoF will certainly be revisited, perhaps with a larger Afghan scenario or similar.(Gobin might even win next time!)
Figures were old Matchbox with some Italieri NATO troops for the Royal Marines...
A few 'Firefight 20' figures from Tabletop Games in the 1980s (I'm dating myself again I feel...)
The Argentinians were an altogether different matter. These were Italieri (I think) modern NATO Germans/Belgians - painted as Israelis, though representing Argentinian commandos today. I hope that makes it all clear ;) ?
The marine assault force makes its way forward.
The support element moves into an overwatch position on the ridgeline.
Top Malo House, looking uncannily like a Russian Front cottage on this occasion, teeming with Argie commandos.
A dash to the right and the stone wall in order to secure the flank.
The dash to the outbuildings on the left not so successful, as reaction tests and overwatch take their toll - 3 serious wounds and a shaken unit.
...neatly allowing the marines to dash up the flank and secure the outbuildings.
Devastating fire from the marines, and poor defensive fire, as the commandos are pinned and outgunned.
Surrender remains the only option today.
A nice game, and gameplay did not suffer from the stoppages that we feared it might. FoF will certainly be revisited, perhaps with a larger Afghan scenario or similar.(Gobin might even win next time!)
Sunday, 24 February 2013
Game 8 - Quatre Bras - 16th June, 1815
Another foray into Volley & Bayonet. This time a certain little prelude to Waterloo. We used older V&B edition for Marengo, so this time it was full bore V&B ' Road to Glory'. Many nuances and clarifications. As usual with the rules however, they were all intuitive after a few turns.
The scenario was based on that outlined in 'Napoleon Returns' rather than in the recent rulebook (although we plan to do that one in 54mm...you have to love Volley & Bayonet for the refreshing scale adaptability alone).
(Most of the French & Allied figures were Airfix, including some conversions done 30 years ago. Revell British and French too, some Hat and some Newline officers also included.)
The initial setup - the small French force under Foy and Bachelu face a disorganised Dutch Belgian division.
Initial French reinforcements begin to head to the French left, where hard fighting would be seen throughout the day.
As the first British/KGL and Hanoverian units began to arrive, the French were committed to the left, in hope of breaking through to the crossroads and the Brussels road.
Light cavalry clashes(!) resulted in a breakthrough charge along the Namur Road, just as Wellington was riding toward his troops.
Picton's reserve was committed on the Allied left early in the day, to secure the road.
On the French left, musketry duels begin in earnest. Who would break first? The allied troops had the advantage of shock and sharpshooters - and would most likely win via attrition unless the French did something drastic.
The centre held, but the Brunswickers and Dutch-Belgians wouldn't stand for long.
..and so they broke...
As Picton watched the drama at the crossroads unfold.
By 6pm Cooke's division had arrived to reinforce the centre...just in time.
While on the Allied left, Kellerman's heavy French cavalry attacked.
On the Allied right, the French have charged...rather successfully, pushing the line back.
The situation at the start of the 8pm turn. Wellington, the Prince of Orange and the Duke of Brunswick have rallied the lost brigades to hold the road to Brussels.
Soon after, Dutch Belgian reinforcements arrived and surrounded the French breakthrough at the Nivelles Road.
The Allied left were under increasing pressure from French cavalry, but they were too few and number and it was already too late.
As the French I Corps heads for the crossroads, the allies still hold it...Merde!
A great game once more, with a few nice rule adjustments for the era. As Faulkner Fitzwilliam remarked...'this is true wargaming'.
Next time? Hmmm...more V&B, or perhaps Force on Force or something completely different. Stay tuned.
Oh yes...and the little 'un did the rivers again. though this time of course she had to get paid for it.
The scenario was based on that outlined in 'Napoleon Returns' rather than in the recent rulebook (although we plan to do that one in 54mm...you have to love Volley & Bayonet for the refreshing scale adaptability alone).
(Most of the French & Allied figures were Airfix, including some conversions done 30 years ago. Revell British and French too, some Hat and some Newline officers also included.)
The initial setup - the small French force under Foy and Bachelu face a disorganised Dutch Belgian division.
Initial French reinforcements begin to head to the French left, where hard fighting would be seen throughout the day.
As the first British/KGL and Hanoverian units began to arrive, the French were committed to the left, in hope of breaking through to the crossroads and the Brussels road.
Light cavalry clashes(!) resulted in a breakthrough charge along the Namur Road, just as Wellington was riding toward his troops.
Picton's reserve was committed on the Allied left early in the day, to secure the road.
On the French left, musketry duels begin in earnest. Who would break first? The allied troops had the advantage of shock and sharpshooters - and would most likely win via attrition unless the French did something drastic.
...like moving up their guns...
The centre held, but the Brunswickers and Dutch-Belgians wouldn't stand for long.
..and so they broke...
As Picton watched the drama at the crossroads unfold.
By 6pm Cooke's division had arrived to reinforce the centre...just in time.
While on the Allied left, Kellerman's heavy French cavalry attacked.
On the Allied right, the French have charged...rather successfully, pushing the line back.
The situation at the start of the 8pm turn. Wellington, the Prince of Orange and the Duke of Brunswick have rallied the lost brigades to hold the road to Brussels.
Soon after, Dutch Belgian reinforcements arrived and surrounded the French breakthrough at the Nivelles Road.
The Allied left were under increasing pressure from French cavalry, but they were too few and number and it was already too late.
As the French I Corps heads for the crossroads, the allies still hold it...Merde!
A great game once more, with a few nice rule adjustments for the era. As Faulkner Fitzwilliam remarked...'this is true wargaming'.
Next time? Hmmm...more V&B, or perhaps Force on Force or something completely different. Stay tuned.
Oh yes...and the little 'un did the rivers again. though this time of course she had to get paid for it.
Subscribe to:
Posts (Atom)