As a roundup for the end of year, I present some pics (from the hundreds that I have taken) from a few road-trips during the latter part of the period. Now these are related to sites (existing and speculative) related to the Williamite Wars in Ireland 1689-91 (War of the Three Kings - Uncle Jimmy 'n' Billy 'n' that French guy Louie); so in some cases you might see a field, with some commentary, but it's all good.
There may be some truth to the rumour that there might be a battlefield touring company emerging off the back of these reconnaissance trips...
Original accounts of the Siege of Derry in the Cathedral
We got to see the business end of the tools, up close
Walking the walls
You may see a random street, but this is the point where defenders at Derry took a shot at King James from the walls, after he advanced in apparent ignorance of Richard Hamilton's previously made deal of no Jacobite advances upon the city ...at least until the defenders had had had a think about surrendering. After this, 'no surrender' became a thing, and still is. (You can also see the old gaol in the distance).
Near Culmore Fort and not far from the position of the Jacobite boom across the river
Moving to Athlone, and the castle in very good state of repair. We had a great reception here.
Now this is a field at Aughrim - granted - but very hard to get to this position without a gracious farmer's permission. What you are actually looking at is Ginkel's view from Urraghy Hill across to the Jacobite lines on the ridge in front. He would have to cross that bog, under cannon fire, and then assault the Jacobite positions,,,
One of the maps at the Aughrim site
Now to the Battle of the Boyne - the crossing point used by Dutch Guards at the start of the battle. The River has changed subtly and there has been some drainage in the area in the succeeding years, but still not an easy proposition...
Crossing point further downstream - Hugenots and Northern Irish would have crossed around here
A helpful map
Again - it looks like a field - but this is the centre of the Jacobite cavalry assaults, and not actually a focus for the local museum (but it should be). Jacobite cavalry attacked from here, down that hill toward Williamite positions for most of the day, repulsed again and again, using this area as a rallying point. The Duke of Berwick (later at Almanza during the WSS) and Richard Hamilton (later a mentor for the old Pretender) both in action and leading cavalry here.
Crossing the Nanny River - French battalions sat on this hill and prevented Williamite cavalry running down the retreating Jacobites - and yes, that's all they did. Damned if Louis was going to allow French troops to get shot up - the very thought of it :O
Now this one requires a lot more investigation. This is the Bloody Pass near the Battle ofNewtownbutler. The water level was ten feet higher in 1689. A lot more to come on this one. A large mass grave is just off to the left.
Inishfendra Island looking north to Crom Castle. Galmoy sat here in March 1689 - then Mountcashel in July, and there is some evidence to suggest that a garrison was left here during the battle and the myth of the Bloody Pass is thereby related. More of that investigation to come.
Inishfendra was also used as barracks for elements of the US 8th Infantry Division during the Second World War- stationed at Crom Castleand vicinity from December 43 to June 44, when they were deployed for D-Day (this photo taken in front of the 'new'Crom Castle- probably in 1944). There is some evidence of trenchworks on Inishfendra, probably used for training, and in good condition. (The condition and design would suggest these works are not related to earlier C17th engagements).
A few more trips are planned, and it looks like, with business trips now ended, Le Duc can now focus on that proper history stuff...
Another game of this famous Irish battle, which we first played over four years ago with Field of Battle. Same rules this time - though with 3rd edition, and a few historical tweaks.
Again. FoB gives a fantastic game and result. As army morale melts down, you are challenged to make command rolls, and manage resources, in order to hold things together.
As things started to go awry in this game, two army morale rolls in succession were very tense moments. Both sides were very close to collapse - just as in the real battle.
It's also worth repeating some of the accounts which detail events in battle, which I used in the last post - which are nicely replicated in the rules:
These quotes are from Hates-McCoy's superlative account. 'The boggy ground...proved a serious obstacle ...and forced him to confine operations to the two wings'.
(Any troops in the bog were 'out of command' - down dice for firing, down movement etc - a real pain in the allied centre - but they could still launch desperate melees when they reached the Jacobite lines.)
'They had not been under unified control; indeed, some of their commanders had exceeded orders.'
We saw this in detail when some commanders rolled better on move cards,
and surged forward, leaving flanks open, rather than conserving linear
mass.
'Sheldon and Luttrell, should have intervened to the full extent of their ability to hold Mackay back.'
In the previous game they held back - inactive for the most part, though here they were fully engaged when there were supply problems at Aughrim Castle. Sheldon would be killed in this version - so he wasn't holding back. '(General) St Ruth was decapitated by a cannonball.' Any brigade commanders whose troops are in contact, or who rally, are
subject to risk under the Army Morale card. a 1 in 12 in rules as
written. Sheldon was shot from the saddle today on the Jacobite left - and it had a disastrous effect.
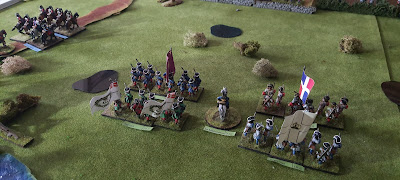
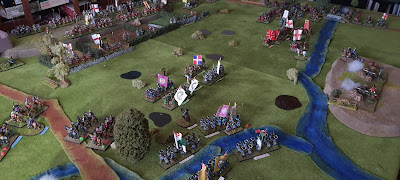
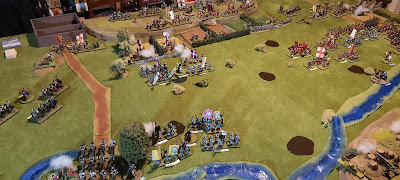
Early moves across the ford on the Allied left
A huge bog to cross in the centre. This will grant all the disadvantages of units being 'out of command', with ledership rolls required upon exiting, though with the ability to melee out into solid ground (at a disadvantage - really tough).
slow movement in the centre
Ginkel watches his troops cross, committing most of his reserves early.
There seems to be an ammunition supply problem on the Jacobite left - 'right...who's been paid off by Billy's boys?'
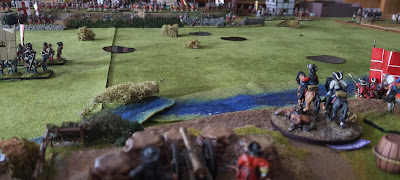
Crossing the ford - the 'bloody hollow' to the left of pic.
Patrick Sarsfield moves the Jacobite reserve in early - clearly less than concerned this time, about the path of retreat (that was the excuse anyway).
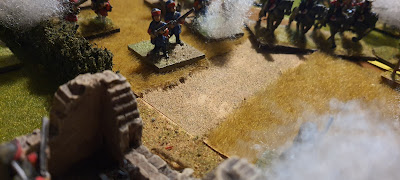
The causeway glutted by Allied cavalry - though there is only sporadic fire from the ruined castle - have they run out of ammo I wonder???
Slow movement in the centre
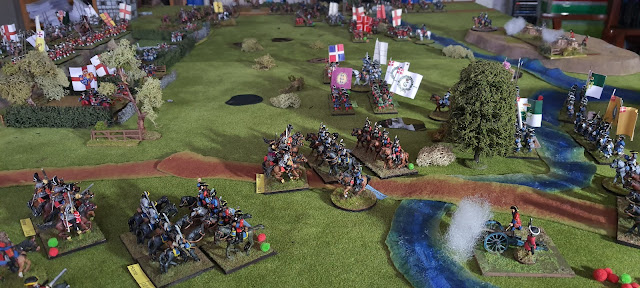
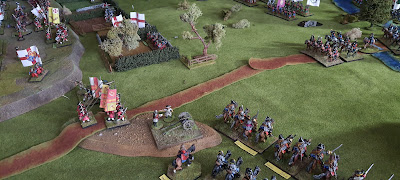
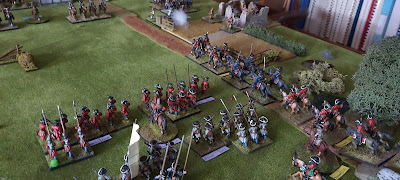
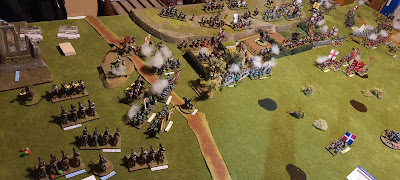
Cavalry battles on the Jacobite right would last all day
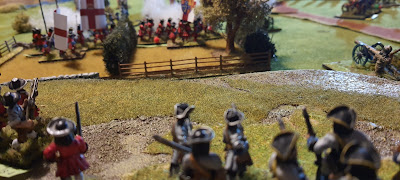
View from the Jacobite infantry positions in the centre
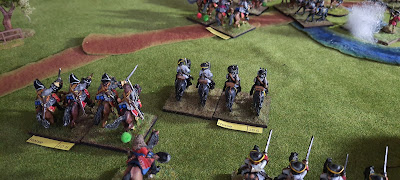
Sheldon is shot by a stray ball - this would actually cause horrendous command problems on the Jacobite left, and is largely responsible (combined with some fine Allied cavalry tactics *ahem*) for an Allied incursion on the flank.
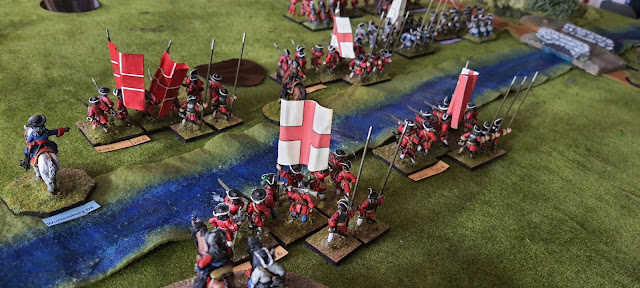
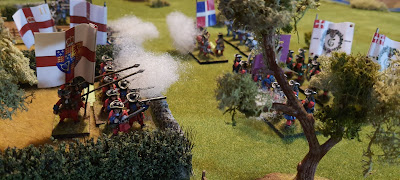
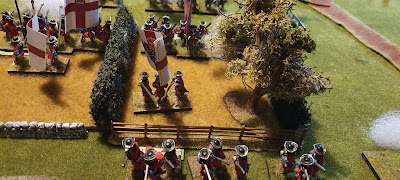
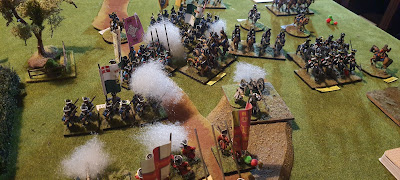
Danish troops are first to engage along the fence-line and enclosures - defended by Jacobite skirmishers and guards.
The Jacobite left is now under extreme pressure, with Allied dragoons dismounting to take on Jacobite skirmishers.
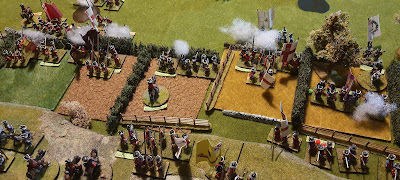
On the Allied left - a massive cavalry action, slow movement in centre, and pressure on the Allied right against a failing Jacobite defensive position.
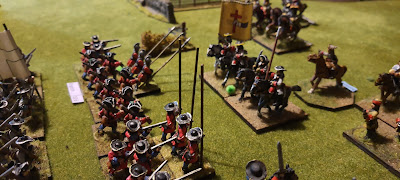
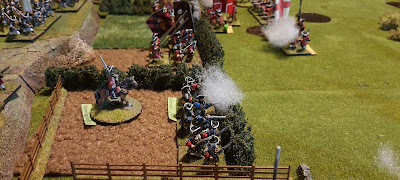
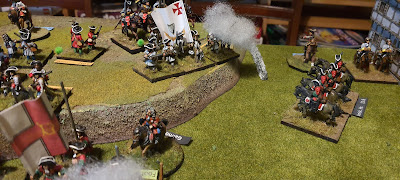
Savage fighting at the wall.
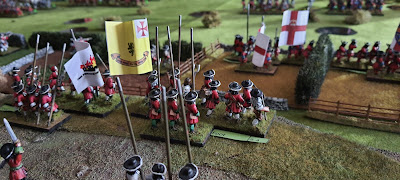
'Pikes front!'
'Here they come!'
Dragoon action at the ruined castle
Dorrington takes personal responsibility in trying to hold the line - moving troops off the hill.
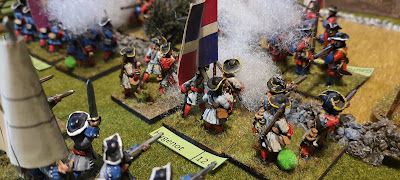
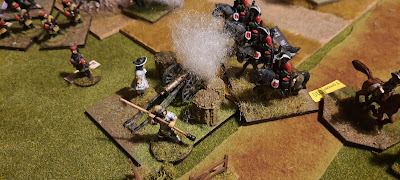
Enniskilleners assault the guns
Enniskillen Horse engages Galmoy's horse ...these boys have previous with each other... a long story.
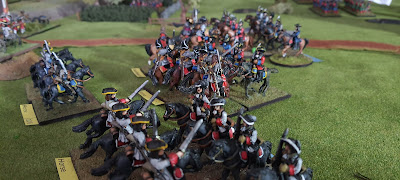
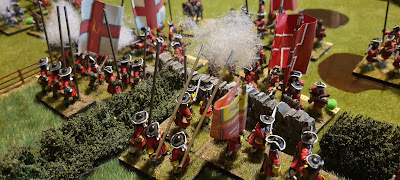
Red on Red - as English and Irish troops engage in ferocious hand to hand combat at the wall
Danish charges get into the enclosures - casualties are horrific
Dutch & Danes are slowly forcing the Jacobite right - there are none of Pat's cavalry left
.
The Jacobite right will cave - just too many fresh troops on the way in.
Even the centre is begining to falter now.
The Jacobite left is failing - under severe pressure now.
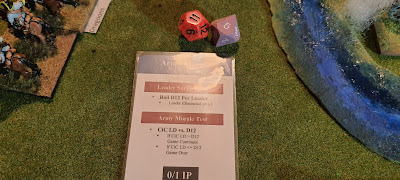
One Army Morale test is passed..a second, not so much. Having said that, the Allies were also only a few cards from testing. So close...so very close.
A great game. I still think these rules give the finest battle, an eminently sensible result, and fantastic gameplay. It plays like a historical account. What else is required?