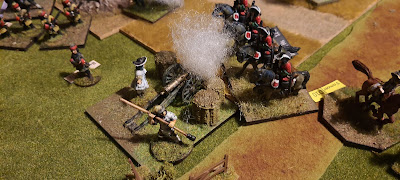
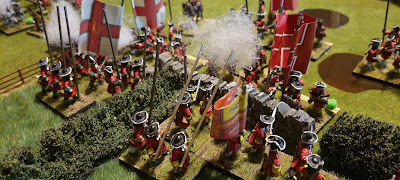
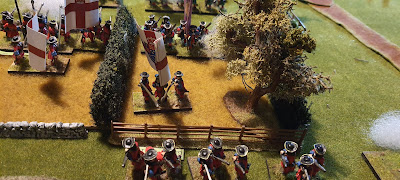
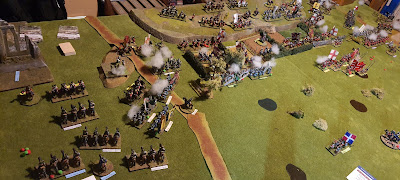
A very exciting recent 'Battle of the Boyne: 1690' game with 'Battle Command'.
 |
| 'Nah mate...this river looks easy to cross???' |
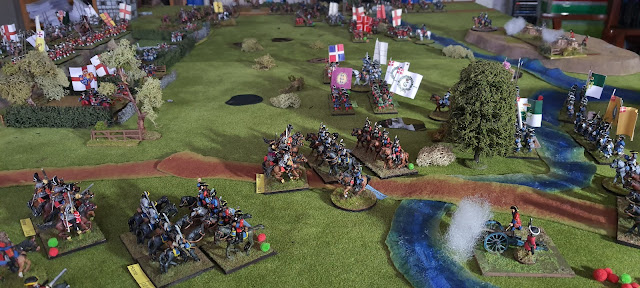
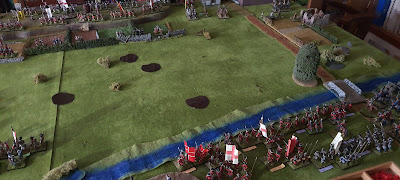
A few changes made to layout, in that rather than focusing on the crossing of the river by WIlliam III's main force (which most scenarios of the battle really focus upon), it also expands to include the portions of both armies (to James II and the Jacobites' detriment historically), which stood and looked at each other all day at the Roughgrange ravine, with Schomberg (the younger) facing off against the main body of the Jacobite army (here, they were allowed to move away from the ravine area).
 |
| 'Someone said there was a party???' |
This aspect included in the scenario helps both 'even out' the battle, and create a significant challenge for both sides.
 |
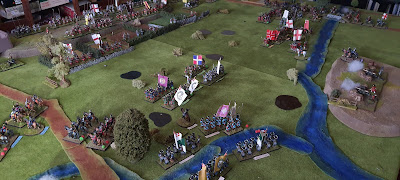
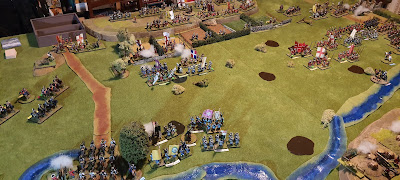
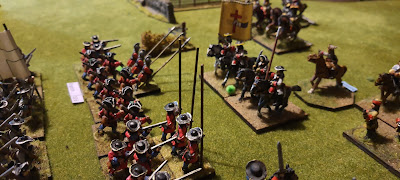
| William's forces at left and right...Jacobites holding Oldbridge on the left, and...un-historically, have moved in front of the Roughgrange ravine at top right behind them; the French look on, ordered by Louis himself only to engage if engaged...we can't have the French getting their hands dirty in the Irish diversion now, can we? |
This was closely based upon the scenario appearing in the new Volley & Bayonet scenario book (available on Lulu) by Harding & Powell, with a few of my own tweaks based on the battlefield as we know it (sans motorway).
As units are mainly brigade sized, and reduced in size in terms of frontage, ranges were adapted - we left movement 'as is' for speed of play. I also included a 'pikes forward' rule for infantry with their 1690 era protocols - meaning that the unit is 'up 2' for defence against cavalry, 'down 1' for shooting, but can't move when formed. Infantry Melee is unaffected as pikes were significantly reduced in length, and number, by this period (as per Nosworthy most notably).
 |
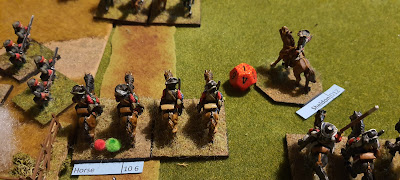
| 'uhh...they're on our flank..guys! GUYS!' |
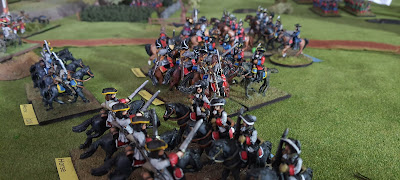
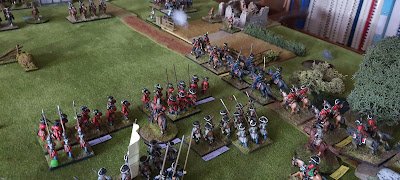
In today's game, the Roughgrange area actually decided the battle, as the Jacobites lost a significant proportion of their reserve force to Meinhardt Schomberg's well performing cavalry to the south of the River, whilst WIlliam's main body forced the river crossings...ultimately winning the day.
 |
| 'ON!...and uhhh try not to get shot...' |
Again, 'Battle Command' - the illegitmate son of 'Piquet: Field of Battle', who wants the keys to the kingdom AND the Porsche... gives a superlative game in that:
- Everything is seamless: opposed rolls, based off a card driven initiative system which allows flexibility based on (1) your command dice roll and (2) whether it's an odd or even roll and (3) beats the opposing player's D6 roll. This mechanism sorts out so much dross that still exists in other sets.
- The mechanics of moving and shooting and 'everything' else, including morale is resolved similarly via opposed rolls depending on the units - again...other rules could learn a lot from this.
- Its getting to the stage where I have little patience for other sets, and quickly devolve to BC and FoB's mechanics....since a game is done with 3-4 hours, with an definitive and narrative result.
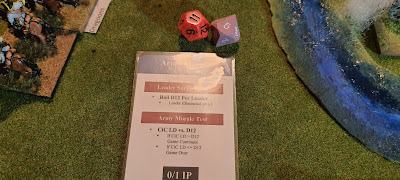
- The Army Morale wearing down mechanic, is one of the most effective yet seen.
 |
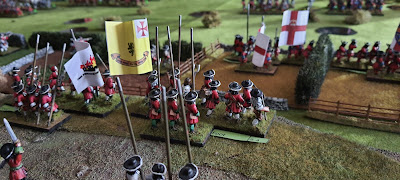
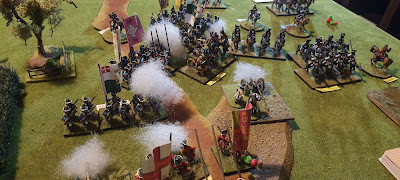
| Jacobite forces move past Roughgrange in order to engage Schomberg the younger |
 |
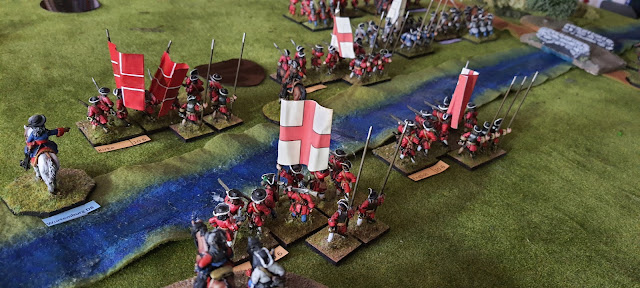
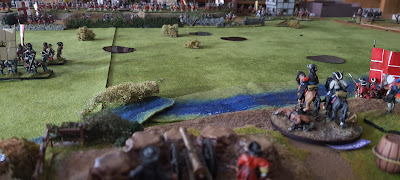
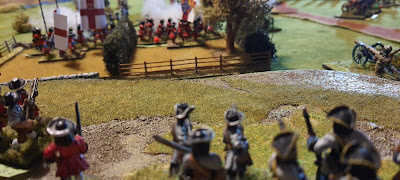
| William's main body move to the Boyne |
 |
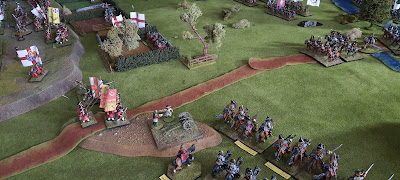
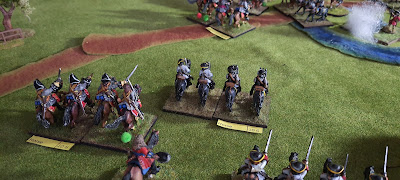
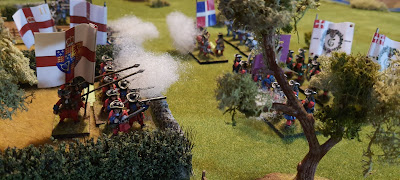
| Tyrconnel and Berwick's superb Jacobite cavalry ready to hit whatever crosses the Boyne |
 |
| As the Allied right immediately attack the exposed Jacobites near Roughgrange |
 |
| The first crossings of the Boyne with Hugenot trrops |
 |
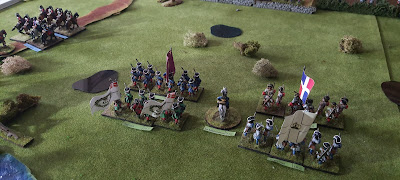
| The French look on... |
 |
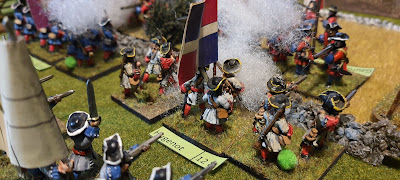
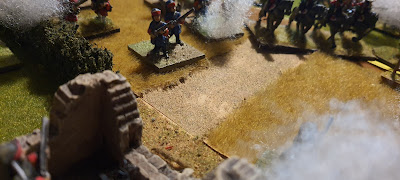
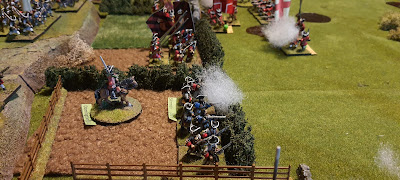
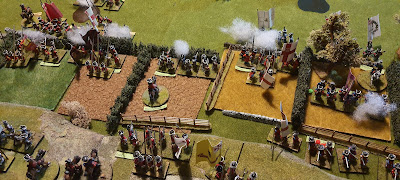
| Attacks on Oldbridge, where James II's guard units are well ensconced...note Jacobite cavalry lurking on the left |
 |
| An EVENT card...and William's scouts find another crossing point, as Dutch Cavalry and Enniskillener infantry starts to pour across the Boyne...oops... |
 |
| The Jacobites make the fateful decision...to start pushing troops to support Oldbridge |
 |
| More Allied troops make it across the river |
 |
| The Jacobite rear however, for want of troops sent north, is being decimated by cavalry on its flanks... |
 |
| As the Williamites take Oldbridge, Jacobite troops arrive - but far too late - they have both weakened their rear whilst simultaneously been too late to save the positions at the river |
 |
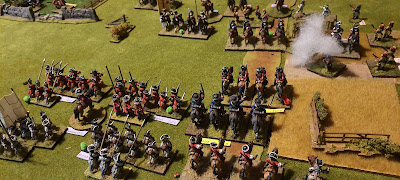
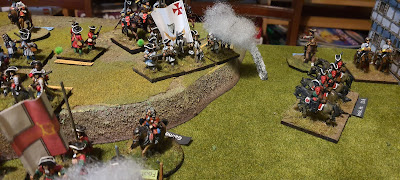
| Tyrconnel and Berwick's cavalry make desperate charges against the Dutch and North Irish |
 |
| James II, more than a little concerned that he chose not to simply stare the enemy out... |
 |
| The Jacobite rear collapses |
 |
| The troops manage to hold a new line of defence at the river, but they have lost far too much near Roughgrange |
 |
| The French, who would not engage, unless engaged, and are there now to protect the retreat/rout...look on as the Jacobite Army fails its Army Morale roll... |
Another excellent game, with a set of rules which are really my go to for all periods now. A new WW2 Battle Command set coming VERY soon.