Sunday, 13 April 2014

Game 17 - Cool Springs Gap...burg (Random ACW Clash)

With little time to set up the next game, we opted to do something quite simple. Neil Thomas had an interesting book out a number of years ago entitled 'Wargaming, An Introduction' (still obtainable on Amazon).


There are some nice rules mechanisms here and some very introductory mechanics. That said, there are a number of areas which aren't covered comprehensively (the rules are simple introductory style after all) and areas such as flanking and arc of fire were swiftly transplanted from other sets as 'house rules' as we played.

 One of Neil's other publications is an Ancient/Medieval variant which will also be looked at here at some stage.

As stated, the set is very much introductory, though most wargamers will add and tinker (even during play) in order to have the mechanisms achieve full effect.

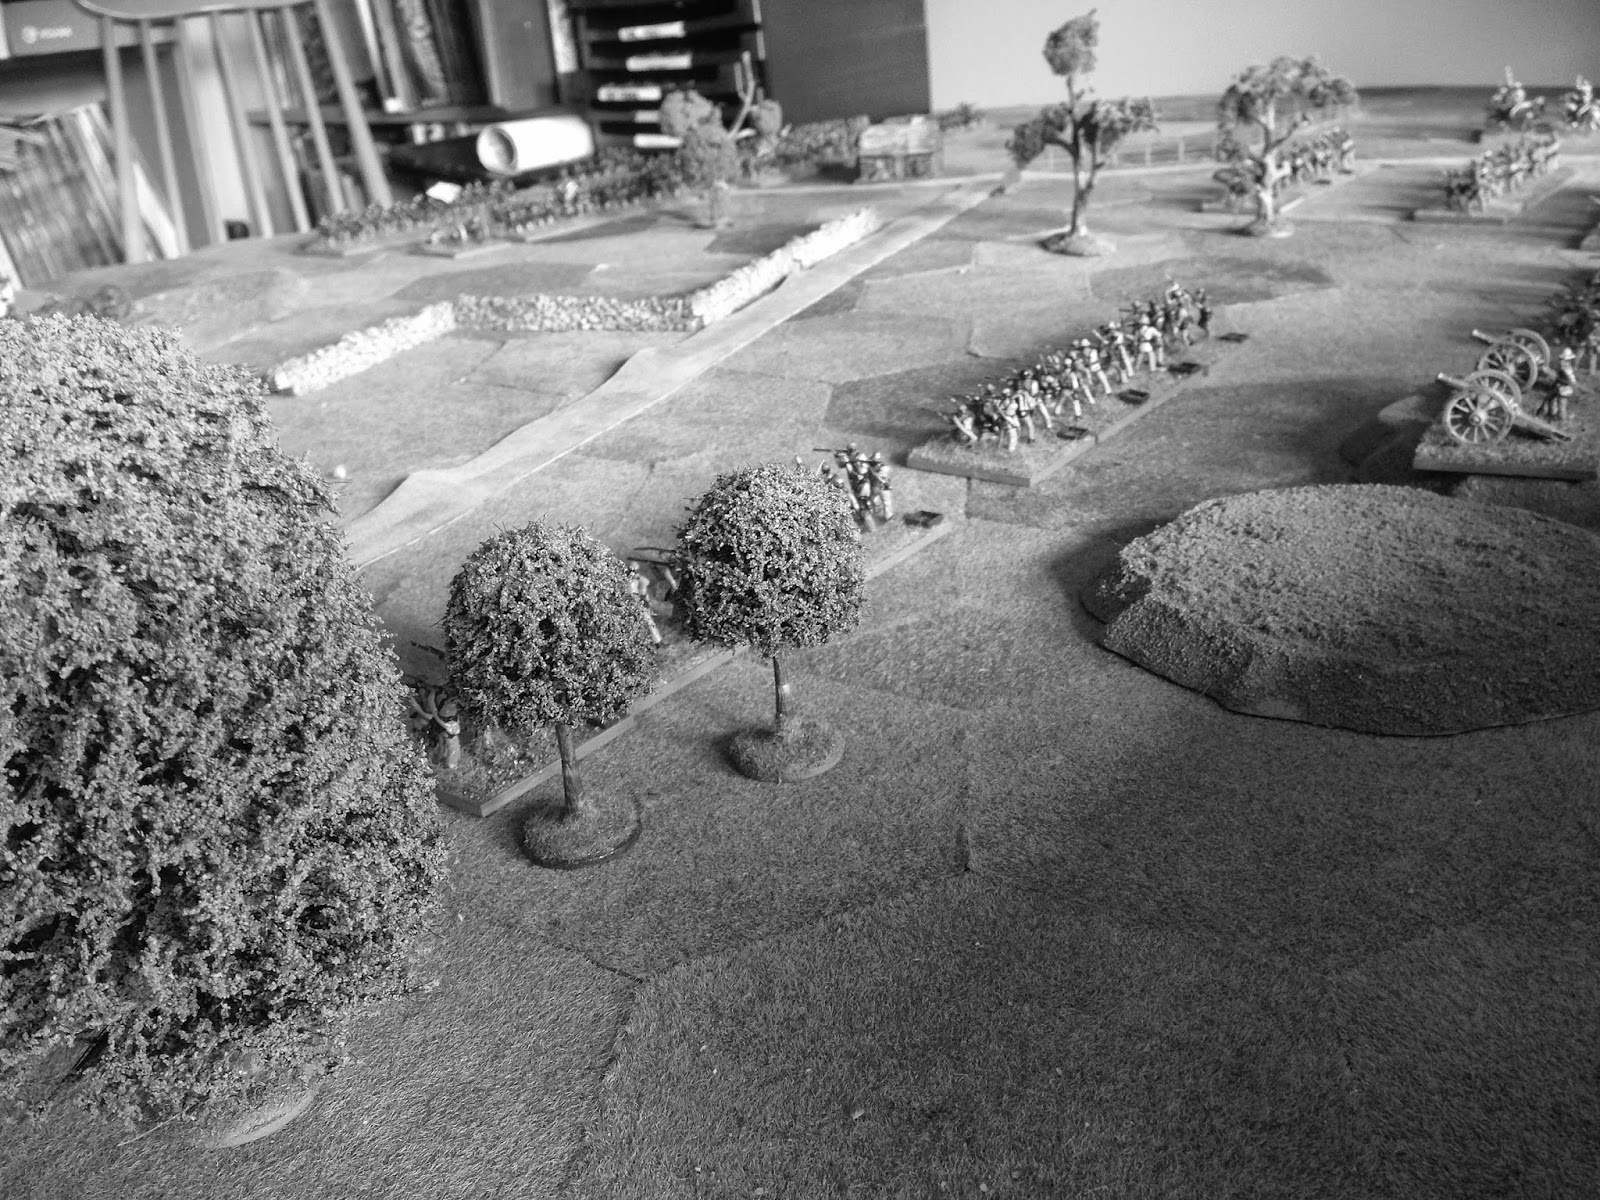


The initial setup pitted a roughly equivalent Confederate vs Uniuon force, though the Union had a slight edge in artillery with the Rebs having a few elite units.


A shot from our roving 1863 photographer as the rebs advance.


Opting for an early assault on the Union centre, the Confederates had some success in driving back the apparently less able Union troops.


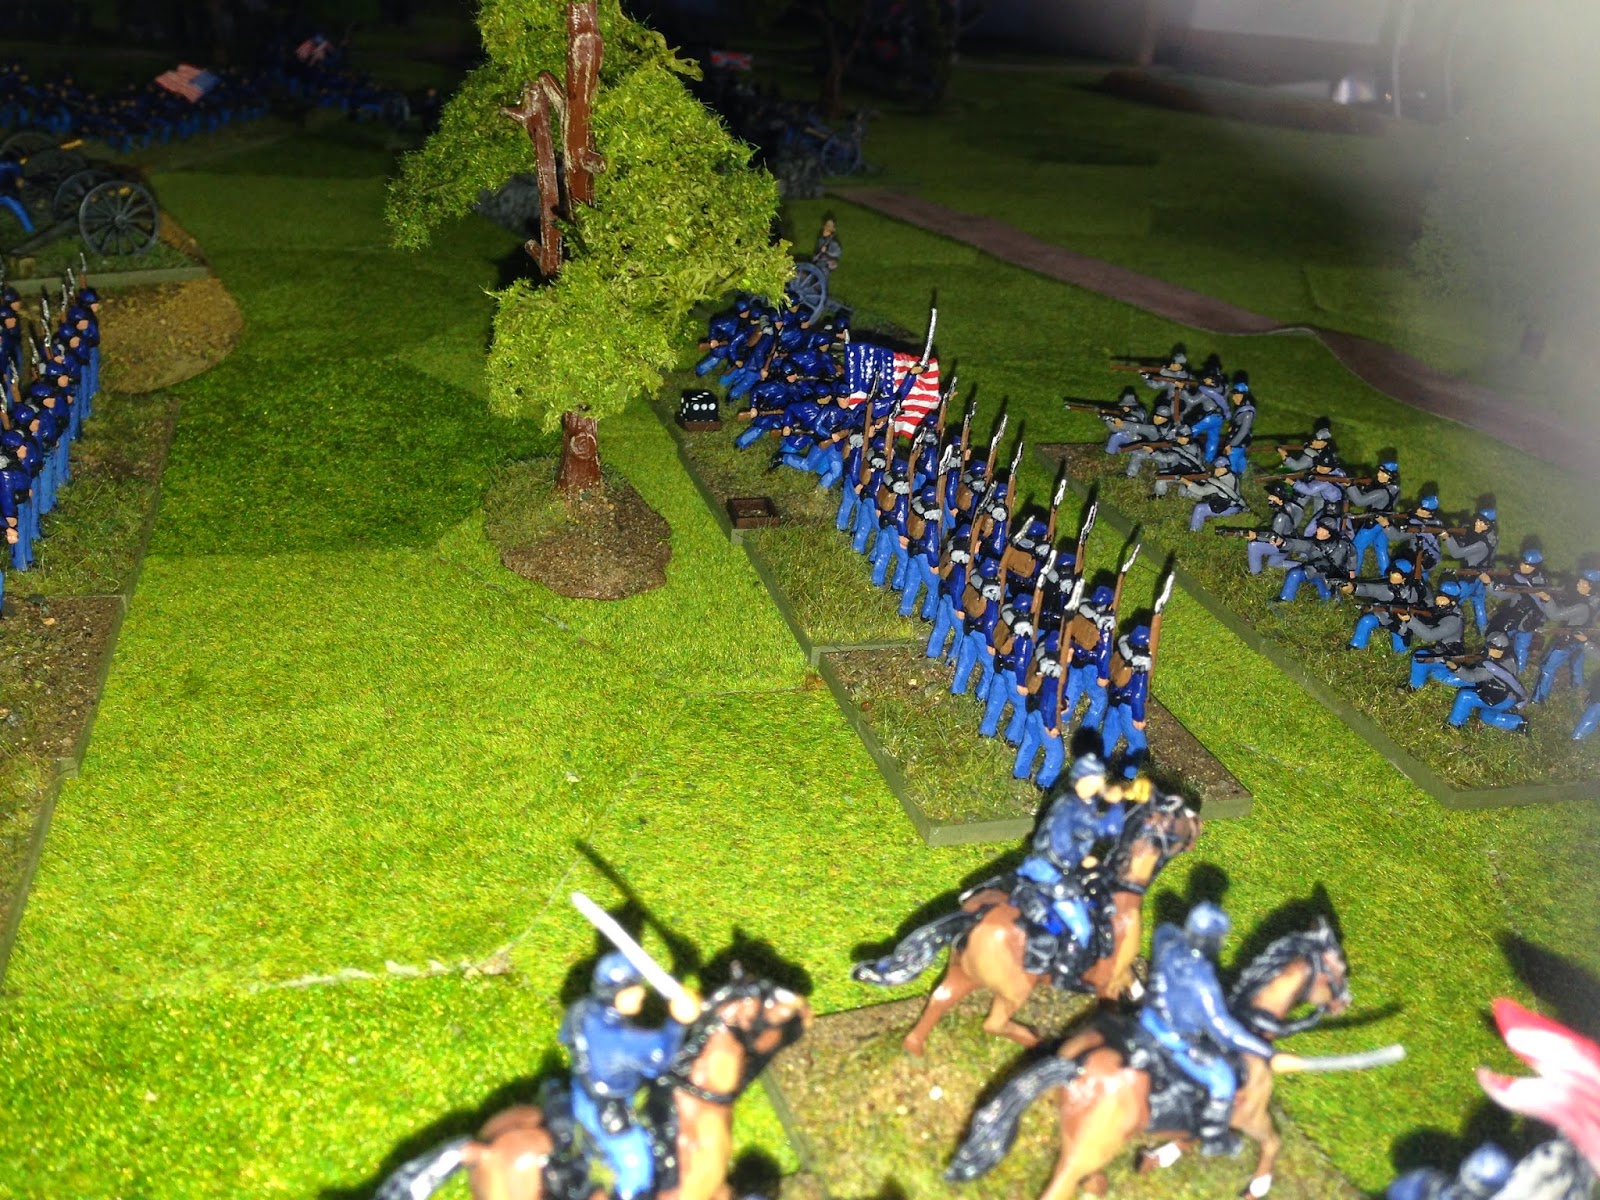
 The Union right flank then became important, with elite Reb units trying turn it...though ultimately, in the dense woodland, the chance of a charge succeeding proved hopeless.


 The centre and Union left also become dangerous as regiments began to engage and be forced back in piecemeal fashion.


The arrival of cavalry on the flank, and their subsequent dismounted action helped to secure the Union right.


 As flanks were subject to withering fire from both sides, Union troops were pushed back, while Confederate attacks were held by Union artillery.


 Union pressure however, with mounting numbers, slowly began to turn the flanks as the Rebs ran out of manpower.


Shots of the 'angle' where regiment after regiment was forced back.


With the Union right flank secure, and the left flank unlikely to hold, the game was all but up for the Confederates.


The rules are simple, but do provide a tense game. Rallying can mean that regiments will find full strength again, though this can only happen if they are kept out of range and as morale permits, so as the battle rages, units get weaker and weaker until their effectiveness dwindles. We probably used a few too many units rather than the 8 or so that the author recommends so the game went on a bit. I can see though how similar mechanisms might make an ancients game work well with 8 units a side.

More to come from these elegant rules though I can see a few house rules creeping in.

The book is worth a read if you are looking for something on Amazon and Neil has a Napoleonic book and 19th century version published. I also believe he has a '1 hour wargame' style book coming out.

Sunday, 9 March 2014

Game 16 - The London Derriere

A return to Maurice...because it provides such a tense game.

We didn't have much of a scenario behind this encounter, though we quickly developed a premise where during the siege of Londonderry in 1689, Enniskillen troops had wanted to send a relief force, while at the same time Percy Kirke had landed English troops on Inch Island who had marched unmolested toward the city. Both sides met and consolidated, before facing a fledgling Jacobite force with some guns in prepared positions.

In reality this is a bit of a stretch, as logistics, fear of Jacobite movements and general poor intelligence prevented anything remotely like this actually happening in 1689.

Highlights/Setting Rules:

Jacobite infantry is Poor though cavalry is Elite.
Allied infantry is Trained and Enniskillen cavalry is Elite.
Both forces have hurriedly moved to their respective positions. There are gaps everywhere, and flanks are far from secure.

And of course, it's Ireland in 1689...so it must be raining ;)

Scattered English and Enniskillen forces face the Jacobite lines on the right.


Elite Jacobite cavalry on their left flank.


  Poorer conscript infantry on the right.


 Facing Kirke's 'Lambs'.


 Early moves as Jacobite cavalry flanks advancing Enniskilleners.


  They are countercharged by the allied cavalry. Things move very quickly in Maurice.


 On the allied right, Jacobites are moving, while on the left, a protracted cavalry battle turns into a staring competition for the rest of the game.

 Kirke's English troops have advanced to musket range..which can be decisive depending on training.


The presence of allied cavalry forces a stalemate on the right.

Clashes in the centre.


Allied cavalry charges - some work better than others, but in general they do a lot of damage. Losses in units are rapidly forcing down army morale on both sides however.


By game end (we ran to the night game turn), the Jacobites had one morale point, the allies two. A very close game and a another tribute to the rules. There have been a lot of adverse comments regarding these rules and the system in general, though it really gives a tense game, where the focus is invariably on the points that will turn the battle, while resources are just not available to use for other units. If ever a game reminded one of the ebb and flow effect of real historical battles, based on historical accounts, this is certainly it.

The American Revolution beckons as I think the rules would really fit. There are surprises and reverses galore during play - something which I think we see in the AWI actions.

Sunday, 26 January 2014

Game 15 - Team Yankee, 'First Blood'


As mentioned previously, we used the Team Yankee board game rules as the basis for  a WWIII battle, with one model = one vehicle and a scale where 1 hex on the board = 2" on the table (the scale that Steve used).

This scale worked well and didn't seem too jarring, despite being larger than some of the scales that I'd used in other rules in the 80s. The Heroics and Ros vehicles had all been previously based for Modern Spearhead and despite initial concerns, the basing actually promoted better comprehension of arc of fire and flanks than would normally be permitted with other basing regimes.

(Another interesting point to note is that if we had done a battle of this size with Spearhead scales, there would have been 4-5 bases per side, which brings both the nature of the battlefield here, and in larger Spearhead games, into sharp focus.)

All in all, using the Combat Results Table from TY, together with an approximation of ranges and capabilities worked well and gave a quick game, full of twists and turns.

TY's 'First Fire, Move/React, Second Fire' system allows real tactics to thrive, especially so with missile vehicles like ITVs and even BMPs, which took a real toll in the scenario, simply by virtue of selecting spotted targets at the right time and not moving. Having said that their poor armour makes them a sitting duck at decent ranges. The nature of the rules therefore forces the US player to think with US doctrine, and the Soviet player is forced to adopt Soviet doctrine. Nice system and nees more exploration.

The game was based on the 'First Blood' scenario in the rules - in turn based on the first contact in the book.


 Soviet armour drives hard up the grey felt autobahn.

 
M1s and M2s lurk in the farm and village, acquiring targets...


 Long range firing from the US left flank also starts to take a heavy toll on the BMPs, which have not been adequately screened with the Russian armour's attempt to use the road.


Of course, going isn't easy for the Russian armour either.


 Smoking wrecks begin to gather...


Long range firing from the ridgeline takes a terrible toll...


 ...as do the US units in the village.

 
Russian units get a bloody nose.


US armour however, is not immune to Soviet ATGWs, which take a terrible toll.

 US armour moves off the crest line to engage advancing Soviet units in the flank. This helps blunt the advance entirely.


"No targets left to acquire sir..."


The Soviet advance was quickly blunted, though not without some cost. A nice set of quickfire rules that can be adapted right across the cold war and WWII even. I guess this was what GDW were good at, though I hadn't realised how easily the system could be adapted (thanks again Steve).

The rules do recommend that a reinforced Soviet battalion would give the US tanks a little more to think about in this scenario as a variant. Hmm, perhaps next week.