Monday, 16 November 2020

3am at Walcourt & the Goldilox Hex Principle

Ages ago, I joined 'Steam', and discovered all of the old PC games that I wasted time on 20 years ago on the PC.

I also found 'Pike & Shot Campaigns' which I had first seen on Doug's excellent 'Cry Havoc' blog, and it included a lot of late C17th battles, so what's not to like?

So when I say this is a screenshot, Duc de 'Luddite' couldn't work out how to do a 'Prt Scrn' from here...these are actual screenshots...like with a camera.

 I chose Walcourt 1689, which is great, as the scope of the battlefield encompasses all of the movement of incoming reinforcements from both sides, seizing built up areas and hanging onto them, and massive cavalry actions on the flank. It's a nice system, which is obviously built upon the mechanisms of wargaming rules, so all makes sense.

Great action, great dynamic gameplay ...I lost!

 Say what you like about video games 'addiction': I was up until 3am ....uhhhh....and I lost!  Great game, and lots of scenario detail. 

Point the second: More thoughts after the last GDW Team Yankee / First Battle game. I'll be graduating to 'Battlefield Europe' next - the follow on variation, which used D10 instead of D6, and added some more developmental rules for modern warfare.

I have a few sizes of hexagon, though the 4.5" variants are the ones that I have most of, and that are finished/flocked.  I had contemplated using the 1/200 and 1/300 stuff on hexes and so had a few tests.

1) I can mimic the rules exactly in terms of smaller hexes- though I can't fit enough vehicles on board to mimic the stacking limits (3 or 4)

Too Small

 2) I can use the ultra large hex, but it allows too many vehicles, and I don't really have enough of them - plus increases the footprint of the map - even if this represents two map hexes.

Too Big

 3) I can use the 4.5" hexes - and model each of them on the  basis of 'two' actual hexes on the GDW gameboards...AHA! Stacking to this extent is rare, but does allow Soviet platoon doctrine.


Just Riiiight!

So this represents 2 hexes on the actual game map.

Now, this also has the handy bonus of mimicking Soviet doctrine - in that, I can place a platoon in the hex and have it restricted to staying in 3 vehicle groupings.

As it's two hexes, I can have a platoon of tanks and BMPs in the same hex, if required.

I can further have a single platoon fire at a single target as per Soviet doctrine, and rule it perfectly with this system.

So, if two hexes in the boardgame, becomes one hex on my table, I re-do the counter information slightly, along these lines:


 Now that I see these rules in action again, I'm wondering even if mimicking NATO training is simply done by virtue of granting them initiative each turn.

Also, I can use the scenarios from here:

 
to test the system

The more I see of this simple (but not simplistic) GDW/Chadwick system, the more I like its elegance. The advent of the D10 over the D6 actually fixes the obvious issue that the system had with decent armour, whereby if you fired enough shots at an M1, you could destroy it through disablement. That's harder on the D10 CRT.

More to come...


Sunday, 8 November 2020

More GDW Team Yankee

 Managed to squeeze a game in, and it seems we keep coming back to the old GDW Team Yankee boardgame for WW3. 

I used the stats for British forces at the back of the rulebook, plus there are more of these in the other 'First Battle' supplements.

1:200 vehicles in play today

 The turn sequence seems like nothing new, as does the combat table, but this game is so elegant. 

 Elegant systems include:

  • The Turn sequence, where if you have initiative, forces you to choose between going 1st or 2nd in turn - but be careful with reaction fire.
  • The CRT seems very old school, but range and cover make such a difference. The game design advice is correct; if you can fire, you 'might as well try it' unless staying hidden and closing range is worth doing. Two Chieftains got taken out in the game below, simply by virtue of the weight of Soviet numbers.
  • For me, the great thing here is one set of rules suiting all levels and modern periods / scenarios.

GDW's Team Yankee - all the boxes are like this; it's part of GDW's 'patented battered box' design.

 I've managed to collect all of the 1st Battle series now, including 'Stand or Die 1941' which appears to take 2 jumps up from Team Yankee (where 'Sands of War' jumps to units being platoons, 'Stand or Die' makes them companies - but without making it obvious ;)   ).


 So, I'm hoping to explore the entire set using miniatures. Aims include:

  • Also expanding 'Last Battle' for Man to Man on tabletop.
  • Playing some of the modern battles included in 'Sands of War'.
  • Using some bits for 'Hyboria Now'.
  • I'm still keen to develop the 'turn clock' and 'traits' systems in conjunction with these rules. 


  (oooh Blogger sucks so much now with pics...Now I get it!)

Soviet armour on their left makes a dash for the town.


 The British Chieftains are poorly spread out.


BMPs on the left start to take MILAN hits.


T72s exploit an apparent flank opportunity on the right.

While on the right, Soviet infantry mass against the British units in cover, pinning them early.  
Soviet units make it into the BUA.

The weight of Sov armour is just too much, and a couple of lucky hits put paid the British right flank.

There are unexplored nuances in these rules, and the rest of 'First Battle' just waiting to be explored.

'When I said, 'stay on my tail', this is NOT what I meant!'


Sunday, 13 September 2020

Saratoga - with 'Hold the Line'

 Following on from Steve's recent drive for perfection with simple rules, and his post game protocols for analysis ...and also using the amendments for the AWI boardgame 'Hold the Line' that he kindly sent me... we returned to a favourite old battle.

The British master plan to sever the northern colonies from the rest of the Atlantic seaboard had come unhinged, leaving 'Gentleman Jonny' Burgoyne's northern army dangerously isolated. He could either retreat back to Canada, or make one last attempt to break through the American defences on Bemis Heights and open the road to the Hudson Valley. (Musket & Saber)

 Now, if I recall, I'm 2 for 3 on our versions of this one, having played it with Volley and Bayonet, and other rules - including Musket & Sabre - the boardgame variant from which we constructed the scenario. For Fitz today ...it was all to play for. (He won of course...now we're both 2 for 4...revenge!)


The boardgame map (musket & Sabre) that we used to set up.


American defences at the heights.
 
American units also hold the woods on the British right, facing Fraser.


British attack begins in the centre and right. Most of their additional action points focused here in the early stages.
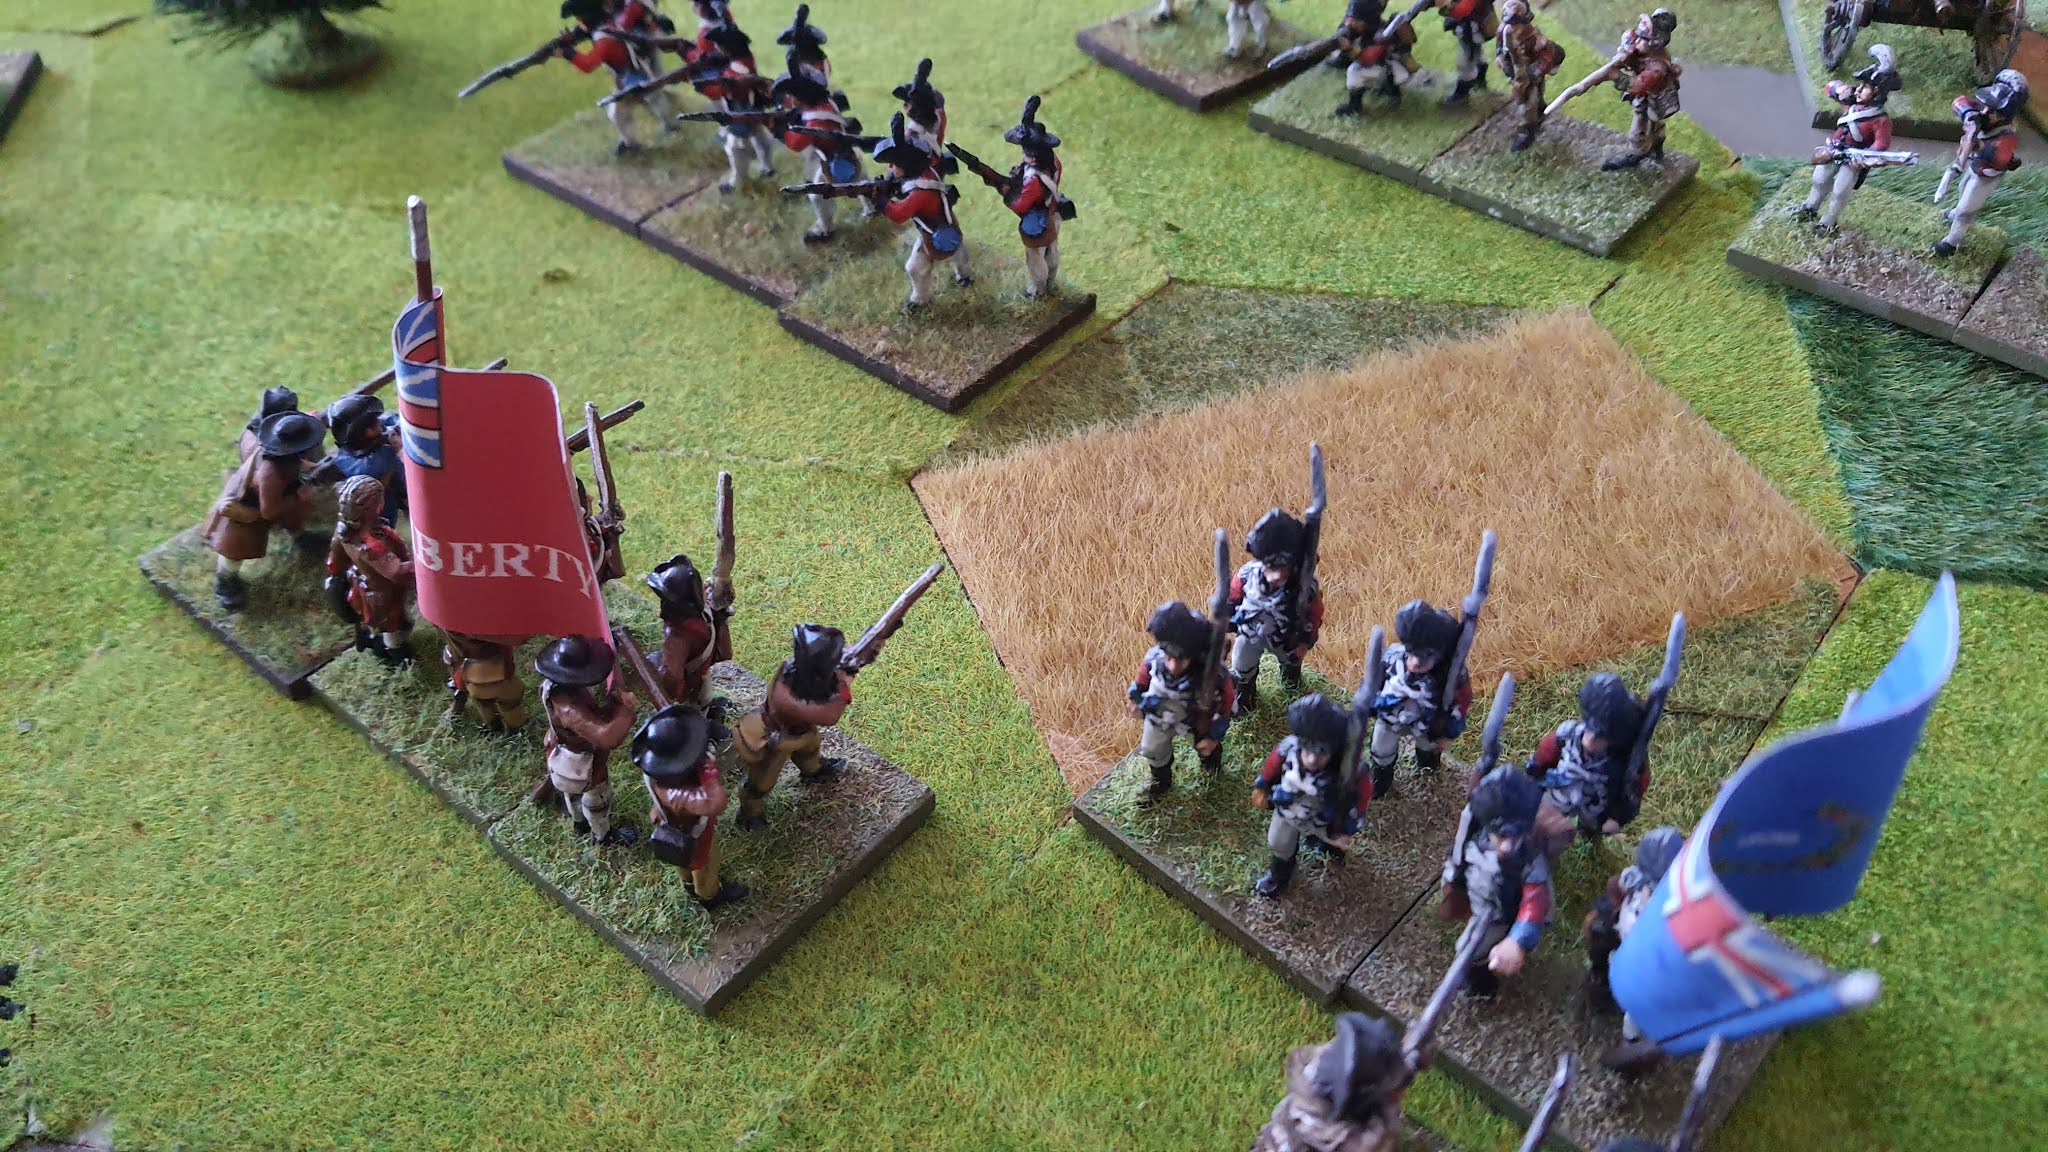
...though that doesn't prevent a 'completely mad' flanking move, which destabilised the British assault.

British guards would be disappointing on the day.
Good cover provided for American lights, which did not fulfill their promise early on, but soon came good.

British guards repelled from 1st melee ...yes, you heard me right!
German grenadiers push back (apparently) American continentals, then walk straight into the range of the guns on Bemis Heights.
...and a little outflanking action.

Despite early success German Jagers were pushed out of the woods.

'You do realise there are bloody big cannons over there...right?'


By game end, the British main attack had faltered, with heavy losses, while the flanks had been forced to admit defeat. 

A very nice set of rules, easily played, with lots of subtlety. ...Steve's protocol below:


'I could literally sell these sheets to the Hessians and tell them it's like, trouser material or something...'


(hmmm ...one of these re-enactors is not like the others ...)


The 'Steve Protocol' Questions

How long did the game last?
About 2-3 hours. We got a lot of time to talk cr*p throughout.


What was the scenario? 
Our favourite epic - Saratoga, granted with some maneuver toward Bemis Heights in there.

What happened?
The British attack in the centre was foiled by an American counterattack led by Arnold. The Germans went for a flank surprise, that turned to disaster.

Extraordinary Events
British guards 'bounced' off militia in the woods with terrible rolls. German grenadiers were fought off twice, then butchered by artillery. American tactics played to the rules - the British player was far too cavalier!!!

Who Won?  Why?
The Americans. ...see above...

Did you enjoy the game?
Oh yes. This is a fascinating set of rules - simplicity with subtlety. Points values can be added to via the die roll - which adds pure drama, though again, it's what you do with that extra little bit of luck that wins or loses the game. It really seems very period-esque.

Advanced Questions

Details and chrome that's missing
We used hexes - which though making everything very easy to move, took away a little bit from the linear warfare nature of AWI. But that's minor.

Final Thoughts
A great set of pickup rules, with lots of period flavour by virtue of choosing where to put those extra points into use. We thought it would play like Maurice, though the difference being that there - you can pretty much predict what your opponent is going to do. Here, it's a lot more difficult to do so.