Sunday 29 September 2013

The Boyne - Order of Battle ...and yet more Table Prep

Most modern works have more accurately attempted to pin down the order of battle at the Boyne and certainly more than when I had attempted a previous refight a decade ago. I've used both Padraig Lenihan's and Michael McNally's more modern works, amongst others,  in this regard.

I've opted to use two commanders and two notables and experiment with multiple card draws, since this battle will have in excess of 30 units on the table at one stage. Maurice is not exactly designed for this, but let's see how we go with the experiment.


Ignoring those portions of the army staring each other out at Roughgrange, at Oldbridge and the Donore area we have:

Jacobite Forces

Commanders - Tyrconnel & Berwick
Notables - Hamilton & Sheldon

Infantry

1st Battalion James's Foot Guards (south of Oldbridge)
2nd Battalion James's Foot Guards (south of Oldbridge)
Clanricarde's Regt of Foot (at Oldbridge)
Antrim's Regt of Foot (south-west of Oldbridge)
Boisseleau's Regt of Foot (probably two battalions - south west of Oldbridge)

Cavalry (from west to east around Donore hill)
James's Life Guards
Tyrconnel's Horse
Sutherland's Horse
Parker's Horse

Clare's Dragoons
Dongan's Dragoons


Williamite Forces

Commanders - William and Schomberg
Notables - Wurttemburg

Dutch Gardes te Voet (2-3 Battalions) (cross at 10am toward Oldbridge)
Hugenot Regts (De la Melioniere, Caillemotte, Cambon)
Hanmer's Regt of Foot
Nassau etc. Regt of Foot (one Dutch Battalion)
Brandenburg Regt of Foot  (one Dutch Battalion)
Mitchelbourne's Londonderry Regt of Foot (Possible second with St.John)
Hamilton's Enniskillen Regt of Foot
Tiffin's Enniskillen Regt of Foot

The Danish Brigade (was eight battalions - four will be on table)
The Dutch Brigade (represented by a further six horse units on table - Ginkel's etc.)

Note: This discounts much of the available Dutch infantry that would otherwise be available in the latter stages. These would sit outside both the scope of the game and the army morale levels and their introduction late in the battle would not have an immediate effect i.e. the card deck refresh will already have been played, and the scale of the Jacobite retreat will be evident - in other words, the role of the Jacobite player is to seek to improve upon the historical result of the infantry delaying action and the elite Jacobite cavalry charges by the time the retreat to Donore Hill is played out.

In order to replicate much of the differences in morale between units, the following ratings will be used:

Jacobites
Guard units - regular
Infantry - conscript (reflects lack of training and matchlock over flintlock availability)
Cavalry - all elite on the day


Williamites
Guard Units - elite
Infantry - regular, Hugenot units lack pikes but do not get the improved firing dice
Cavalry - regular
Danish units - will most likely make these elite to reflect increasing numbers and pressure on eastern side of river in absence of additional regiments. This might also reflect their resilience to cavalry (be it with bayonet or the ubiquitous chevaux de frise).

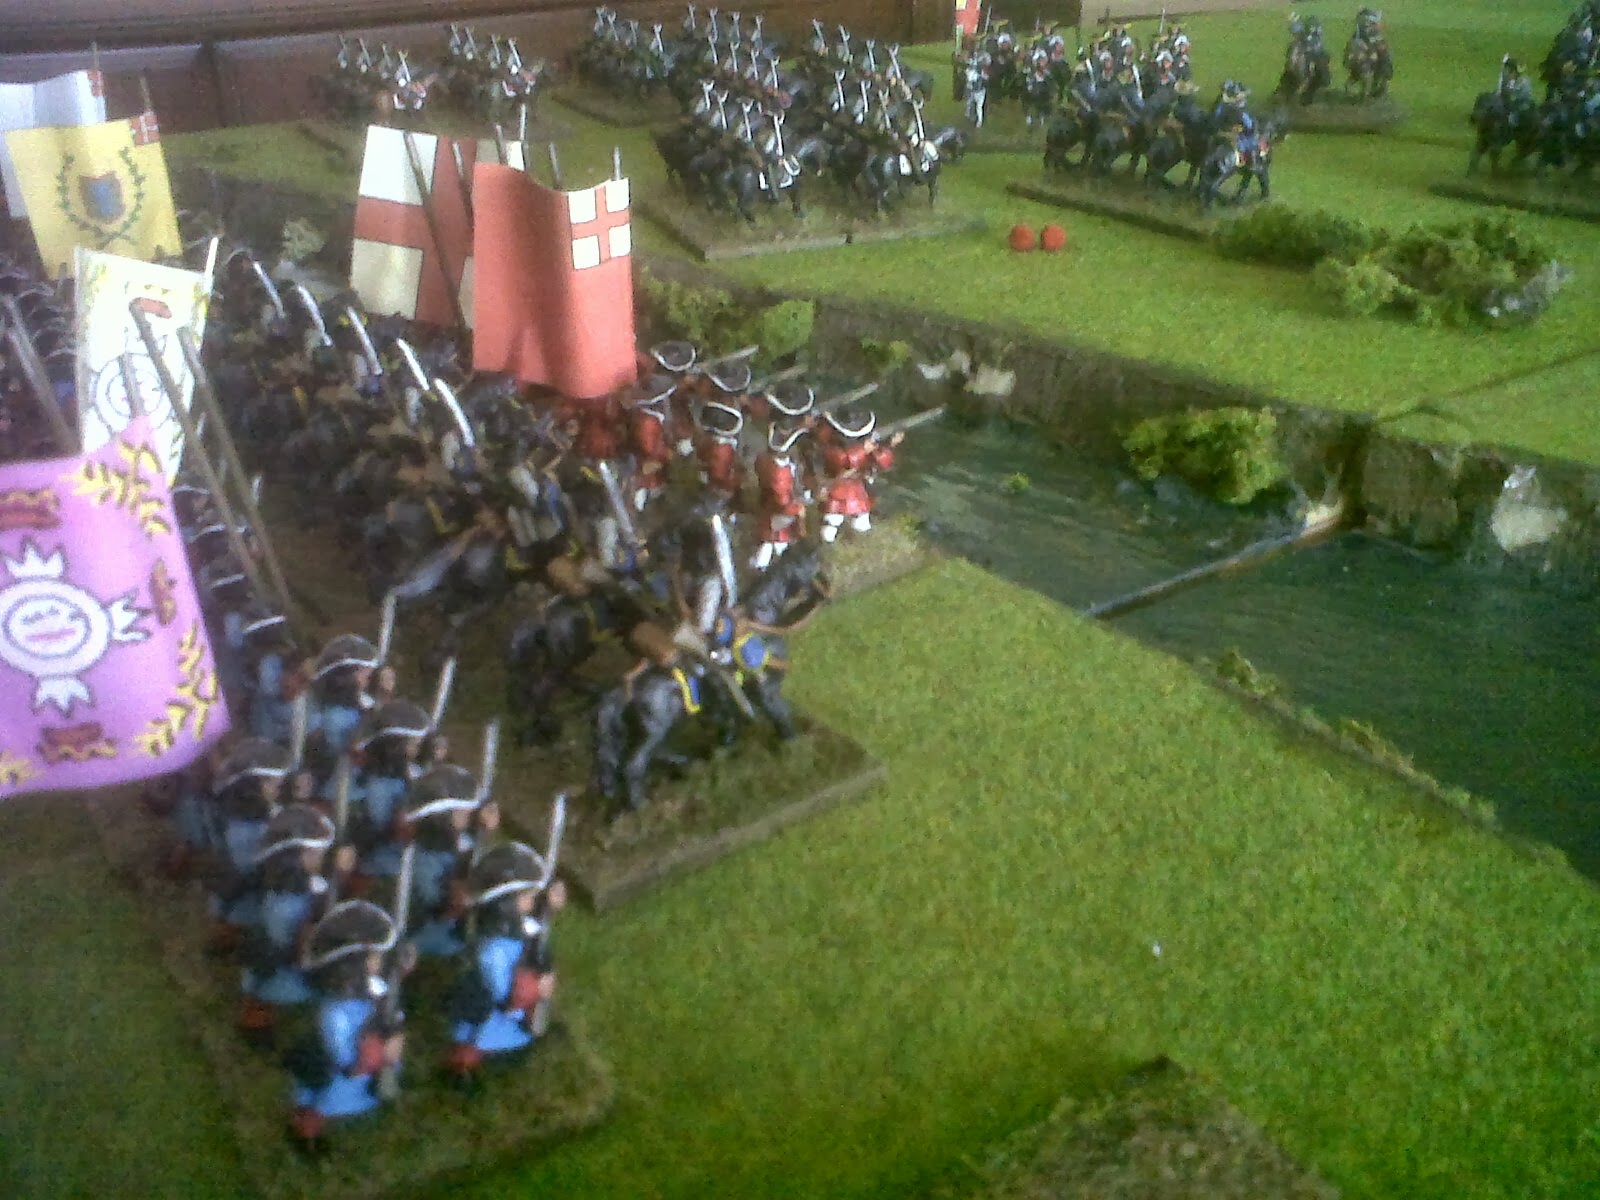
Some shots of the setup to date. PVA is still drying on the river (simpler than getting yacht varnish), most of the units are on the field of battle (so that I can dust off and catalogue) and Oldbridge has made an appearance at last - sparse of buildings I know, but I need to get units inside so that helps. Another report (or perhaps even the battle) soon.


Saturday 14 September 2013

The Boyne - Table Prep

Despite pressure to break from playing Maurice, we have resisted!!! And so, to a somewhat larger battle.

I have fought the Battle of the Boyne in 28mm before, back in 2001 using the Wargames Holiday Centre rules (then printed in a far less glossy Wargames Illustrated). The thought of using Maurice, with the various card management mechanics is quite exciting for a battle on this scale, though that could present a problem when we consider the size and relative flow of the previous battles. To that end, we'll be using some of the regimental options and indeed, notables (Schomberg, Wurtenburg and Berwick, Hamilton etc. who will of course have a foot and cavalry figure to symbolise his daring (or should that be darting) on the day).

This should help spread the load a little in terms of available troops and prevent the local attack and rally 'bottlenecks' halting the rest of the battle. It is critical for instance, that the momentum of the Williamite attack be kept up with ford crossings etc. while the charges of the Jacobite cavalry again and again, be wholly represented in some manner.


As we can see though, there will be some work to do first. My terrain boards have suffered a house move, storage, movement, re-storage and the weight of a world war II book collection in the last twelve years, and so need a bit of work - especially to the river sections. I also seem to have lost the hills and ridges that I had at the time. There is also a large body of newer work which I'll be looking at again prior to the game (Padraig Lenihan's 2003 book for instance - which needs a close re-read).

At the time of the original game, my map was based on Beresford Ellis's The Boyne Water (1976). Although it does suffer a little from its age and absence of certain sources, it still remains a great read and that damned map is forever etched on my brain as I tried to work out scales. My battlefield is the 2x1 mile rectangle marked out on it as I tried to interpret just what I was going to fight. I love this map.


With 4' to 1 mile, or 5280 yards, an infantry battalion at 7.5 inches (5 x 1.5" squares) wide works out at 825 yards wide to scale, which is a little much depending on whether you like 2 paces or 3 between files in a late seventeenth century infantry battalion (see Nosworthy and Graham's work on this) and would mean dropping my 5 base units to 3 or 4 base units. That said, the difference is marginal on a large table and there's plenty of space to get the larger units fighting so it shouldn't affect the rules too much.

I would be keen to go with 3 base units when I do Aughrim (but only because I don't have enough figures HA).

Of course, as with any Boyne refight, we're ignoring James's massive flanking debacle to the west which made things a little easier for William on the day.

So, some scenery touch-up, figures to dust off, hills to find...oh yes, and I have to build Oldbridge again, damn.