So, this one started as Dad's Taxis (TM) having to take senior daughter and a bunch of teenagers to a concert near Dublin. With nothing to do for a number of hours, I was able to squeeze in a visit to the
Battle of the Boyne Visitors' Centre at Oldbridge House, right on the river.
As we've just done the scenario with
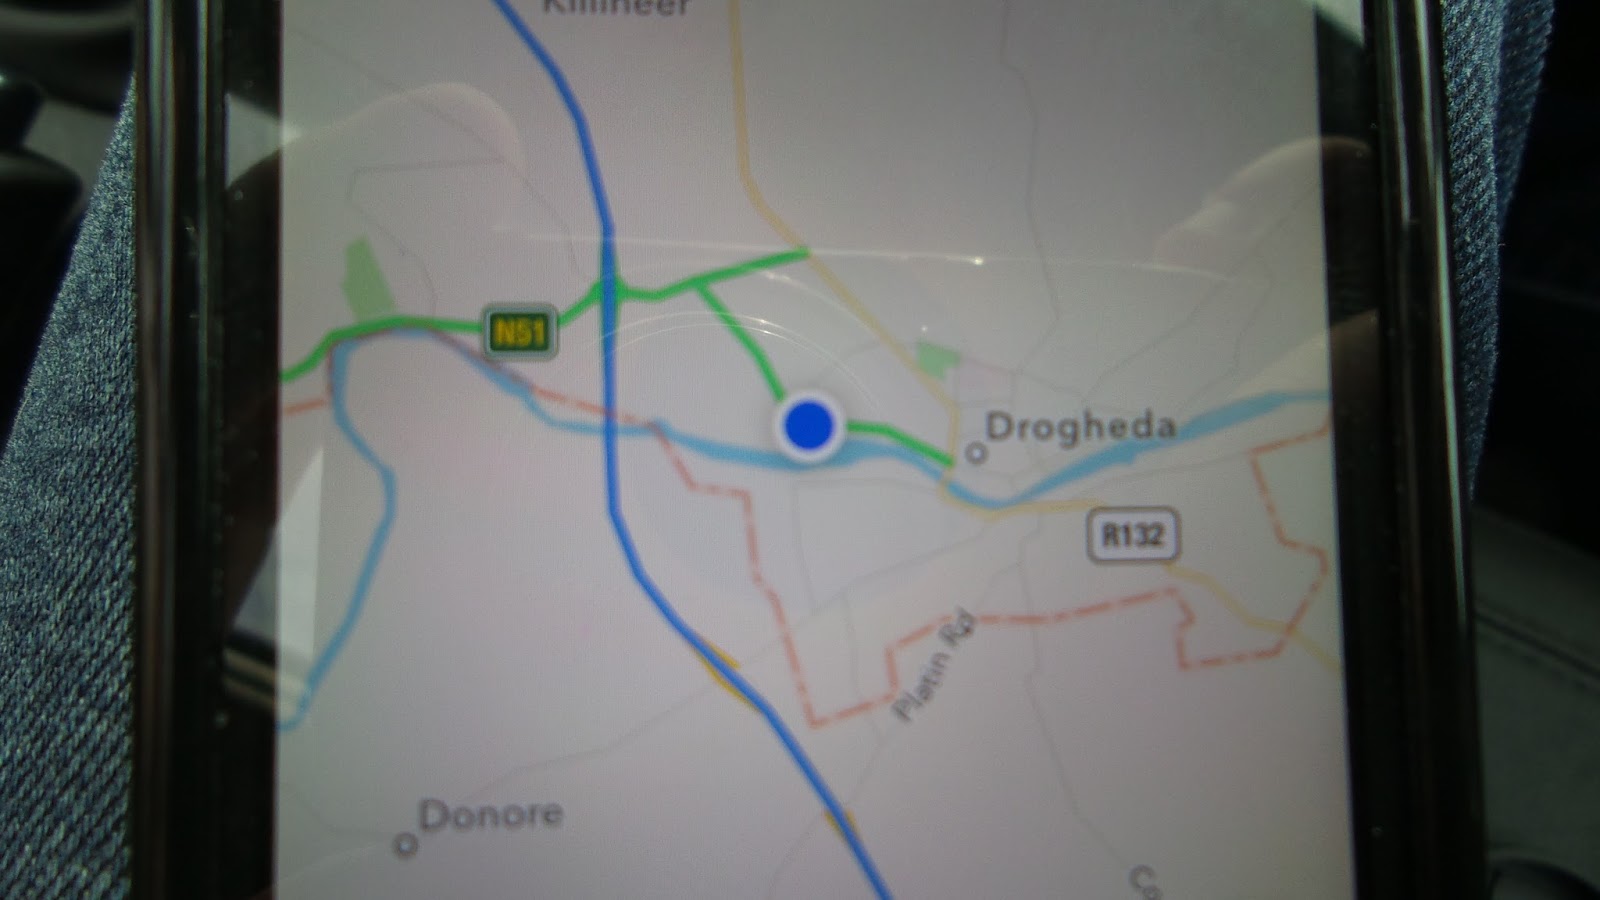
Field of Battle, it's a little bit of an afterthought, but worth using satnav and suitable pics to get bearings and modern views of the river crossing...and good to see justification of my crossing points on the table - and more importantly of course, that I got the bend of the river just right, and to scale ;)
A great map which allowed the visitor to navigate their way around the site. What used to be a dodgy road is now a well developed path beside the river.
The museum is festooned with uniform guides, well dressed dummies (!) and scenes from the time. The reception area also has reproductions of most of the important Dutch and Irish paintings of the time.
It was a like a life-size Osprey book on the walls...
The diorama was well constructed, and rather than use figures, lasers plotted out troop movements in a 5 minute 'info-mercial'. It worked well, and the designers have taken time to show important elements of teh crossing, as well as Jacobite cavalry charges, without going into too much detail. There was also a longer AV presentation in a separate building presenting the battle, its cultural significance and its legacy.
The obligatory musket shot - but note the difference in size between matchlock and flintlock.
6 and 9 pounder artillery pieces outside. Obviously I missed the re-enactors, but it must be great when they attend.
So proceeding east along the walk - my approximate position would have been at the Hugenot and Dutch crossing point later in the battle - on the Jacobite/Southern bank.
Looking west,
...then straight across the wide river...
then the the narrower fordable portion to the east - where Dutch cavalry and William would have crossed.
Another view to the west, showing the motorway and the island.
Water levels have changed dramatically, but you can still get a sense of trying to ford across this.
Moving to the other side of the river (with a quick detour up and down 'King William's Glen') to the Williamite positions - looking now across at the southern bank. Again - further to the east and probably closest to Hugenot crossing points - with Oldbridge to my right.
Looking toward Oldbridge.
There may have been significant changes to topography, but the height of the far bank was the biggest surprise here. It was also apparent that Williamite artillery would have had a commanding view of the crossing and far bank.
The museum is small, but well tended, and any buffs of the period or battle would have a great time. There's very little to complain about.
...and for me, it was better than sitting in a parked car, listening to distant 'hip hop' (being an 80s metaller it would have driven me insane), waiting for the concert goers to return to the car at some ungodly hour. But hey, it's all in a day's work for 'Dad's Taxis...Anytime, Anywhere, in any direction...'
:)
Addendum - the pics that got away...
(There were extra pics, which I thought I'd lost, but then I found 'em.)
So most of these are in and around the Oldbridge area, on the same ground that the early part of the battle with Dutch, Hugenot and Jacobite foot was fought over.
Position looking south toward the Jacobite ridge line; Richard Hamilton had around 3 battalions behind this ridge as the Dutch Guards crossed the river. Behind and to the south east, you can see the hill at Donore.
Closer view of the dominating ridge.
Same position looking north - around 500 yards to the west of where Oldbridge has been 'rebuilt'.
Looking east around 500 yards from the river crossing in the middle of where Jacobite cavalry would have charged the Dutch and Hugenot lines.
Same area - (very) approximate spot where Schomberg would have been killed.
On the ridgeline itself now looking south east - well I was right about the wheatfield in the games(?) A great view of Donore hill too here.
Looking north from the ridge - imagine the combined might of William's allied army crossing here.
Same position looking west to Oldbridge House.
...Re-enactor in the rain. He still managed to get three shots off despite the downpour.
Looking toward the re-built Oldbridge and motorway bridge - this time from the west in contrast with the earlier pictures.
The rebuilt version of Oldbridge village.


