
 |
| View from the French left at Lutzingen. |
Marlborough's victory at Blenheim is his most famous, and probably is to the War of the Spanish Succession as Waterloo or Austerlitz is to the Napoleonic Wars; a defining moment for Europe and the Grand Alliance.

The scenario is taken from the Fire & Fury based Age of Honor Scenario book, with units (roughly) as large brigade size elements. Ranges are kept the same, but it wasn't too 'gamey'.
Command decks were Excellent vs Average.
 |
| I bet he drinks Carling Black Label... |
As usual, FoB provides:
- Unpredictable results: the centre was in jeopardy several times for both sides - thanks to the timing of events, orders, managing limited resources, and the ebb and flow of battle - uniquely handled through the card driven turn sequence and well designed mechanics of FoB.
- An unfolding narrative akin to a real battle.
- Abilty to handle a very large battle with 30+ units per side, and smaller engagements are just as exciting.
 |
| Da Boss! ...he only changed sides once, well twice, well...it's complicated. |
 |
| 'Just tell the Missus, I have a French bloke in me coach ...oh yeah, and I got that kitchen unit from IKEA that she wanted...' |
 Looking from the west: Lutzingen, Oberglauheim, with Blenheim in the distance at top right - which would see some savage fighting during the day.
The centre, which would also see heavy fighting, and much opportunity.
Blenheim, overpopulated with French Brigades.
The Allied position on their left, centred around Lord Cutts & Lumley.
The centre, which was deceptively quiet at the start, but would become a crucible of maneuvre warfare.
The Allied right, which would see a massive delaying action.

Initial moves at Blenheim.
Masses of French under Marsin & the Elector (this of course should be a name for an '80s ska band).

The attack at Allied centre left takes many turns to get going. The French have much of the initiative early on, if they can just get a chance to capitalise upon it.

Significant coordination required by the French on their over-populated flanks.
Cavalry moves in the centre would define the battle.


 'Here they come mes amis!!!'


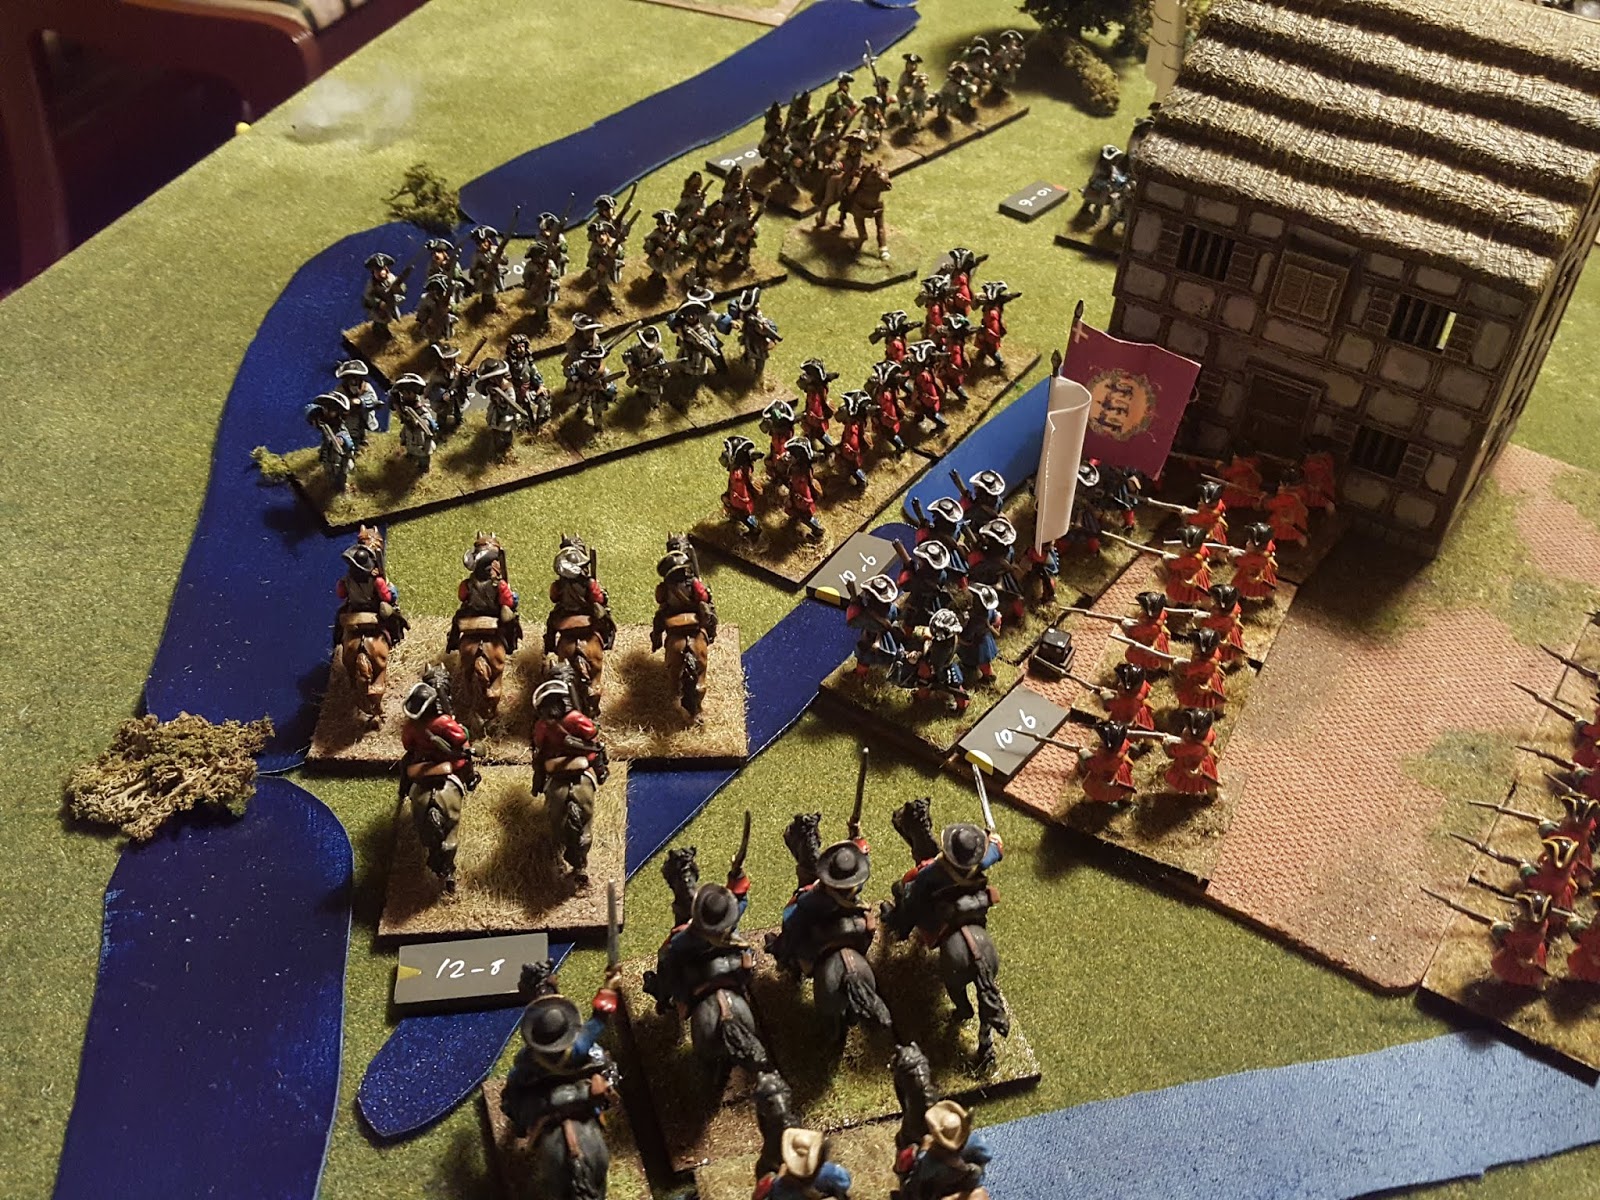
Allied infantry smashes into Blenheim as units fall, rally, fall again.

Things remain quiet on the Allied left, as a grand feint is underway.
Gaps appear in the centre. The first side to exploit it can win the battle.
Allied units are rerouted to seal the gap.
...even as French cavalry is routed.

...and Allied troops scale the heights.
 Allied troops assault the guns at Lutzingen; despite early successes they are being outflanked.
Lumley gets moving to exploit a breakthrough.

The ill timed assault on the left will come to naught - but will bleed precious army morale points.

'He'll have someone's eye out with that thing!!!' 
'It's a nice place to visit, but I wouldn't wanna live here!''

The French try to sort out their left, which could become a battle winning proposition.

'You're going the wrong bloody way chaps!'
French infantry also rout from the high ground.
As British cavalry takes it. But the victory is short lived.

Allied cavalry slowly, slowly, skirts around their left at Blenheim.

Blenheim defenders are not rolling well.
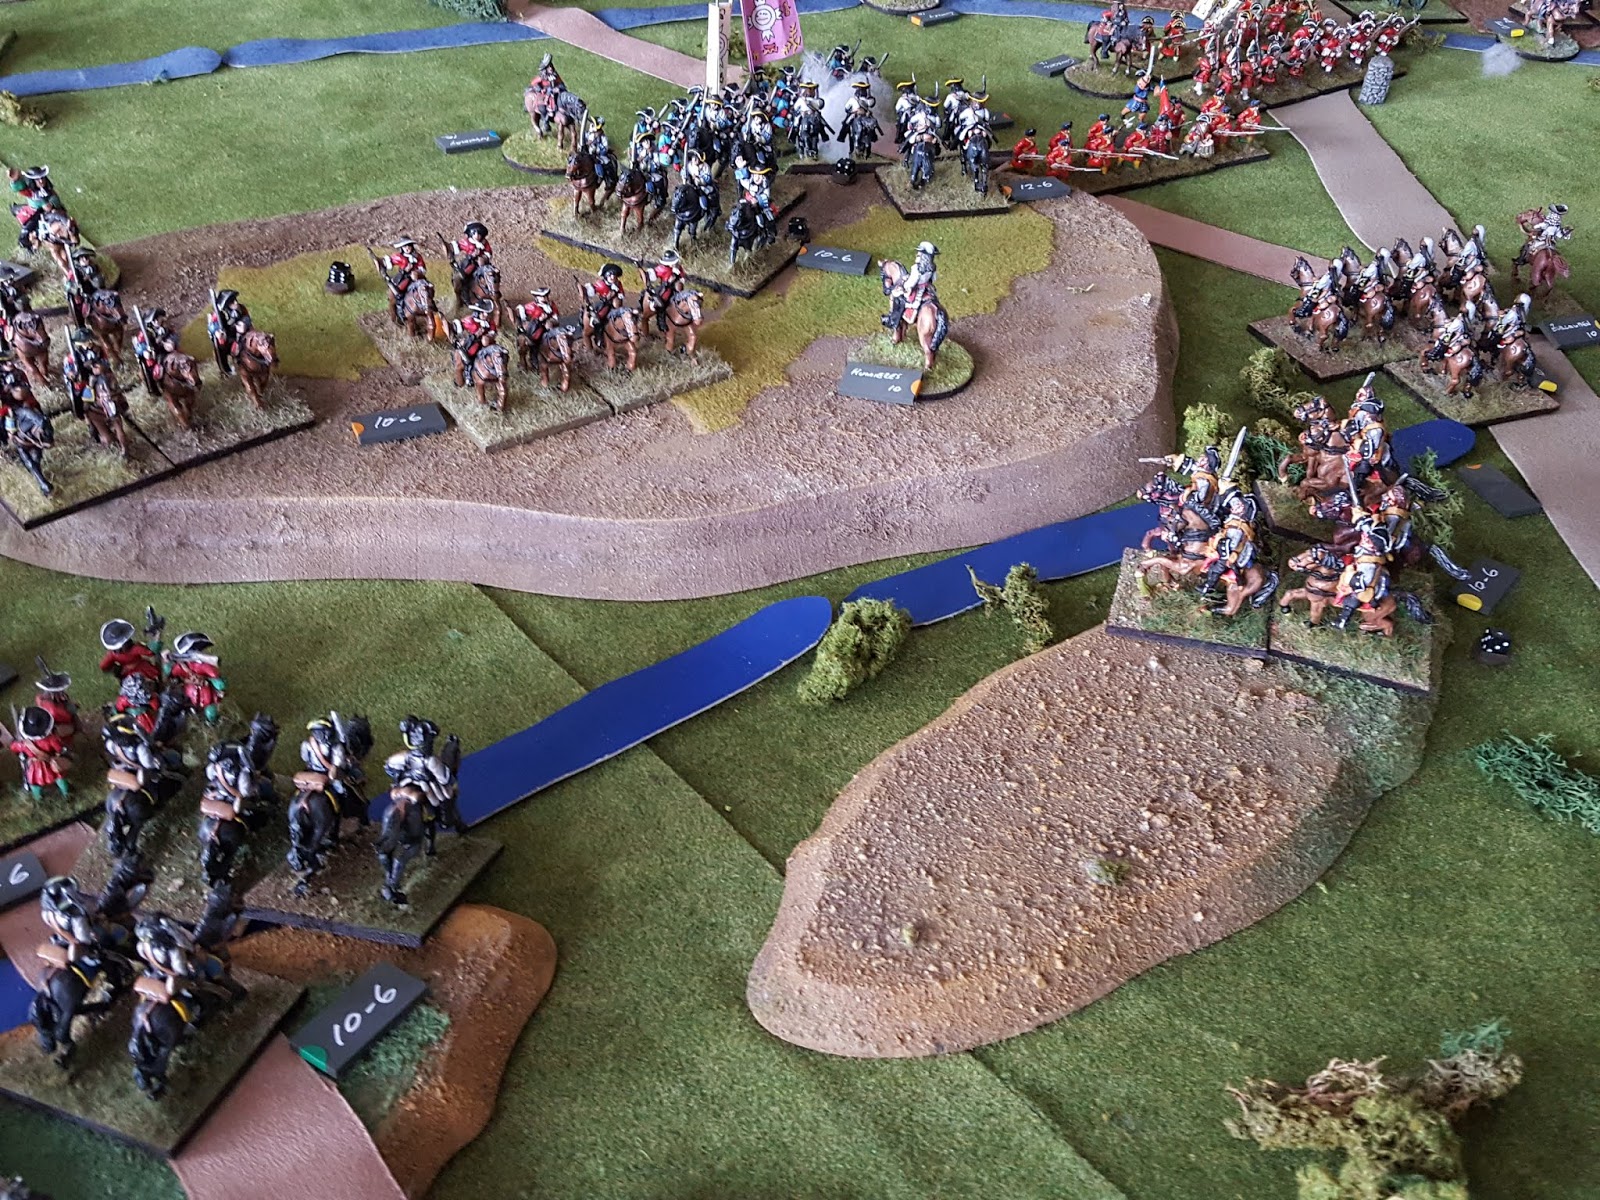
Incredibly, French cavalry attack via a melee card (despite their lesser combat values reflecting reduced propensity to charge), and drive Allied cavalry off the centre.

...as the centre becomes a mess of cavalry charge and counter-charge, hitting both sides' army morale.
 'Pour La Gloire mes ami!'

 The Allied right flank bends, but does not break.
Even as the French right is dangerously close to the Danube.

Allied cavalry is charged in the rear, as the battle for the centre defines the battle.


The Allies' turn to charge home.

The Allies charge home in the centre, while refusing the flank, where the French have kept too much of their strength.
Like cortical stacks from the sci-fi show Altered Carbon, chips from dead units litter the table. (That's a pretty strained reference, I know).
Allied breakthrough on the flank.
...and in the centre.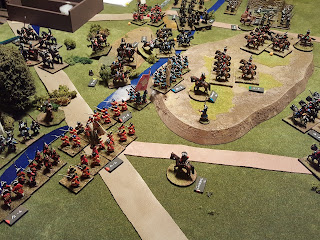
...whilst yielding ground on the right...
...ultimately proves successful. Despite the Allies being close to Army Morale level, the French reached theirs first, and soon drew an Army Morale check, which they failed. The French army withdraws...


'Found me fleg at last like...'


 |
| 'It's all his fault!' |
A great game with a superb set of rules.