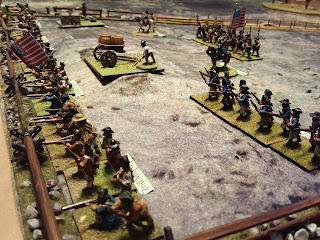
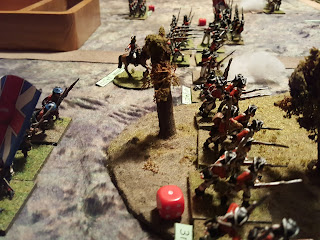
He very kindly did so, and now, at last, we're getting around to re-fighting one of the battles featured in the blog.
Providence is fictional, and recounts an encounter between an American force that has been besieging a British-held port. American commander General Desmond, has had to lift the siege and fall back towards his supply base. To buy time for the siege and supply trains to pull back and pass through a narrow defile, Desmond has taken up a defensive position near Providence Chapel. British General Knollys has opted to pursue the Americans and two brigades of infantry are moving towards Providence. Desmond needs to hold his position and prevent the British from exiting the table in pursuit of the siege and supply trains.
Of course, since we're using Field of Battle again, one army's break point will most likely be reached before that happens.
We used the period QRS from another excellent blog at Gentlemanly Wargaming. One problem however, was misuse of the American skirmisher / rifles - without taking all mods into account on the sheet, which made them a little too powerful at range.
Early deployment of British foot from line of march.
Attacking the American rifles skulking in the woods on the flank.
The British attack American defensive positions at Providence Chapel.
The centre holds, for now.
Continentals rout from the chapel in the face of a successful British charge.
American artillery had some good success.
Some success on the American left drives back the skirmishers.
Their numbers are replaced with militia - who won't stand unless supported by continentals ...or a bit of fence.
The British break through on the American right, threatening to take the guns.
The centre can hold...
...while on the American left, the Militia give reasonable account of themselves.
Artillery fires point blank in order to deter the breakthrough.
While the British are desperate to make ground in the centre.
The right becomes a fight between skirmishers.
...while the British are slowly worn down on their right, until the break point ultimately comes.
A lot of learning points here re. use of skirmishers in AWI with these rules, but we think we have it sussed.
As usual - best set of rules for Horse and Musket - right?
More pics below...
As usual, finish with a song. Why, 'Providence' by Poor Man's Poison of course...


