Another successful game with 'Field of Battle'.
Now I have extolled the virtues of these rules
ad nauseum
before, but I especially like the fact that what we read about in
battle accounts seems to fall readily into the narrative generated by virtue of using them.
My
favourite account of this battle comes from
G.A.Hayes McCoy in 'Irish Battles: A Military History of Ireland', and he had written extensively
on the battle in the 20th century.
Re-reading this, there were a few phrases that stuck with me, and I found myself explaining accounts through the rules mechanics:
'The boggy ground...proved a serious obstacle ...and forced him to confine operations to the two wings'.
(Any troops in the bog were 'out of command' - down dice for firing, down movement etc - a real pain in the allied centre)
'They had not been under unified control; indeed, some of their commanders had exceeded orders.'
We saw this in detail when some commanders rolled better on move cards, and surged forward, leaving flanks open, rather than conserving linear mass.
'Sheldon and Luttrell, should have intervened to the full extent of their ability to hold Mackay back.'
In the game they held back - inactive for the most part, wary of a flanking cavalry charge across the bridge, after the 'special event' card decreed that the dragoons at Aughrim Castle had run out of ammunition.
'(General) St Ruth was decapitated by a cannonball.'
Any brigade commanders whose troops are in contact, or who rally, are subject to risk under the Army Morale card. a 1 in 12 in rules as written, though 1 in 20 is normally used. A different frontline personality was killed below - which put all troops in the first line out of command, until the next leadership card - and allowed the Williamites to make defining and swift gains, even as it looked as if they would be pushed back in the centre.
I guess we could make these points with any ruleset, though they seem very pertinent here. The only anomaly, and it's one that faces many 'tactical' non campaign games, is that Sarsfield's inaction in the real battle (in theory on the Jacobite right - though be careful when quoting this) could have been a direct result of his wanting to keep the avenues of escape open, such that much of the army could be saved if things went awry (see Hayes McCoy). In the confrontation below, that wasn't such a consideration (though I imagine that wargamers in a campaign game might scarcely come to blows in an effort to protect their armies - perhaps something for future consideration).
The Allied/Williamite left, showing the empty bog area, and Tristaun Bridge, which would be hotly contested, and the cavalry at the Pass of Urraghry.
Dragoons surge across on the Allied left.
Artillery action. What will become a deadly fire is evident from the 'Bloody Hollow' already.
On the Allied right, artillery beats at Aughrim Castle, with little effect.
Danes surge forward, getting caught (and put out of command) in the bog.
Tentative movements on the right against the castle.
Gains on the Allied left, allow some movement, and an effective 'beachhead' is made. This would prove decisive, and had the Jacobites locked this down early (and committed additional dragoons) the story would have been very different.
Hugenots and Danes trying to get out of the bog, manage to push skirmishers back from their cover.
Troops converge on the 'Bloody Hollow', which will devastate the infantry.
English / Irish moves on the Jacobite left, the bog takes no prisoners.
The Jacobites reinforce the right/centre, as the Allies move, inch by confounded inch.
Jacobite dragoons, short of reinforcements, break on the right.
...while English troops devolve into musketry on the opposite flank.
Cannon at the Bloody Hollow, ply their awful trade, routing two units, which though rallied later, will not re-enter the fray.
The right stalls. Dragoons at the castle and the threat of Jacobite cavalry (which historically were re-routed to the opposite flank, and perhaps could have made gains here) remains 'wathcing the enemy'.
'They're coming!'
Allied horse, gaining a massive run of cards, is able to cross and form, with poor response from the (fired) artillery and local musketry. This is very dangerous.
The flank bends.
Bloody murder is done at the edge of the enclosures, as units fall back, rally, re-engage.
In the action, General Dorrington, commanding the Jacobite first line, is killed. The Jacobite defence is stalled.
The ground is littered with...'out of command' tokens.
Too much pressure on the guns, and cavalry now free of the bog, threatens the flank. Sarsfield MUST commit the cavalry reserve, or all will be lost.
The 'Special Event' card comes up for the second time (after re-shuffle). As if the Jacobite luck couldn't get any worse, as dragoons at the castle find that they have been supplied with the wrong calibre of musket ball (you can find the local historical 'conspiracy theories' on line...I'm sure no no one was paid off ;) )
Sarsfield commits the reserve flank cavalry to the battle. He may have the edge, if there is room to maneuvre.
On the left, Sheldon commits cavalry against pike - in the hope that the Jacobite ill luck might change.
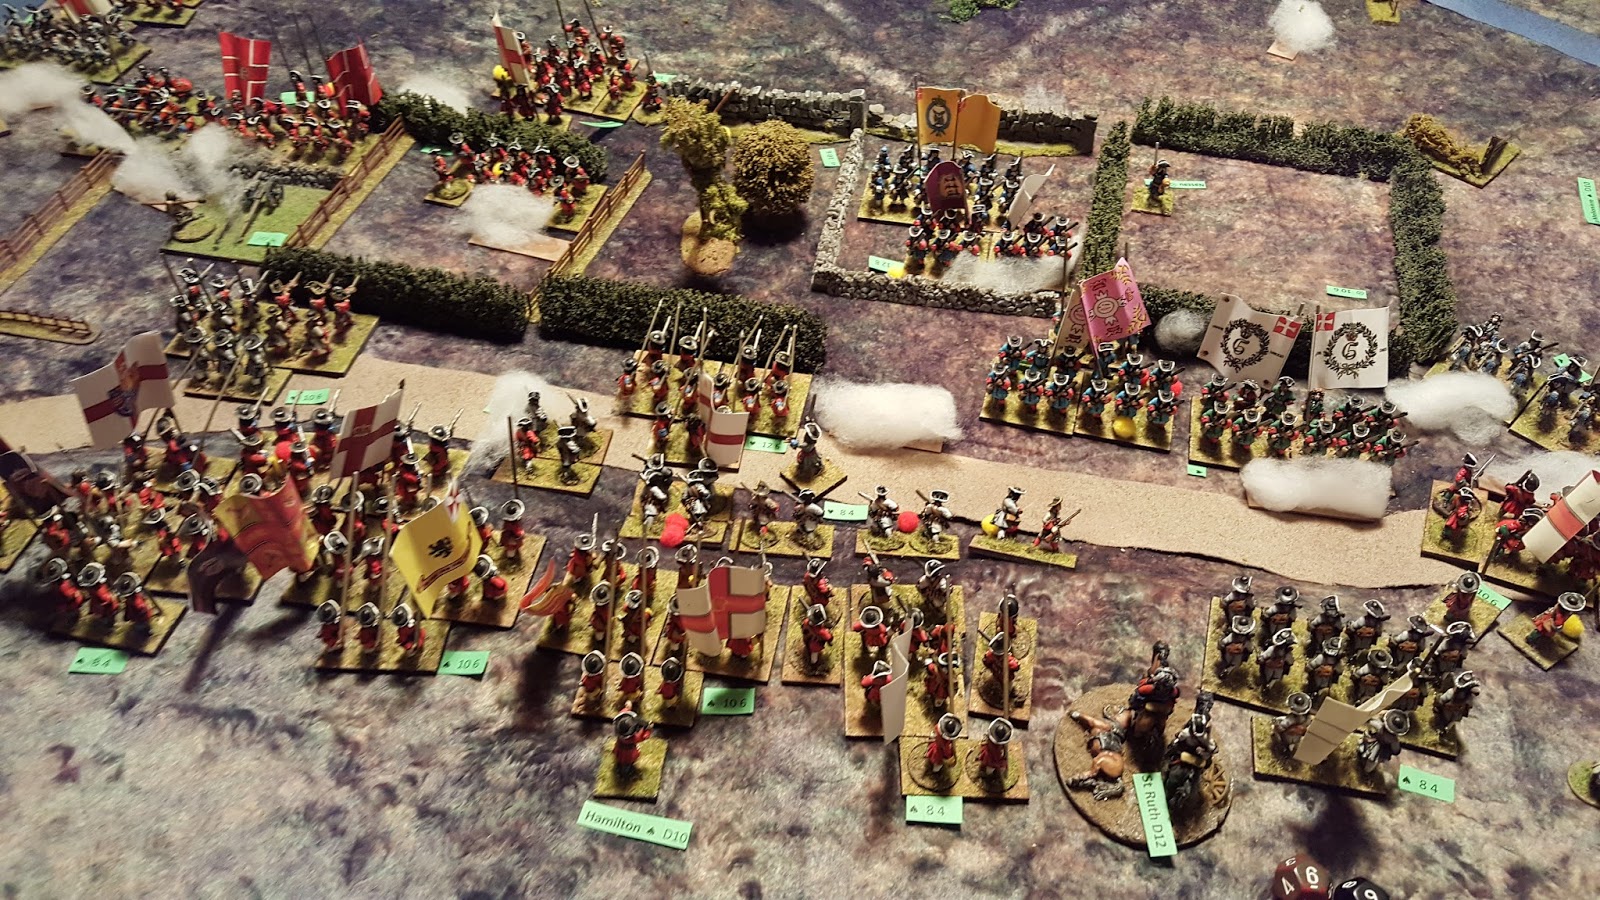
The Allied centre is actually dangerously weak, though they have made gains after Dorrington's untimely demise.
Sparrow Cam...
Sheldon has exposed his flank on the left, misjudging the terrain perhaps...
The right becomes a desperate struggle.
Allied cavalry surge through on the Jacobite left now.
The Jacobite second line remains uncommitted. 'Now's your time lads!....Lads?'
The effect of destroyed units on the Jacobite right, and Sarsfield's desperate defence, means that the area empties rapidly. The Williamites have been able to absorb the Army Morale reduction, the Jacobites however have taken too many hits...
...the Army Morale card/check comes up. It's all over, as St Ruth orders a retreat.
In the end...the Jacobite right was weakened, and no gains could be made.
The centre was strong, and one push from Hamilton's second line could have ended the Williamite attack. They just ran out of time.
The left was looking dangerously suspect, with Allied cavalry incursion.
Great game with a great set of rules. In terms of narrative, these rules tell their own story. What else could we ask for. The card mechanic very much helps, and makes things very unpredictable. It pays to do as much as you can with the luck you are dealt. Not something we always see well outlined in rulesets.