Wednesday 16 August 2017

Stones River - with Field of Battle

A great game with Sgt Steiner today - as we make the most of our respective periods of time off work.

Another experiment with Field of Battle - using brigades as base units, with normal (unchanged) musket range of 2"/4"/6" to reflect rifled muskets and larger units etc.


As with the previous AWI game, the rules were the same - though there was a definite different feel. So, what changed?
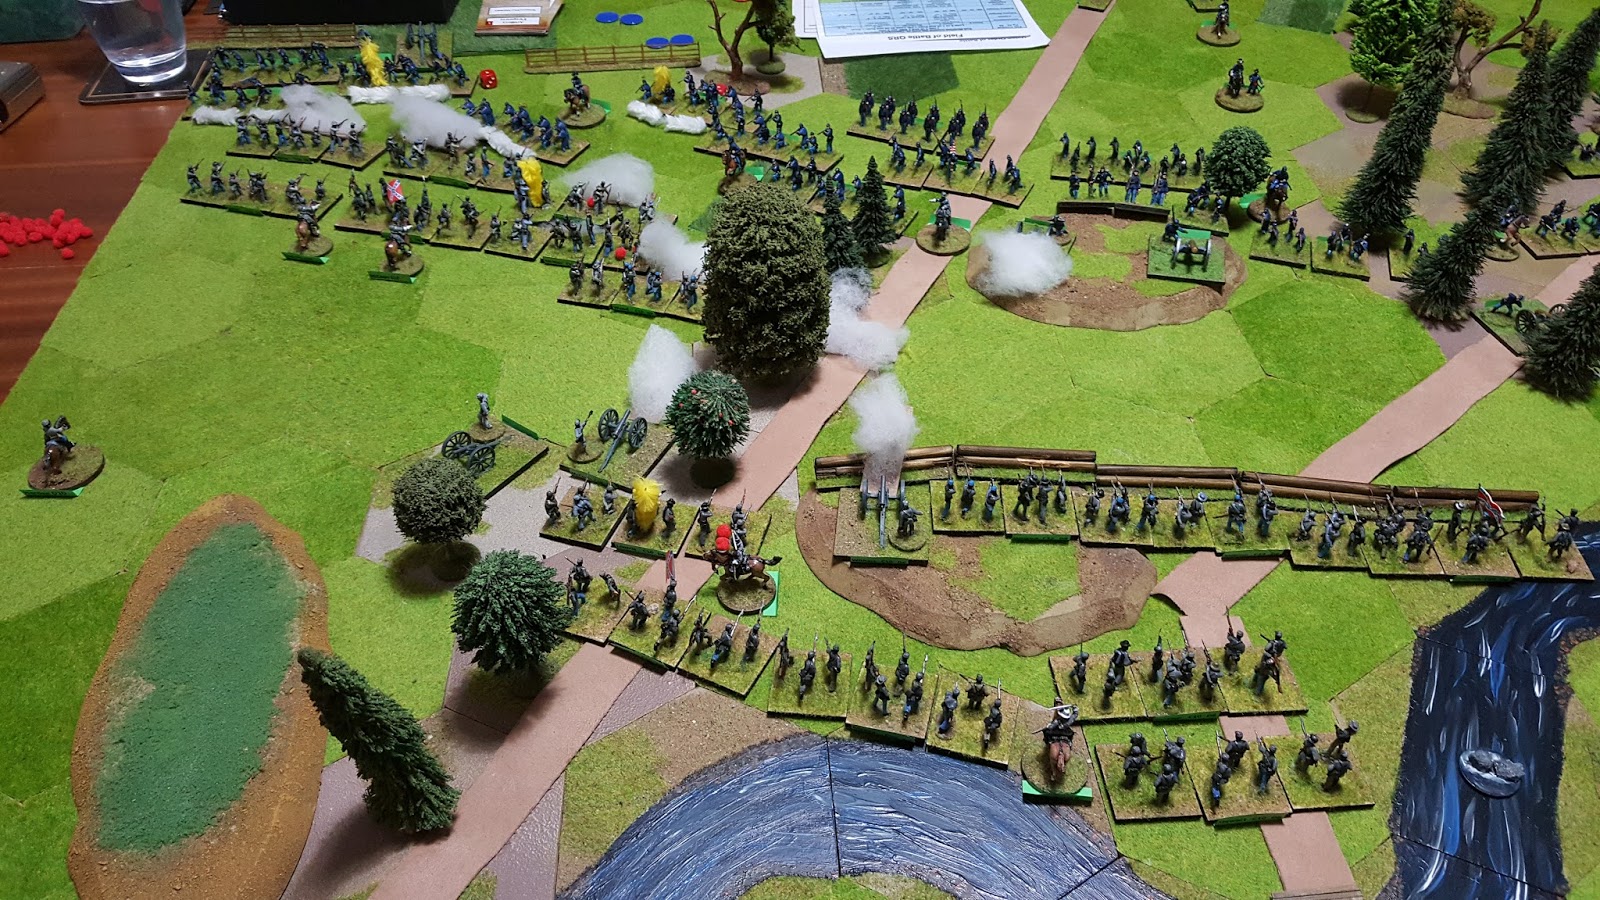
  • We'd talked about the same rules potentially creating the 'same' game in a previous post - though the size of the battle came through here, and there were sweeping flank maneuvers, with a battlefield centre where the Rebs hunkered down behind prepared positions and couldn't be moved. It felt like the ACW, just as the AWI battle felt more open.
  • Each side tried to turn the other's flank, with varying degrees of success. Brigade after brigade tried to get the edge with musketry and close range attacks - there was a greater sense of having to exploit every little chance when compared with the AWI game - which seemed to have more room to maneuvre - in turn also adding to the sense of a 'big' ACW smash here.
  • The outnumbered Confederate deck was 'skilled' while the Union deck was 'poor' - adding to the theme: the Confederates had some potential leadership potential, while the Union could be hampered with more lulls and switch-overs in initiative, despite numbers. In the end, the Union played a blinder.
  • The loss of the Union Army Commander - Rosecrans, threatened to stall the battle for them, though, they managed to stem the flow and take the battle to the Rebs' right flank, while holding their own. 

In the end - the Confederates' attempt to turn to Union Right came to a standstill, while the Union, trying the same on the Confederate right, had considerable success in routing units and forcing their way across the fords and bridges and into the prepared positions...until the Rebs simply ran out of morale and withdrew.

Another great game with these big battle rules; very different in feel to the AWI game - yet comfortably easy to play and remember.
There can be a sense of 'clog' with multiple units in tight confines with some rules. As there are few modifiers and most 'mods' are intuitive/memorable here in terms of dice size changes, it makes things easier, and the players aren't put off from 'wanting to make things happen' without grinding against the rules.

 The Confederate left - which would move back and forth all day.

 The centre - well entrenched.

Union troops ready to move on the flank.


Rebs attack the Union right - some early gains, but pushbacks are enough to make gaining a foothold and turning a flank too difficult.

Union troops make gains on the left however, allowing the reinforcements safe passage.
 
At a pivotal point in the battle, Rosecrans is shot by a sniper - and precious minutes are wasted as initiative swings to the Confederates.


The left becomes a quagmire - volleys and charges, with no clear gains.

...as Union cavalry (40 year old Airfix plastics no less) moves to reinforce.

The Reb right is under more pressure as the ford is taken - allowing Union reinforcements to stream toward the elevated works.

 As Confederate morale ebbs and dwindles away - until a morale roll ends the battle...

 Their left flank - unable to break the Union stranglehold.


 ...while both sides have taken reinforcements from the centre, which remains eerily quiet.


A great game again with FoB; and many new eras discussed. As well as the Aughrim game in preparation, there is a Prokhorovka scenario online for the WWII version. Hmm tempting.


Sunday 13 August 2017

Game Prep - ACW

Some pics of game prep for pending ACW battle (Stones River 1862) using Field of Battle.

(Youngest daughter already saying that she can do better than my painted on rivers...challenge accepted!)


Wednesday 9 August 2017

Le Duc on the Road, Part VII - Aughrim

There have been rumours of late of a planned 'Battle of Aughrim' game in the planning stage, using Field of Battle. :)

Living 4 hours from the battlefield of course, means that on the ground research was required!

There is as excellent heritage centre at Aughrim, and Donal - the 'man on site' is very knowledgeable and helpful - even to annoying wargamers !

 A year after the Boyne, Bloody Aughrim was more militarily devastating and had greater impact - effectively sounding the death knell of the Jacobite cause in Ireland and it is justifiably remembered for the death of St.Ruth, a French commander leading the Irish, after his being decapitated by a stray cannon ball; an action which in turn is forever recorded as having led to a snatching of 'defeat from the jaws of victory', as the Jacobite morale broke.

There are a few Prince August 40mm semi flat miniatures on a large 12'x8' replica battlefield. You can guess of course, that I suggested that the table should be used for 25mm units and a wargaming convention of sorts should be arranged. Here's hoping.

 This map folds out to A2 size. Even if you're familiar with the battle, this is a fantastic (and free) battlefield guide. It shows basic troop movements, but key, it shows the road/trail to follow for best viewpoints of Jacobite & Williamite lines and attacks/approaches.

The only drawback is that much of the battlefield is on farmland, or had no road through the 'middle', but the handout map more than makes up for that by directing attention to features and sites.

 In the centre itself, there is a lovely selection of Prince August 40mm semi flats. Donal uses these for kids and adults alike, to show the main features of the battle - if only there were more of course. We had a long discussion on Patrick Sarsfield's position at the battle, and the effects of St Ruth's death across the Jacobite lines using the battlefield layout presented here. Granted, there aren't enough figures - and the table and map layout is crying out for a larger scale wargame.


 The Jacobite right flank. We pointed here a lot during our Sarsfield discussion.

Some larger displays.

There's the usual DVD show, with good production values, and a good presentation of the events and repercussions (and some flag presentations).

More Prince August stuff.


Other displays dotted around the walls - good introductory stuff for the period.

A rough OOB presented on a modern OS map. Oh, how useful this is for the FoB scenario to come.

 Using the map guide, it's easy the walk (or drive) the battlefield. Now, the perimeter road is a country lane, and is open to traffic, so care is suggested. This is the view looking east to the Williamite lines and Urraghry Hill. The bogland is considerably more drained than it was in 1691, but we can imagine the quagmire as the Williamites advanced toward the heights in the foregroud. The Bloody Hollow is off to the right.


Good use of signs every few hundred yards on the roadway, and you can visualise where you are in line with the map, and the lines of advance.

Looking north across the line of advance (the cow wouldn't get out of the way).

The causeway toward Lutrell's Pass - portions of the raised road and bogland still evident, even today.

The remnants of Aughrim Castle on the Jacobite left - a small fortification which was a ruin even in 1691, with the monument to St Ruth, erected in the 1960s, beside it. Burke's/Luttrell's dragoons - made a deal/got given the wrong calibre of ammo/were suppressed by enemy fire ...here, depending on what source or conspiracy theory you believe.

 Looking from north to south across the middle of the battlefield. Most of the action occurred across this boggy expanse.


A great trip and as with most heritage/interpretive centres, some great local knowledge and advice, and Donal really knows his stuff.  ...I still want to set a game up on that table though ...