As promised, here's our first AAR using the FUBAR rules. A little WWII action which has been discussed, dissected, written about, lectured upon, filmed, gamed and otherwise gone over countless times.
As for the rules:
- The FUBAR rules use alternate activations - with the chance of being able to do something based on the quality of the troops. That quality, in turn, also affects the ability to hit, AND (key) to take suppressions over 'kills'.
- The player retains initiative as long as he keeps successfully activating. Once he fails, initiative passes.
- Better quality troops take supressions easily before casualties, worse troops take more kills.
- This game was deliberately designed to test the gulf between 'elite' and 'green' troops in terms of how much of the initiative the elites could hold, and for how long.
- In failing their activation roll, an element can still go into overwatch mode.
Lt. Winter's famous assault on the guns at Brecourt Manor remains one of textbook actions of the war - so rather than dwell on what we have all read about, let's get to the action - with rules interpretation to follow at the end.
The US player has 4 assault teams, with 2 30 cal MGs acting independantly - hence six possible activations. The US Paras were classed as Elite.
The German artillerymen and MMG crews had six units - classed as Green. Reinforcements were classed as Seasoned.
"Let's go! Let's go! Follow me."
The big advantage of activating in any sequence is that covering fire can suppress while you make your move. Obvious, but clearly outlined, and bizarrely simple within these rules. Of course, it's made easier with elite troops.
Covering fire from the MGs...oops, initiative shift on a '1'.
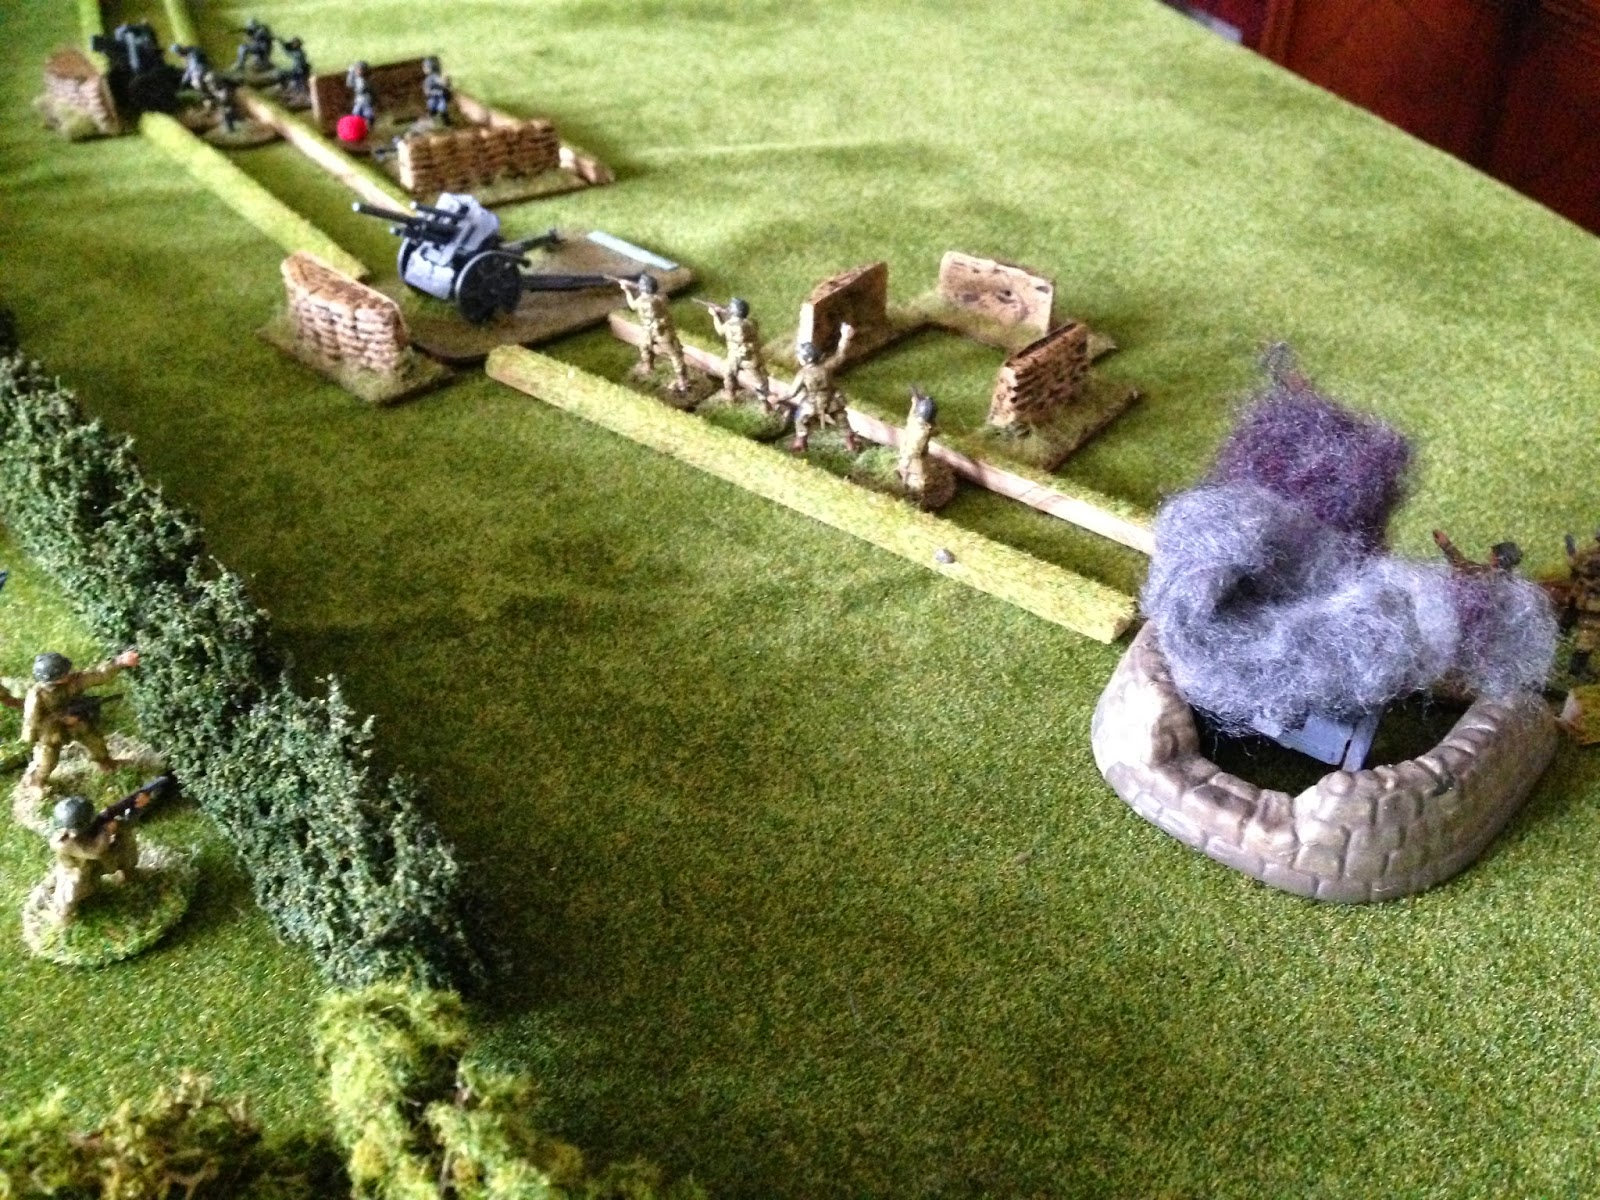
There's a lot of trench still to cover, though that doesn't stop a German squad abandoning their position in order to do a little flanking work.
The first gun is taken. "TNT!"
30 cal cover makes the difference between effective counterattack and keeping heads down.
...effectively neutralising all but one of the defenders, as the assault group's first close attack goes in.
With two guns taken, third squad of the assault group switches from covering fire to movement, although this does leave it open the overwatch fire from the MMG position in the HQ.
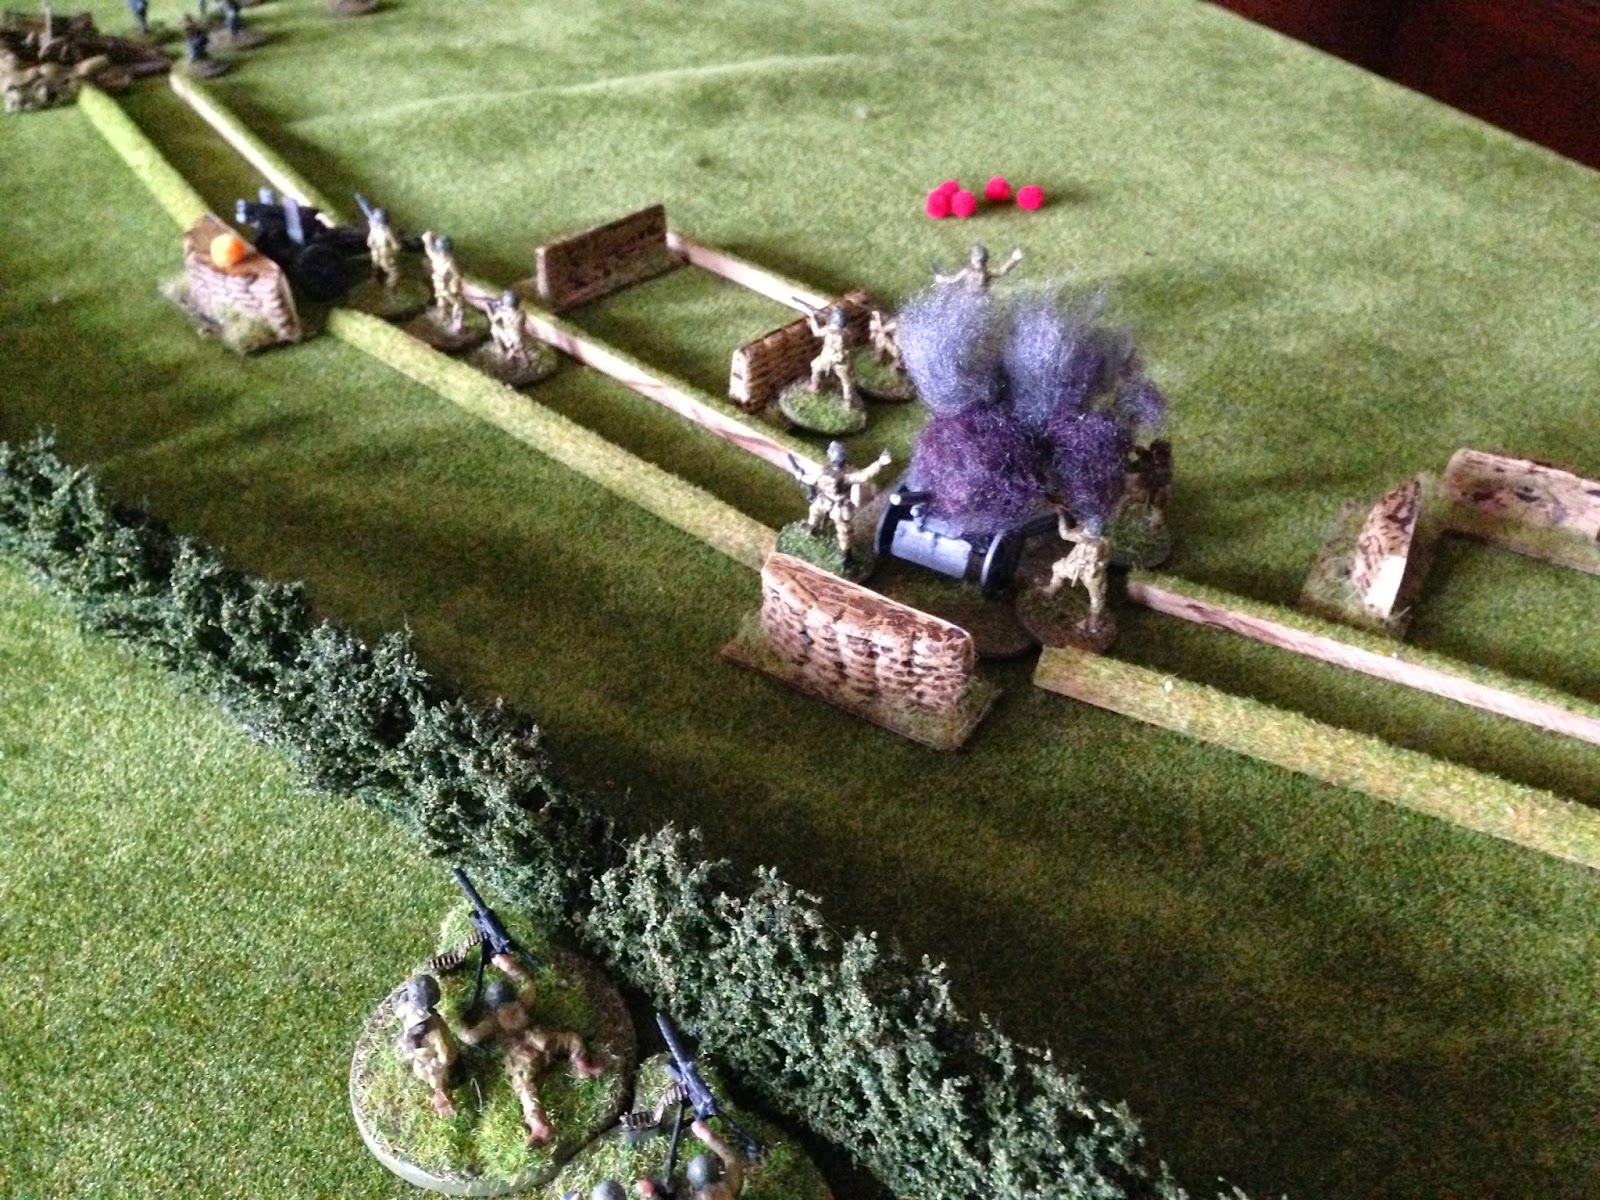
German reinforcements move to the trench, but are caught in the open.
Another close assault on the MMG position after weakening it with the base of fire. Some close die rolling here, though the elite status of the Paras pays dividends.
Second gun blown, moving to the third gun.
With three guns blown and MGs and covering fire controlling German movement, most of the assault team moves back behind the hedgerow, using the initiative to move to the end of the trenchline.
Four guns blown. Time to bug out.
Truth be told, the 'green' vs 'elite' status of the troops was a bit of a gamebreaker, though it does become clear how difficult the command choices would be if the forces had been a little more balanced.
Several BIG advantages to these rules.
- The system is simple and the activation requires little thought. The rules do not get in the way and do not require page flicking (there is one page).
- They are infinitely adaptable to scale and level - including upscaling for battalion level.
- The interplay between initiative shifting between each player could be nailbiting with more equal forces. Command choices must be made on the spur of the moment, yet covering fire and a 'form' of plan really works.
- Large squads attract fire and become harder to co-ordinate. That said, if you can corner smaller elements with flanking fire and covering fire, you can wipe them out.
Further thoughts...
- There is no strict morale rule, so the troops that ran from the trenches in 'Band of Brothers' didn't happen, though one could argue that they are absorbed into the casualty and suppression rolls.
- These rules accurately allow for regular vs amateur troops. I can see 'Blackhawk Down' scenarios working well. Trained troops could hold their own against masses - but time would be running out relatively quickly.
- Blue on Red style scenarios work too, though I can see that initiative would flow back and forth - a good thing of course.
For free one page rules, these save time and effort - yet with nothing lost in our opinion. Much development to follow here.