Tuesday 31 December 2019

Fontenoy 1745 (with Maurice)

More of Sam Mustafa's Maurice, this time with the Fontenoy scenario from the rulebook.
Still a great game, and to be honest, I pay scant attention to its 'gamey' nature, each time we play, as it gives a narrative which feels like a real battle.

  • It focuses attention where the players want; that said, you can play into this by forcing the opponent to do something he doesn't want to do.
  • There are several cards which allow mis-direction and loss of control; it all plays into the narrative, and feels historical. (Command  'Blunders'? It's more than that...)
  • The commander's focus dictates what happens; thereby, an entire wing can remain motionless, even as it slowly attempts to feed reinforcements to the main fight, but with great difficulty. Isn't this what we read about?
 Between Maurice and Field of Battle, there are two systems which I'd love to hack for more modern periods. Can't say I'd ever want to consider that for Slack Chowder. I'd run out of dice.
  • The designers of Maurice and Field of Battle have wanted to obtain a narrative, historically playing/sounding action from their rules.
  • Both have been designed to give a historical feel, such that the game is memorable and plays out like a battle narrative.

     Metaphors? I think where Maurice is the explosive  ‘Die Hard’ Movie…there could be sequels, using the same formula, since it works; Field of Battle is a long running series about intelligence operatives, with a convoluted plot arc, where someone is the traitor, yet we don’t find out who until the last episode.

    …and Slack Chowder is an episode of Eastenders…(or the Gilmore Girls).


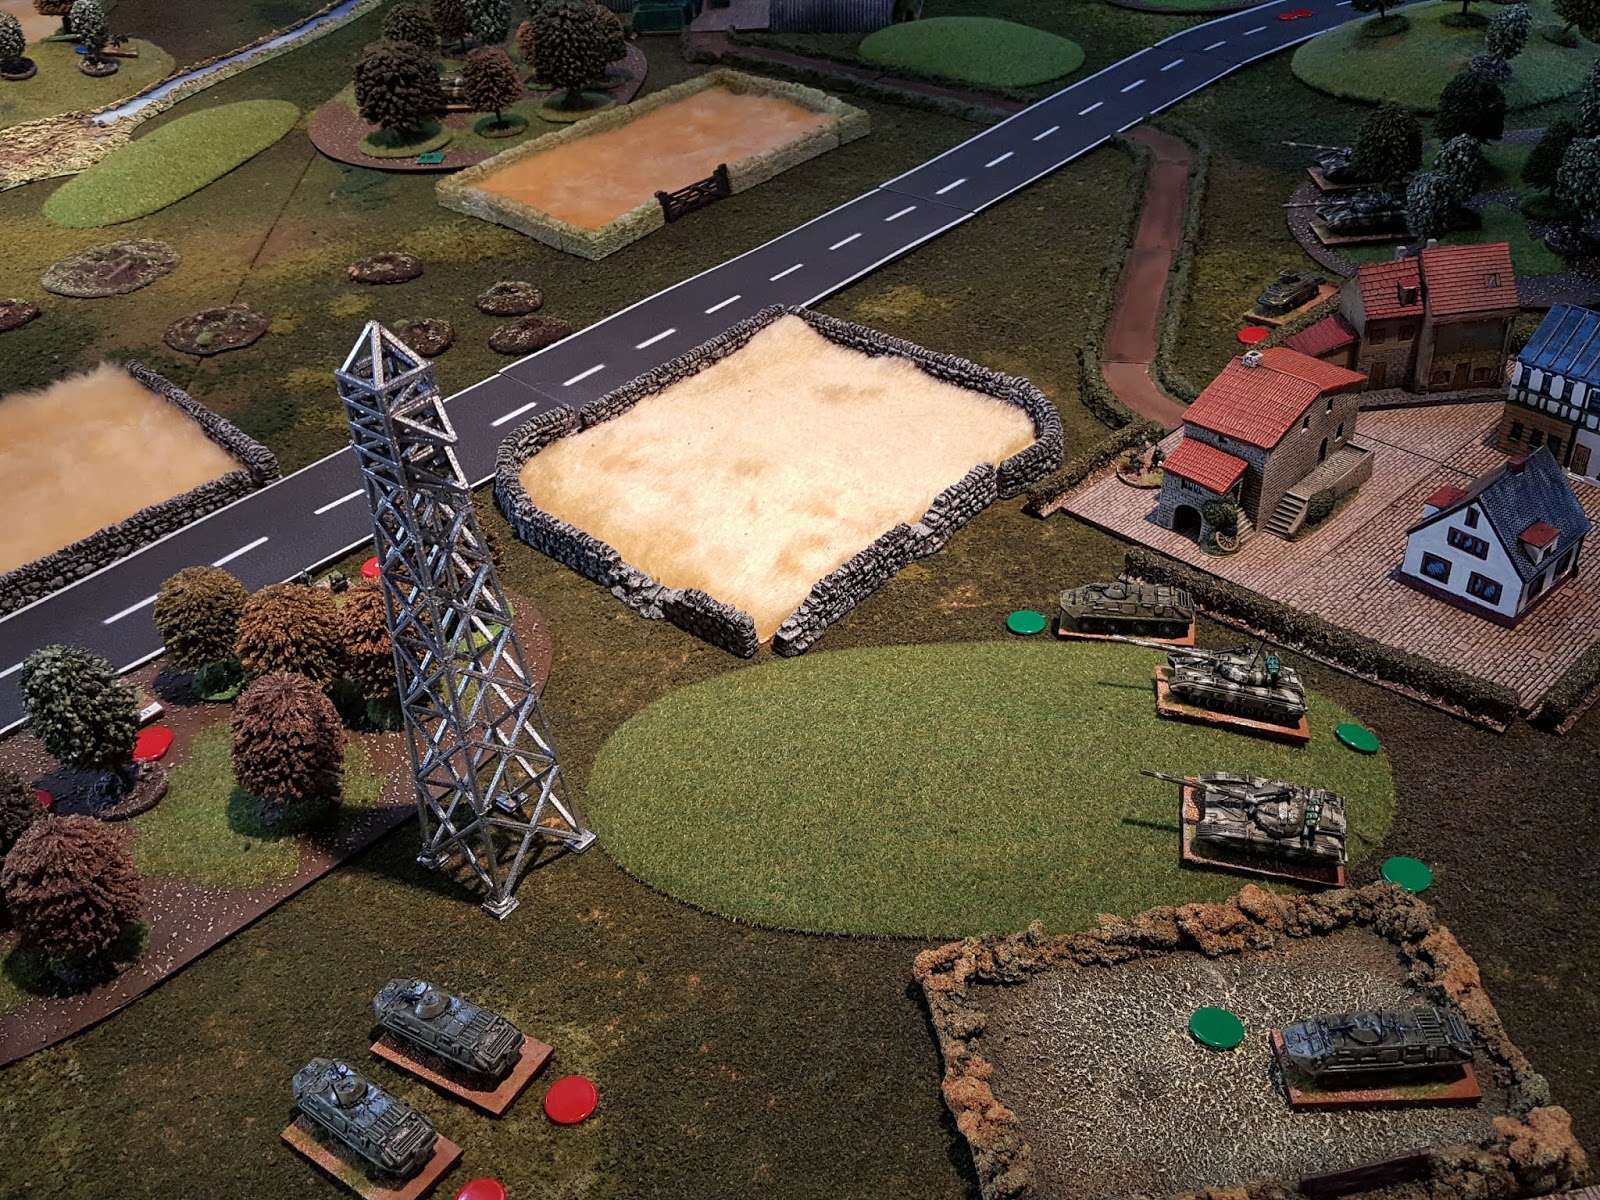
Also used my fledgling 15mm forces here. What a great scale, and fits on my 6x4 (site 'B'). I've had these for years, but recently got Stephen #1 to paint most of them for me.

 Shadows lengthen, as the forces' dispositions remain a-historical...you'll see why.

 The French left - seems secure.


 The Allied centre.

 The Allies have the balance of their troops on the right flank, with most of their elites. What are they planning?


 Allied moves initially with elite cavalry on their right.

 An allied push in the centre, even with 'lethal vollies', will come to naught.

 Early artillery action to tray and stem the allied advance, but the focus shifts to the centre.

 The Allied left remains static, though both sides feed reinforcements from this flank during the day.


 In the centre, allied musket fire ensures severe casualties, but not enough to break the French.

 Allied attack through the centre.

 Despite shooting away the French guards, the attack falters.


 More movement on the Allied right - slow and steady.


 Dutch move to the centre in order to prevent its collapse.

 French cavalry move to hold their left, which is under threat from elite Allied troops (remember that cavalry?).


 Early attacks on the French left go in. The Allies awaiting their infantry.


 Good use of cards to maximise and control the narrative.


 The battle quickly revolves around the fight on the flank; the French realising that their objective marker remains critically exposed - they now understand the Allied tactic - pulling their troops into a feint in the centre, to create a relatively unopposed flank action!!!


The flank under significant pressure as the battle proceeds. 


 The French hold on for many turns, but they can do little, having to focus their attention on multiple charges, even trying to bring infantry from the centre.

 ...but their morale is being eaten away.

...and the allies capture their objective.

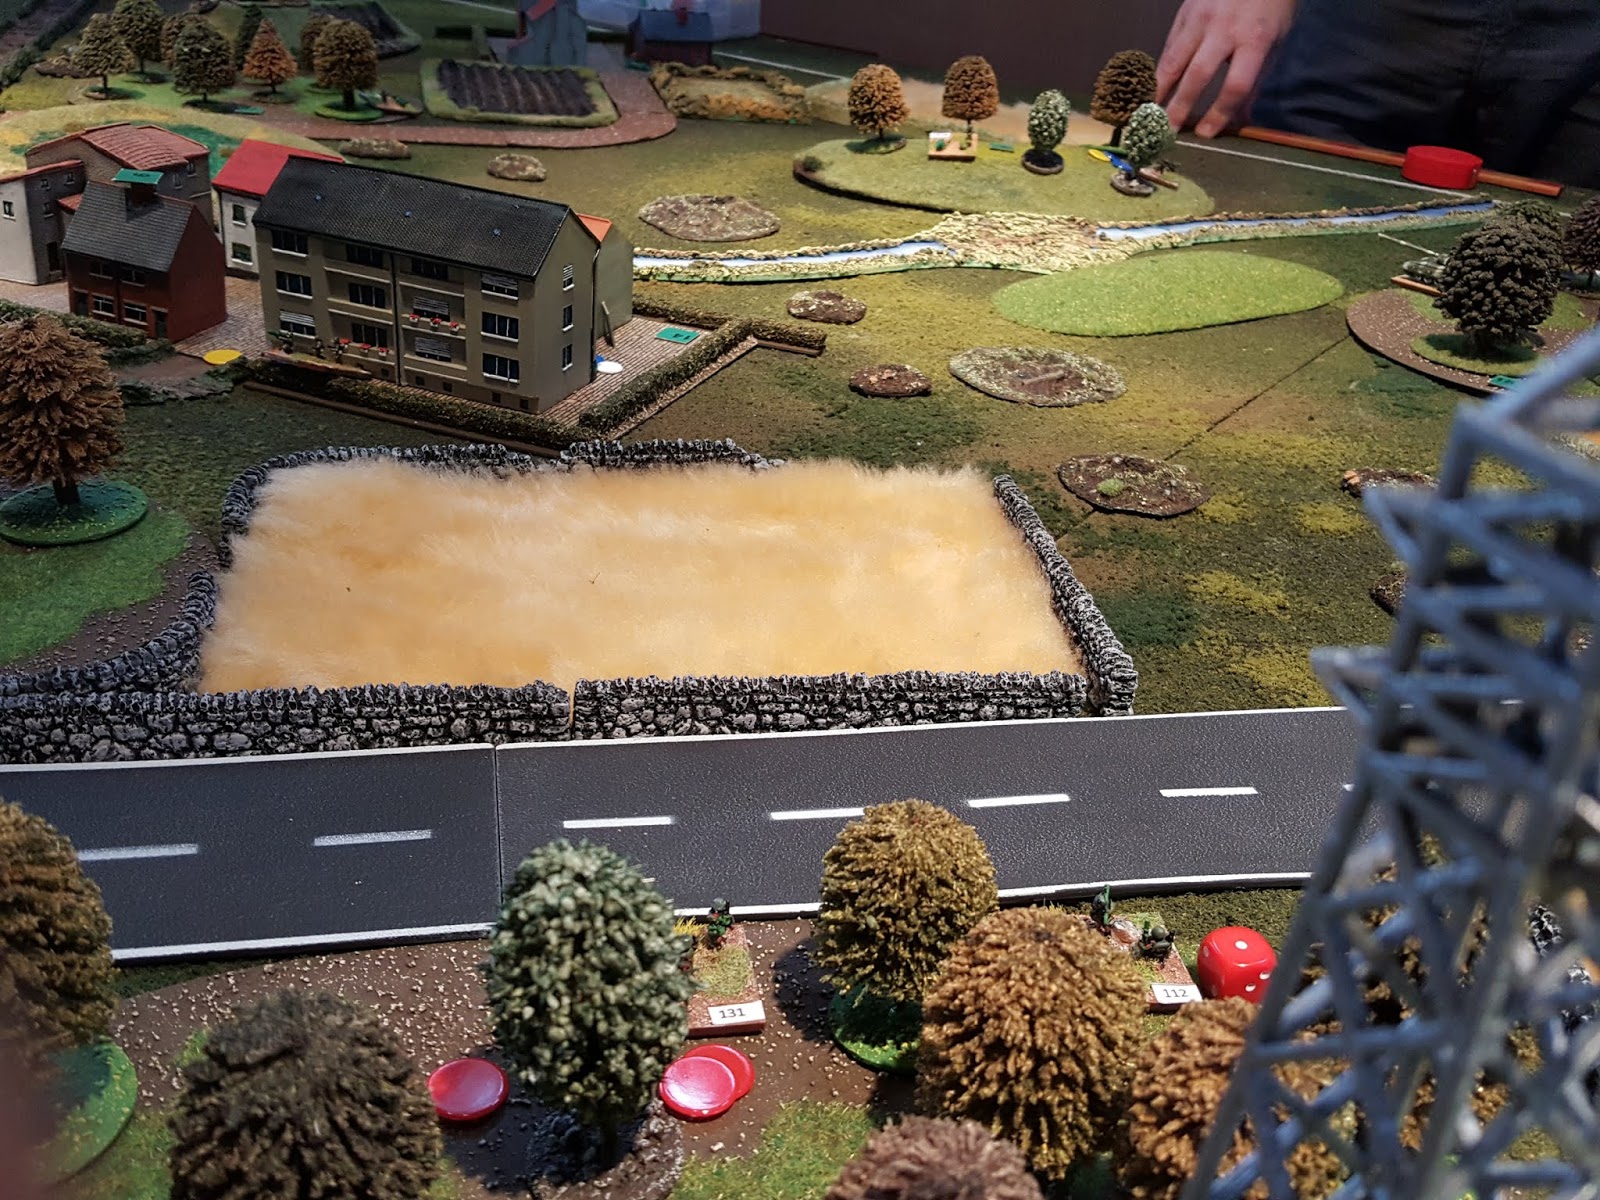
A great game, where trying to do too much simply creates panic, and commanders must keep a level head in order to ensure that (1) they focus on the right things and (2) they sacrifice forces where they need to, while preserving units where required. Great game.

Addendum
Sam Mustafa neatly sums up the design intent, in this piece in the FAQ on page 104 of the rulebook:

New players frequently feel 'sucked-in' by game events, becoming focused on some action in one sector of the battlefield, and they feel that they can't risk tearing themselves away from the action for a single round until it reaches a climax, preferably in their favor. When a couple of your units get into a fight, it can be tempting to devote more and more resources to it. But you have to step back and realize that it's usually a better use of those same resources to bring entire large forces into the action instead.

Sometimes you have to let units die. You can't save everybody. There are times when haviong a lot of cards is more important than having any one unit. ('Pass', for instance, even though you're in the thick of a fight.) As you become more experienced, you will learn to pace actions and manage your army.

I still make the mistakes that he refers to, which is the beauty and 'art' of this game. You won't see this sort of discussion in many rule-sets.

Saturday 28 December 2019

'It's not just about resource management ...there's killing to be done...'

Dice Demon Steve's quote above is taken from our latest game with the excellent 'Seven Days to the River Rhine' (7D), heard while we were discussing the high and low points of the rules.

The quote is quite relevant in terms of the rules' propensity to make you think about the 'to and fro' nature of the game turn, as well as managing your command tokens, the nature of 'if you can see it, you can kill it' and the relevance of that theme on the modern (1980s) battlefield, and of course the relative ease of gameplay for what is, as Steiner puts it : 'a technically complex wargame period, made easy to manage (but not simplistic) with these rules'.

So, all the superlatives, bullsh*t and diatribe come together in a really enjoyable 1/144 (new scale) encounter between French Rapid Reaction forces, reinforced with West German Bundeswehr, trying to stop a local Soviet counterattack with two companies of tanks/infantry, supported by the now (in)famous 'Red Air'.


(Though it wasn't really the theme of this encounter, I did consider later how applicable these rules are to 'late' WWIII actions, where armour is scarce, and weapon systems are running dry ('I have two shots left with my Milan') - along the lines of 'Twilight 2000' or James Rouch's 'The Zone',  but just before survivors start eating each other...).


To action:
Again, thanks to Robust Steve (a different Steve ...I know, it gets confusing) for hospitality and Superb, I say again, Superb terrain - well lit with spotlights, highlighting a small town on the Franco German border.

Some shots of his terrain and setup to start with. And yes, 'Pylons Maketh the Map'.


We're on the French border? Is the Wine and Cheese at risk Gawdammit!!!


 The garage was particularly effective. I wanted to go in for some French cigarettes.


 Town at map centre - Soviet objective.
 
 Olive groves.

 The mobile crane that they hired to move these containers has scarpered and was last heard of offering assistance at the NATO refugee camps, lifting thousands of Portaloos (TM) into place.

 The house price has dropped considerably since there is a bloody war on.

 
Soviet left flank; this attack axis would prove pivotal.

Early moves on Attack Axis Left

Some probes in centre.

 Flowers still in their boxes in the ruins of Centreville.


 Steineritzen on the Soviet right, in a race to be the first to Paris.

West German armour in the shape of a Leopard I. If you can see it, you can hit it; if you can hit it, it's probably dead. This was very much the case with the mid range armour in evidence.

 Attack Axis Centre and Right.

 German armour does not last long.

 The rules allow good and proper use of Recon to yield dividends.

 Panhard acting up from cover.

 French APCs and support in evidence halting some Soviet moves, making them approach more cautiously (than the usual CHARRRGE!)

 Sov infantry gains cover, awaiting Attack Axis Left to be secured before crossing the road.

 The farm on the left would prove difficult to secure, while the Garage offered a lot of cover for Soviet maneuvering.


 A lot of Soviet armour means that the NATO forces would chance their arm in terms of taking long range shots.


 ...which yielded early results.

 Though of course, Red Air is never far away.


 MILANs are VERY dangerous however, though had some bad luck with their shooting early on.

 Sovs taking hits at the garage.

 ...while NATO armour takes losses it can ill afford amidst the cherry blossoms.


 ...the bridge in the NATO centre.

 Sovs using cover to maneuver in the centre.


 AttackAxis Right secured halfway up the board, with Steinerzitch pushing on, and on, and on...


 Objective Centreville on the left.

 The farm securely held by French armour and infantry.

 ...inflicting horrible losses on Attack Axis Left.

 ..which soon gets the balance of the reinforcements.

 ...and builds strength for an attack on Centreville.


 AMX30s reveal for shoot n scoot action, though come off worst.


 Sov forces 'liberate' Centreville in the name of the Workers (or some bullsh*t), and start to move in.


 ...provoking reaction from French forces at the farm...


 ...though there is just too much Sov armour, shooting accurately.

Jazz Hands.


 By game end, the situation was such that the Soviet right was in stalemate with Bundesweher forces, whilst the centre was ready for a thrust toward the town, with a sweep through and around the French held farm on the Sov left, which was unlikely to withstand the weight of Sov armour that was coming.

A great game again, with these excellent rules.

More to come in various scales I think...