And so to battle, and as usual, this one is 'picture heavy'...
The scenario is based on that outlined in 'Battles for the West Vol II' for the Panzergrenadier WWII rules by Dave Brown, as opposed to the wider scenario once available in Mark Bevis's 'WWII Battlezones' from 1989 (though maps from all books are shown at the very end).
Iron Cross is slimline and leaves a lot out - but any experienced wargamers can fill in the blanks.
The good stuff from the rules:
- The activation rules give a lot of tense action and drama.
- You MUST support your armour with infantry if you want it to survive.
- As with 7dtrr - there is a lot of detail missing - but that's a bonus for maintaining concentration on the game. Some of the more obvious issues are actually clarified in 7dttrr.
The bad stuff:
- Some of the missing rules - such as infantry assault techniques - make things a little one sided and/or alien in terms of understanding best tactics. Taking Stoumont became a shooting match rather than a protracted attack/counter-attack. But to put in additional assault rules would probably not help the ethos of the game. That said, there are some obvious omissions.
- There are so many markers - now granted I used luminous green puff balls and dice. Next time I'll opt for black tiddly-winks or something less obvious, but I ended up removing some of the green stuff before taking the latter pics.
- I think the successful management of the units/rules tapers off after 15-18 units. We had over 20 each in this instance, and though manageable, it meant that activations and switchovers were constant, and sometimes became a headache - while there was still a good stock/bank of command tokens to burn through. Although this ties in neatly with the spirit of the rules, it flies a little in the face of practicality - so perhaps a smaller scenario might have been more pertinent in this instance - or even a scaling up of the armour such that one model represented 3 vehicles etc.
I'll be putting a lot more pics from the actual Belgium trip up soon, as this one is positively draped with pics.
US units move toward the town.
...which is well defended.
The Tiger II rolls every time it moves. On a '6', it runs out of fuel and becomes a (relatively strong) well armed pillbox.
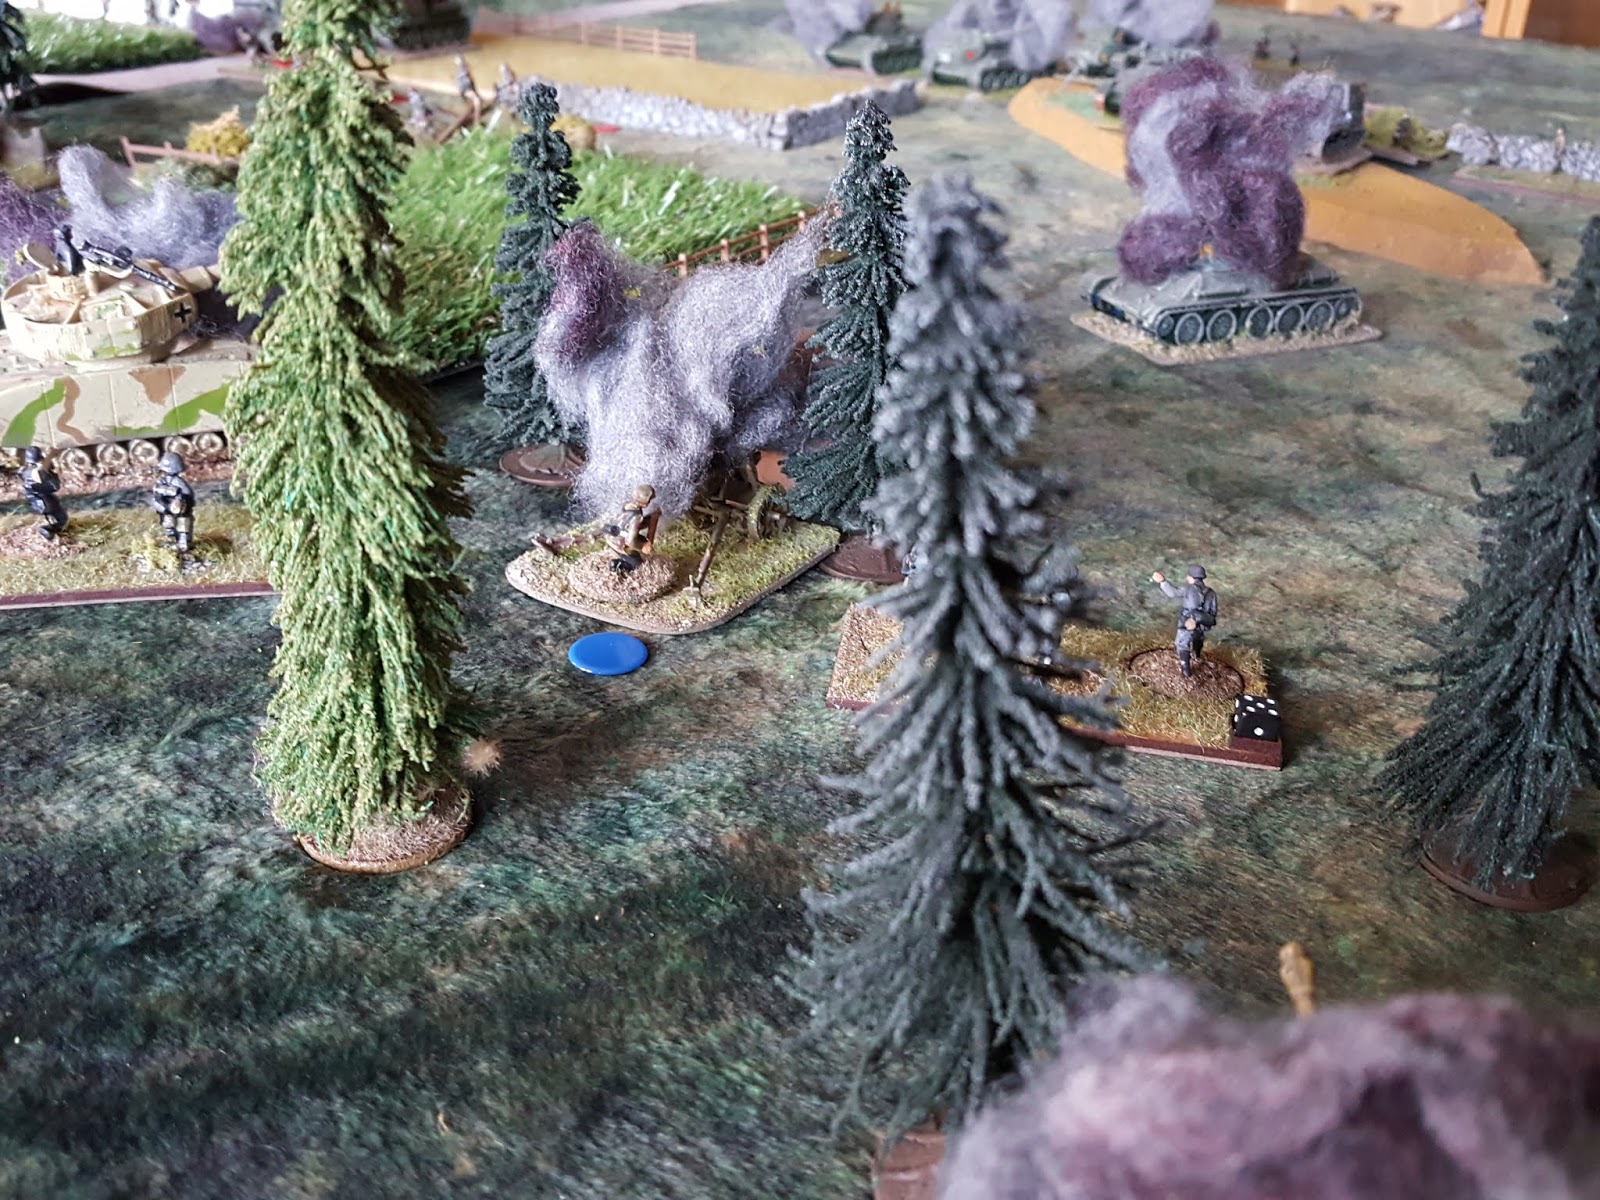
Panzer Grenadiers well positioned to respond to any incursion.
...with armoured support.
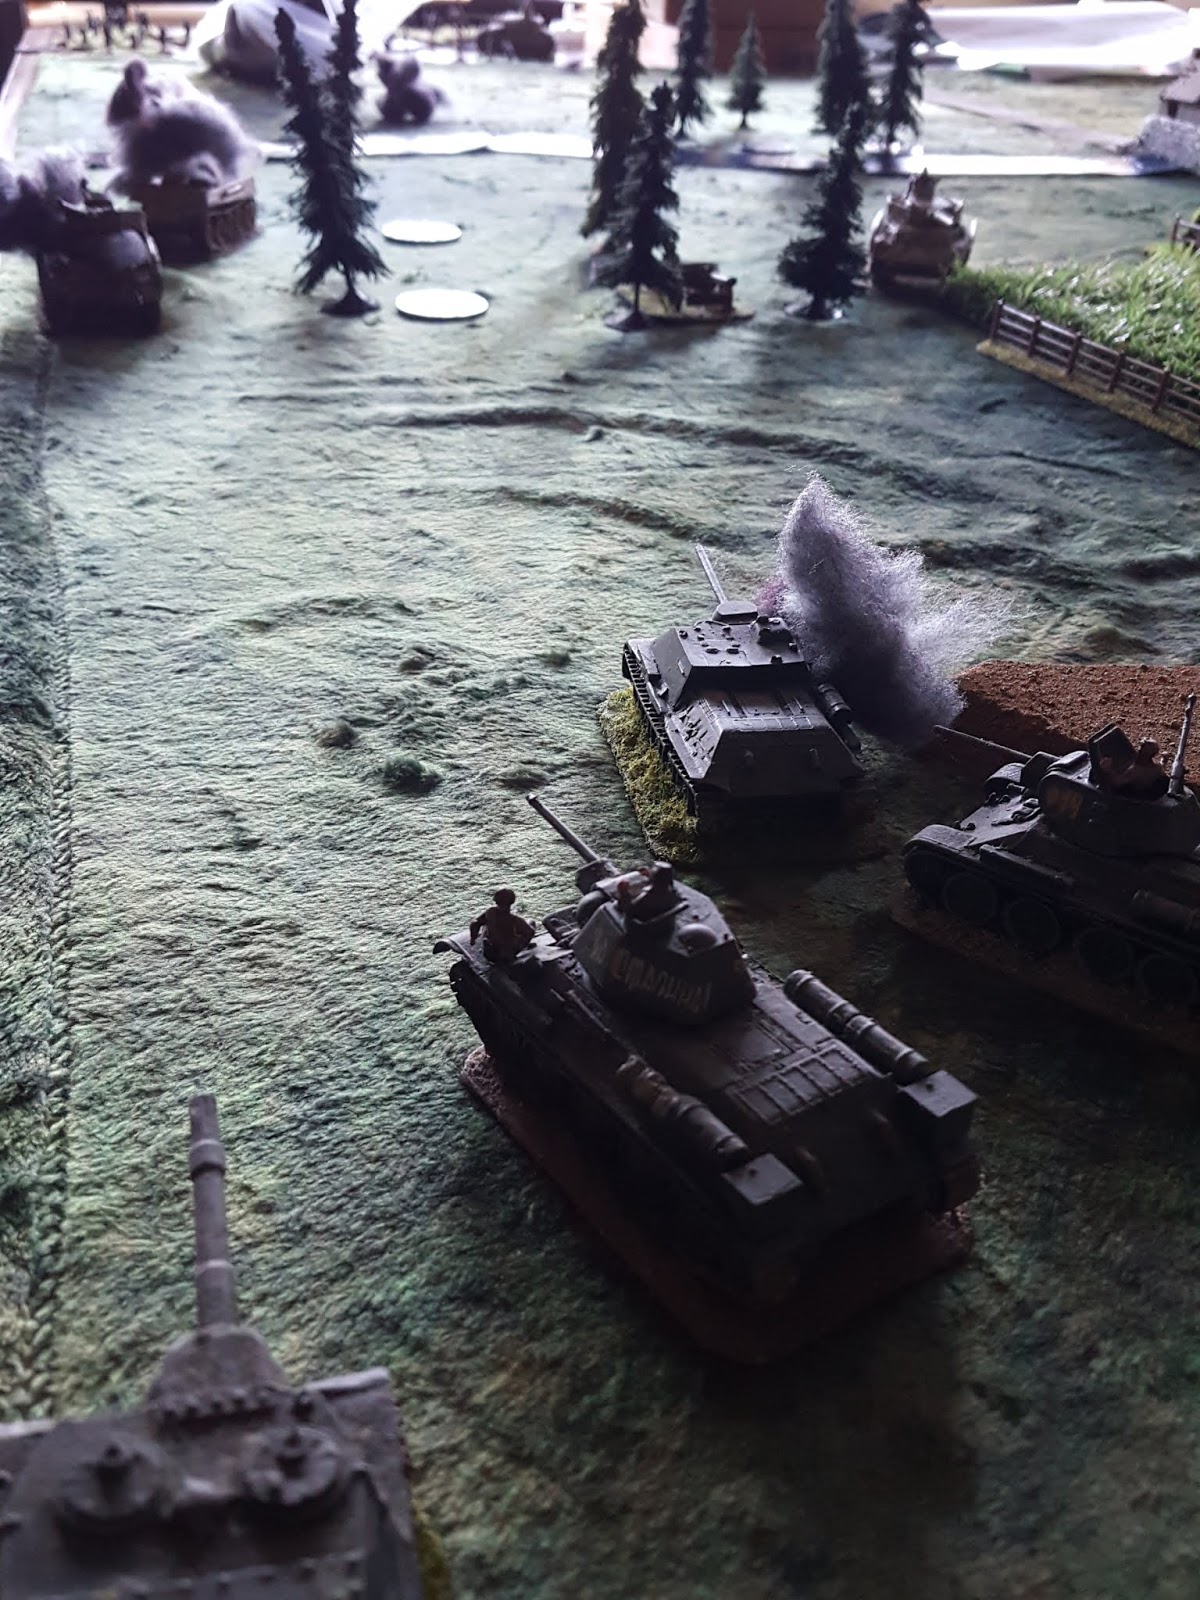
Early armoured assault on the US right.
...while some Panzer IV cover helps on the main road in.
'Sieben hundert meter! Feuer!'
The mad Panther decides to go on a repeatedly activated dash for the US flank.
Infantry dismounts are initially driven back by the volume of fire from the defenders.
...while an M10 and a Sherman 76 try to put a dent in the German flank. This was never going to end well...
(Had I mentioned that it wasn't going to end well?)
The Tiger tries a move...and runs out of fuel.
There's a lot of US infantry moving in on the flank, but it will take time for it to make a difference.
'Where the hell did that Panther come from?'
Command Tokens 'r' us
Getting things together in the centre, the US forces gather for an assault.
....though there is a certain problem on the flank.
On the US right, panzershrecks are making a mess, in addition to the Tiger and PzIV.
(The 3" bases worked well for infantry)
Additional US armour committed to the flank problem.
...while on the opposite flank, a company of US infantry is about to hit its objective.
Neatly timed with a massive assault in the centre. The Germans tried to react twice to this and failed.
It's a thin defensive line, as the Germans decide to concentrate their forces in the town, rather than outside. This would prove to be a critical error.
Panzergrenadiers race to the open flank, but it may be too late already.
...as that flank problem is resolved...
The US turn their right flank, concentrating more and more Bazooka fire on the stranded Tiger.
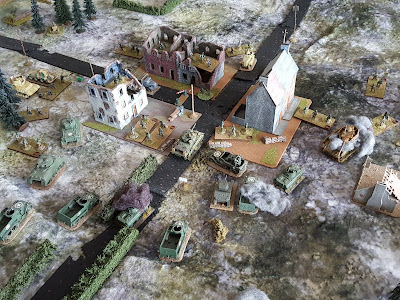
Attacks against Stoumont go in, are repulsed, and go in again.
Too much US infantry causing problems against the weak German flank.
German defenders withdraw from one town sector after the second US attack.
.50 Cals always help...
The Tiger II succumbs to sticky bombs and Bazooka fire...
German forces withdrawing fast from the rest of Stoumont, but they still hold the Sanitorium.
By this stage however, their break point is VERY close.
US forces finally secure the Sanitorium. Despite the Germans still holding part of the town, their break point has been reached, and they withdraw. A good game.
(Some reference maps)