Taking a scenario from the excellent 2007 Rapid Fire - 'Battle of the Bulge' book, we have Peiper's last stand at La Gleize, on the 23rd December, as he found himself forced back from Stoumont by US 30th Infantry and 3rd Armored, toward La Gleize.
The Rapid Fire scenario for this battle is massive - with a lot of Shermans - most of which are going to need the dark cotton wool...and lighting effects...
A vehicle heavy scenario, it's the sort of thing that the Rapid Fire rules excels at - in terms of fast moving Armour, supported by infantry, with troops trying to 'break in' to the enemy position, pushing that all important morale check which could make or break the opposing force.
 |
| Tiger...lurking |
Having said that though, RF does sometimes, through its attention to detail, have lots of table clutter in terms of vehicles or elements that we won't ever use; it strives to provide them in support of historical authenticity. Would it be rash of me to admit we normally bin these elements of the OOB, on both sides? (Extra HQ vehicles, I'm lookin' at you...)
 |
| The actual Tiger II in La Gleize - photographed during my 1999 (yes , last century) trip...still there I believe. Also recommend Mike Reynold's 'The Devil's Adjutant' as best single book in this regard, for full history of Peiper's advance... | |
 |
| I used the by now familiar - three figure stands to operate as an entire (normally 8 figure) RF company - using dice to record casualties, thereby making the morale check indication easy and more seamless to work out. |
The attack relies on three prongs of US advance, against a prepared German defender - although 'key' - Peiper's tanks are 'out of gas' (cites major flaw of the entire offensive) and can not move once positioned - which is absolutely a nail-biter for the German player (hehe).
 |
| Some 76mm HV Shermans in evidence on the road - and lots, and lots, of sandbagged armour |
 |
| The 'road in' - three avenues of advance against a tough defence Looking left to right - is east to west | |
 |
| The Germans also have hidden units, which although immobile, merely by their existence, create flanking shot after flanking shot |
 |
| Those in the town have their flanks protected, and dedicated kill zones. |
 |
| US advance to the west - popping smoke down on the Tiger 2 spotted in the street - the German initial reactive fire was truly terrible; the Americans were VERY lucky |
 |
| ...well, up to a point |
 |
| With luck on their side - the easterly advance scores BIG with the 76mm AP - taking out a critical panther |
 |
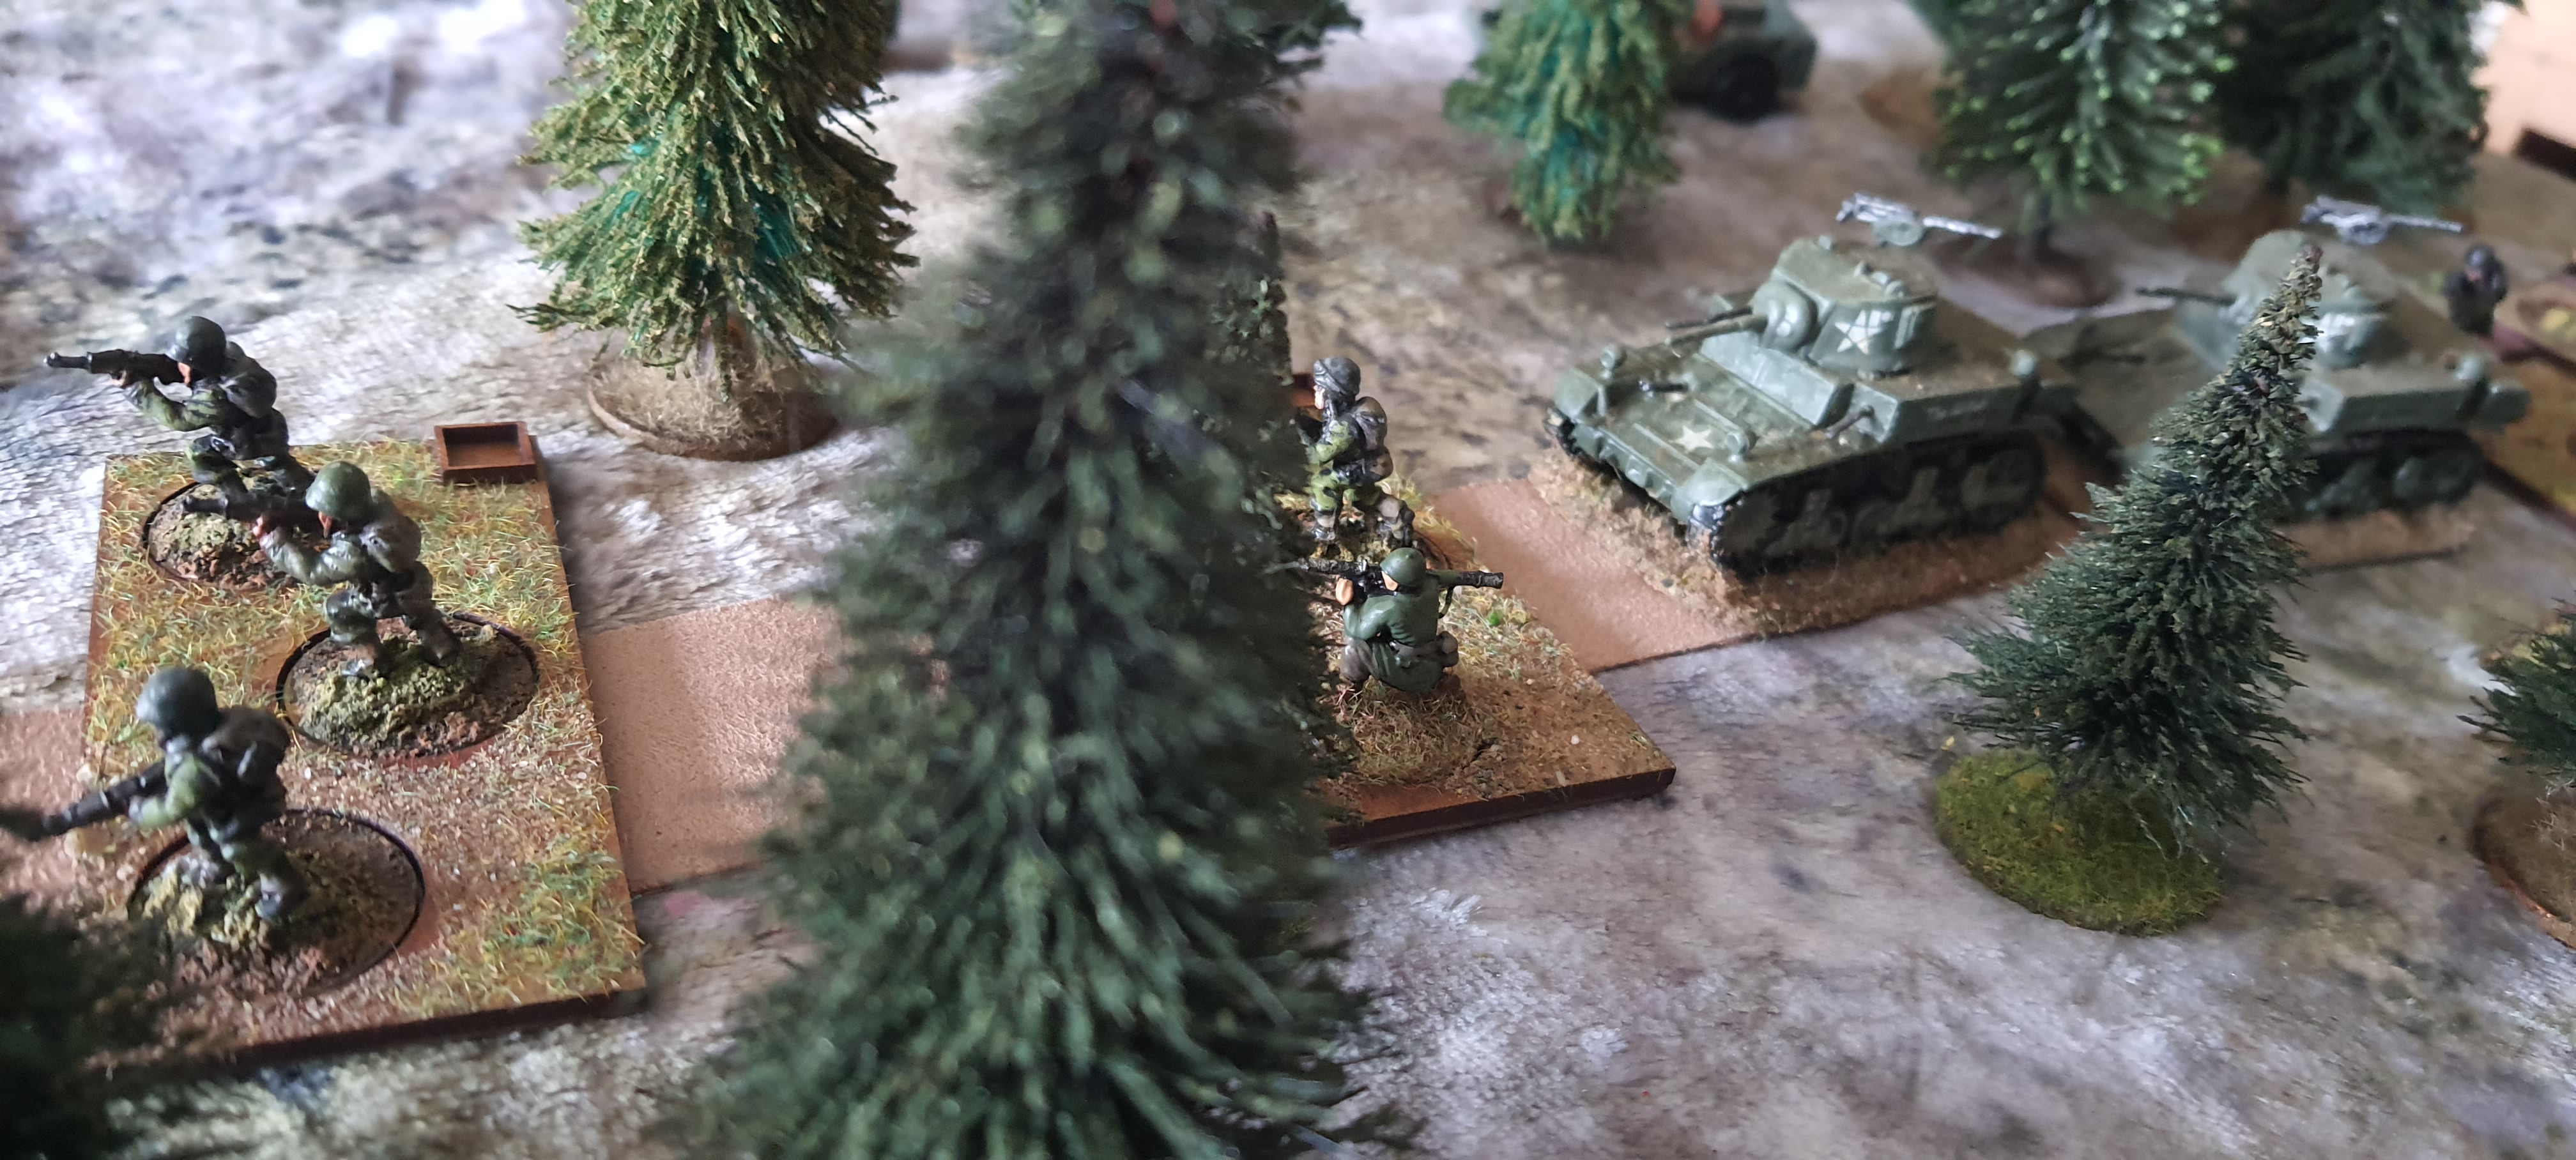
| To the northwest, US infantry start a massive forest battle |
 |
| Early attempts to drive into La Gleize itself |
 |
| While on the other side of the town, the US hit a minefield |
 |
| 'POP SMOKE! POP SMOKE!!' |
 |
| Good hits from anti-tank gun... |
 |
| ...taking out a covered Panzer IV - the US had all the lucky shots early on |
 |
| ...that is until the flankers opened up... |
 |
| The forest battle intensifies...that flanking Panther (above) could end up in serious trouble |
 |
| East and West attacks meet on the outskirts of the town |
 |
| By now, US infantry has broken into the town, and finding a target rich environment...the flank of the Tiger II |
 |
| The SP 155mm, operating over open sights, gave good account of itself. |
 |
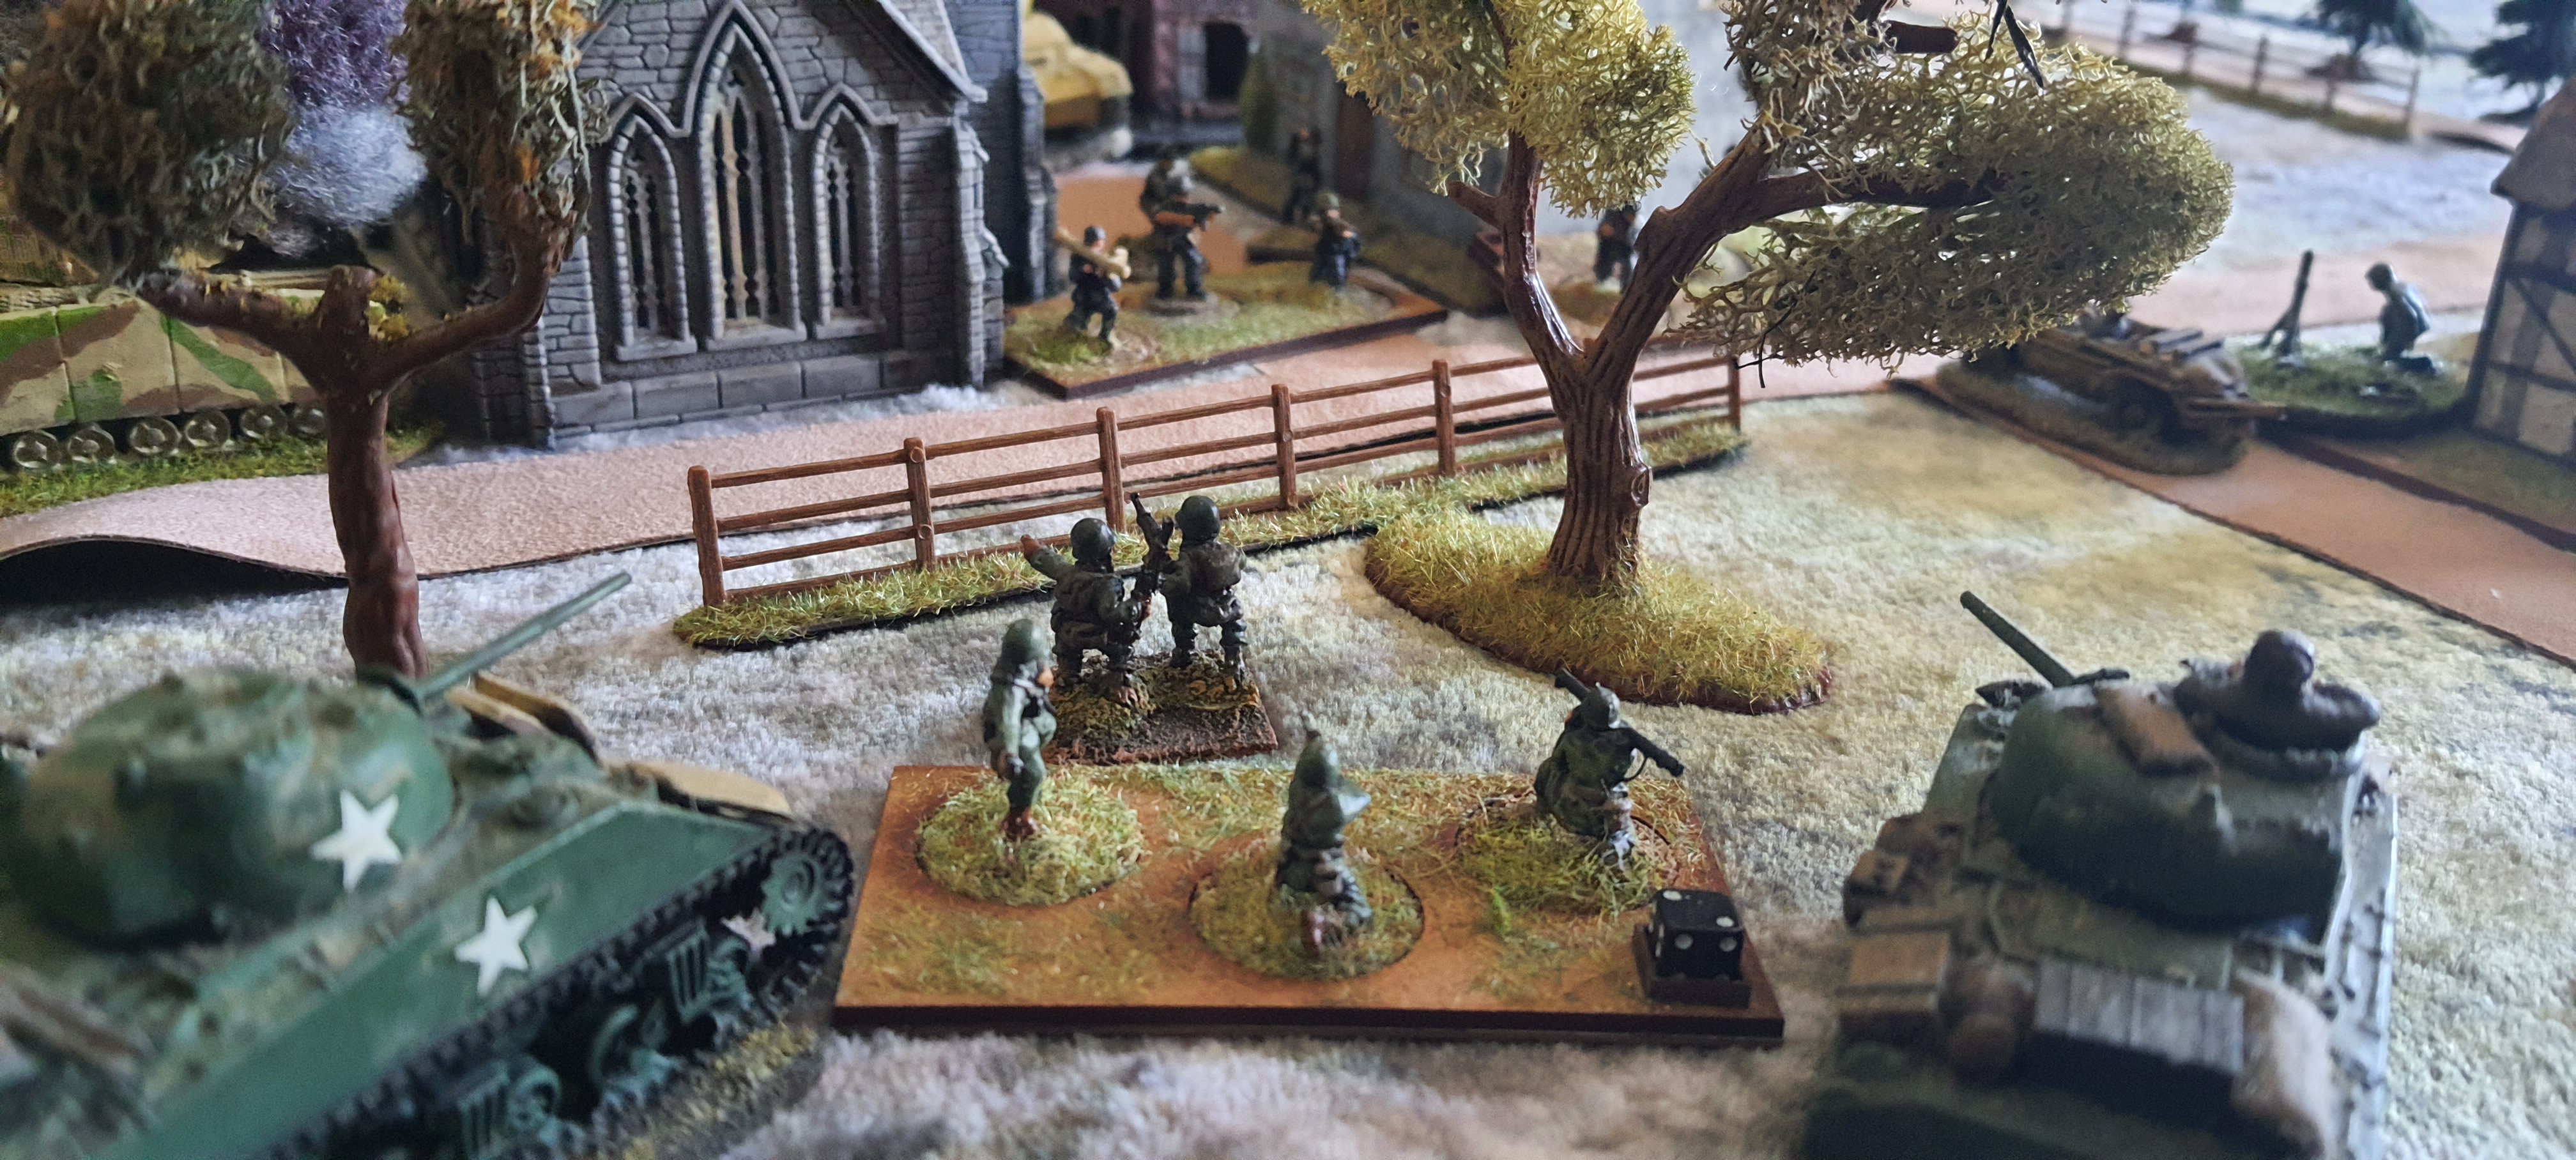
| North of the town now, and German defences are penetrated - infantry pouring into the area around the church |
 |
| ...with smoke and artillery support |
 |
| Assaulting the church - again US had the balance of the good rolls |
 |
| Germans move in the open, in an attempt to counter-attack and get destroyed by well observed US artillery |
 |
| US Armour now moving into La Gleize |
 |
| Though the Germans still have AA weapons that can make the infantry's life difficult |
 |
| Sherman 105 keeping the German Paras' heads down on the flank |
 |
| US reserves now in a position to charge the farm, though they are on the verge of a morale check.. |
 |
| ...speaking of which - so are the Germans in the town - the roll does not go well for them... |
 |
| All US attacks are now managing to converge on La Gleize and it's all over... |
A great game - and RF never lets us down.
Having said that - these rules may appear in our futures... ;)