Sunday, 2 November 2014

Game 23 - Walcourt, 1689

This scenario is straight out of the 'Pike and Shotte' adaptation of 'Black Powder'. The main reason behind doing this game was to gain some familiarity with these popular rules (there aren't that many differences between the two sets, bar obvious period concerns). The scenario itself makes a few changes re. the actual battle/history - which suits the figures I had anyway (Irish as allied troops in 1689 etc.).

Overall, the rules give a decent game - so we were less concerned with the actual history on this occasion, hoping to find a set of rules that could ultimately be used for the American War of Independence (Black Powder).

Of course, with our positive experience with Maurice, there had to be comparisons - good and bad. Main points of discussion that came to light included:


  • The Pike & Shotte / Black Powder rules are straight forward and lend themselves to using multiple players, unlike Maurice, which is pure player vs player (despite its attempts to be otherwise).
  • Although a good read over the rules is required, they are eminently 'pickup-able' with some classic mechanisms - including those (sometimes) unfortunate 'characteristic' style additions which have found their way from warhammer style rules. This is no surprise considering the authors involved of course. I say unfortunate, as these little advantages seem to get forgotten mid game, unless you have multiple players to remember the respective benefits and bonuses of their individual units.
  • I missed the card mechanic of Maurice; although the Black Powder rules have a command mechanism which can (and ultimately did) considerably restrict the freedom of movement of brigades and battalia and tried to restrict movement and command, it seemed more random than with Maurice - where most of the time your turn was based on resource management and the restrictions that go with it; a player could spend barrels of cards just to make one thing happen if desperate enough, at the expense of everything else. With Pike & Shotte, you face the blind luck of a command dice roll, with some modifiers - although a better commander will get to do more of what he wants.
  • Although appearing basic, hand to hand combat and charging takes longer, and is less intuitive, than Maurice.
  • One issue with Maurice sometimes is that it is so fast that units disappear very quickly, leaving an almost empty battlefield (see the Boyne game last year for instance) - but that's purely a visual issue. That doesn't happen with P&S, as mauled units can still stay on the table if they pass a break test.

Having said all that, it's still a decent set of rules and will require more testing/playing- especially so where the projected AWI games are concerned. Warlord Games also do excellent scenario books - something which is lacking for the Maurice rules.


And so to battle:

A nice linear battlefield. A lot of cover and an epic cavalry battle promised on the French right.


View from the French right. Dragoons, cavalry and elite guard cavalry will meet head on.

On the Allied right, early command points enable a triple move from the Irish contingent against the prepared defences at Walcourt.

View from a pub in Walcourt.

 In the centre, Allied dragoons, positioned unwisely perhaps, face off against three battalions of French dismounted dragoons.

 ...while the Irish remain too weak to assault the English units, and trade musketry.

 The French centre is strengthened by the presence of the Gardes Francais, and delayed arrival of allied reinforcements means that they have to attack quickly.

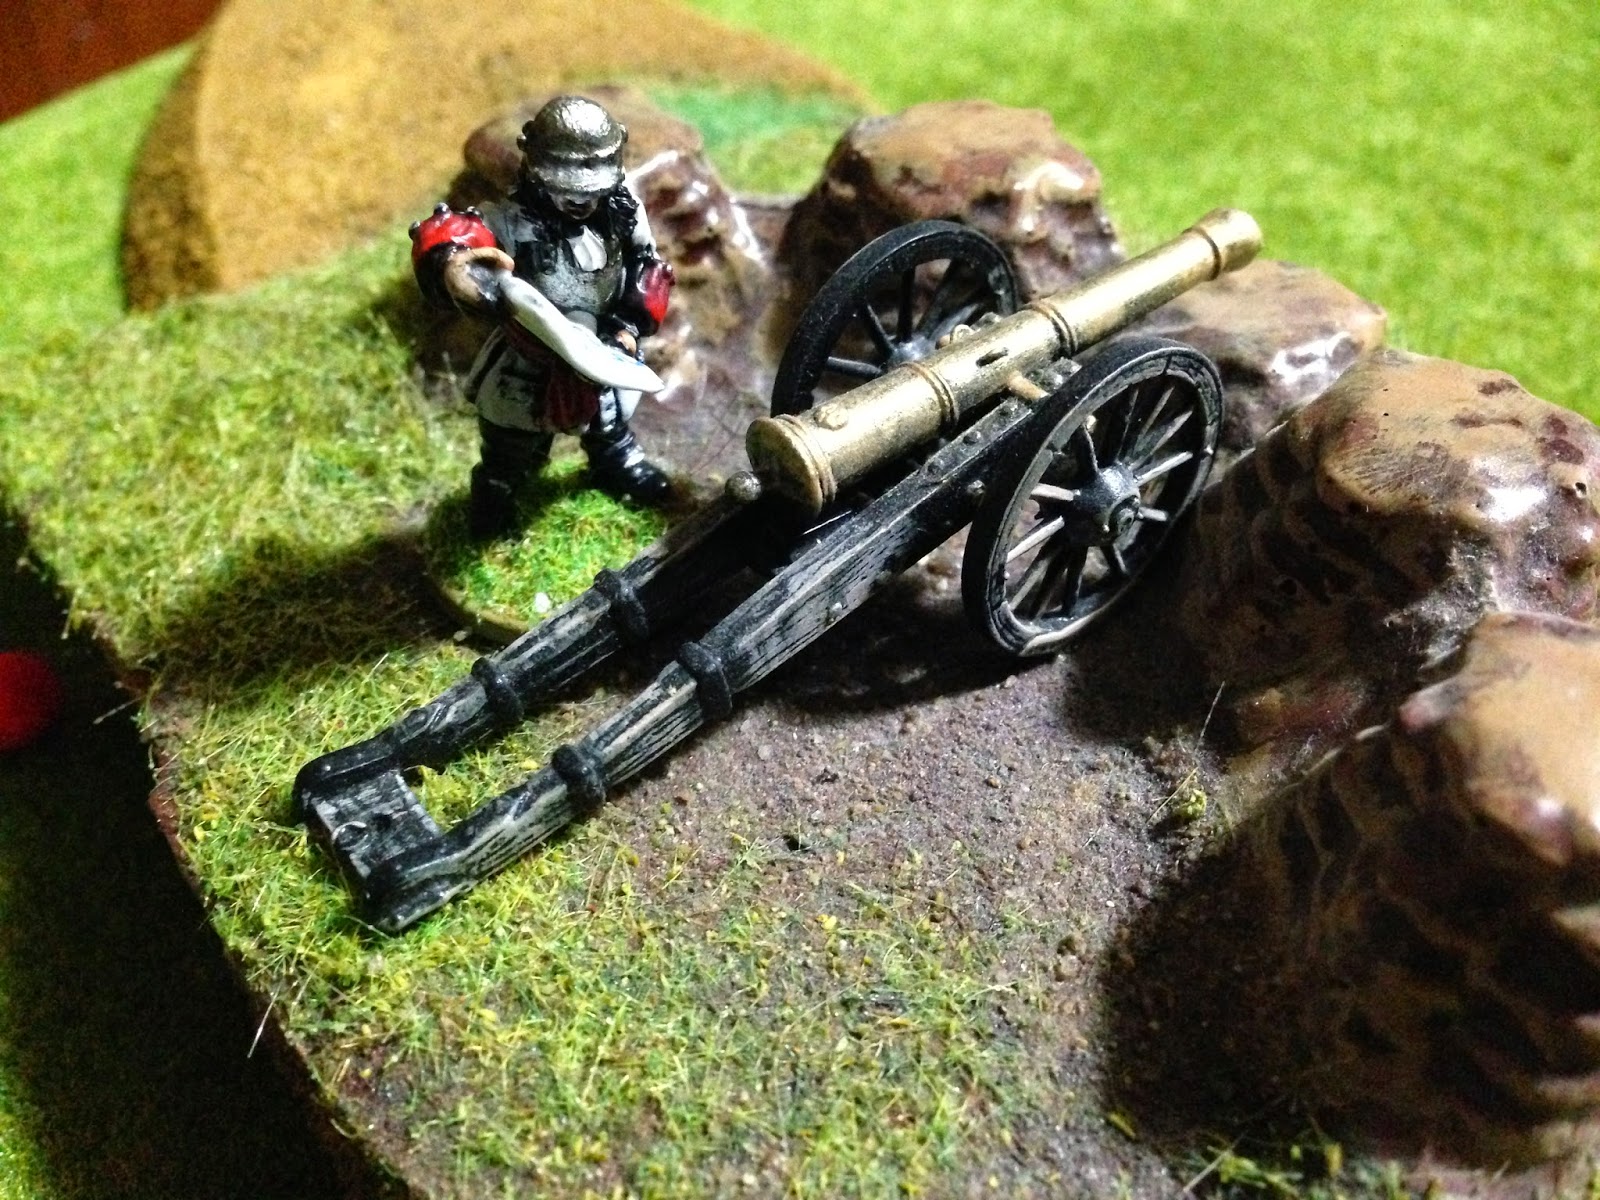
French gunners cease fire as the latest copy of 'The Sun' L'Equipe arrives.


 View from the Allied command position in the centre.

The French assault comes on, as the elite Dutch guards watch its approach. The French attack was considerably hampered by poor activation rolls, and it took many turns for it to get under way. In Maurice, the problems would have been different - in that sections of the battlefield would have remained static (but still using musketry) as the focus was placed where it needed (or could be managed) to be. With these rules, there's more of a random element in terms of where the commander can focus his attention.

French dragoons capture the church in the centre.

...while a massive French cavalry attack gets underway.


On the Allied right, covered English regiments give accurate fire toward the bogged down Irish.

Cavalry charges go on for many turns on the right. The victor will be able to turn the flank - but so many units are involved.


(We actually ran out of markers for casualties - it was becoming a bloody stalemate.)

...as on the French left - all that is left of a unit in the all too brief assault is a bunch of markers as it fails its break test.


The high water marks of the French attack are the ground taken in the centre...

...and the gloire of the Gardes Francais , (although they're about to be forced to take a break test due to withering fire from the Dutch).


We didn't get a proper resolution to the scenario (although it was definitely going the Allies' way), and the rules will need a little more testing before using again - but all in all, a nice set and not too restrictive - although the command activation could use a little development. Having said that, we've probably been swayed a lot by the battlefield management style play of Maurice.


...while American Revolution troops wait in the wings (yes - keen eyed viewers will note only one American unit painted so far. I'm considering using the 'dip' method for the rest in order to get things moving.) We'll most likely try the Freeman's Farm scenario in the Black Powder rulebook as the first game.

...until next time.

Sunday, 26 October 2014

Game 22 - Wireless Ridge, 1982

A little Falklands skirmish this time. Main reasoning for this was to test the Beta rules version of '3rd Generation Warfare' - a new modern warfare ruleset. The scenario is part of the pack.
 
One of the nicer elements of the rules is the action points system. Better commands get more points to do things with their various squad elements, while less effective platoons/companies are less useful as their points dry up quickly. You can move an element (twice) fire a number of times, or use multiple points for supporting fire etc.

The combat rules need a little work as they're quite clunky and table intensive, but these are a 'beta' after all.

We played the game again with FUBAR - another resounding success with a simple ruleset; fast flowing, intuitive, promoting crossfires and fire and movement to lend credence to the simplicity. Elegant and exciting are the watchwords here.

Anyway...to the pics!!!


 Argentine defences on the ridge, with British Armour making a dash around the flank.


My thanks to my work's car park for providing the basis for the stones used in the Falklands style 'natural rock' effect on the ground.(And yes, once again these are my ESCI 80s West Germans, painted as Israelis, representing Argentinian infantry today. Get the most out of your figures, I say ;).)


 Right - this is where it gets messy. Flanking action in place - but who told the Argies they could advance from their trenches into the  cover right in front of the British phaseline postion ;) ? Unexpected and bloomin' deadly mate!


We spent a while getting our head around the combat system, rolling one dice - rolling buckets of dice, trying every option and failing miserably to get to grips with how it's supposed to work - with one kill, a few suppressions, a scarper and brass piling up on the bloomin' moor.

We need a little more work on understanding the combat system, but the multiple actions on the basis of command effectiveness was really nice.


So - the attack recommenced with FUBAR.

A little advance on the British left, with accurate covering fire from the cover in the centre from B Section and the Scimitar.

 ...and another assault on the right. This one would be particularly bloody. It ain't easy chargin' bleedin' machine guns mate!

...and it never helps when the 'blahdy armour' fails its activation.


The Scimitar does come into its own eventually, accurately covering the desperate assaults against fixed Argentine positions.


There isn't much left as the Paras get into the Argentine position - defended now only by the remnants of the command element. 

Oh...hits from the British command element end the need for an assault, before it even gets a chance to ready itself.

A really, really close game. FUBAR can be used in many games and is always fast and decisive.


The game did prompt me to start thinking about my own rules based on some of the excellent things we're seeing with action points and with FUBAR - at a company/regimental level for WWII and Modern...hmmm, thinking...thinking.


Sunday, 5 October 2014

Game 21 - Brecourt Manor, June 1944

As promised, here's our first AAR using the FUBAR rules. A little WWII action which has been discussed, dissected, written about, lectured upon, filmed, gamed and otherwise gone over countless times.

As for the rules:
  • The FUBAR rules use alternate activations - with the chance of being able to do something based on the quality of the troops. That quality, in turn, also affects the ability to hit, AND (key) to take suppressions over 'kills'.
  • The player retains initiative as long as he keeps successfully activating. Once he fails, initiative passes.
  • Better quality troops take supressions easily before casualties, worse troops take more kills.
  • This game was deliberately designed to test the gulf between 'elite' and 'green' troops in terms of how much of the initiative the elites could hold, and for how long.
  • In failing their activation roll, an element can still go into overwatch mode.

Lt. Winter's famous assault on the guns at Brecourt Manor remains one of textbook actions of the war - so rather than dwell on what we have all read about, let's get to the action - with rules interpretation to follow at the end.

The US player has 4 assault teams, with 2 30 cal MGs acting independantly - hence six possible activations. The US Paras were classed as Elite.

The German artillerymen and MMG crews had six units - classed as Green. Reinforcements were classed as Seasoned.

"Let's go! Let's go! Follow me."


The big advantage of activating in any sequence is that covering fire can suppress while you make your move. Obvious, but clearly outlined, and bizarrely simple within these rules. Of course, it's made easier with elite troops.


 Covering fire from the MGs...oops, initiative shift on a '1'.

There's a lot of trench still to cover, though that doesn't stop a German squad abandoning their position in order to do a little flanking work.

The first gun is taken. "TNT!"

30 cal cover makes the difference between effective counterattack and keeping heads down.

...effectively neutralising all but one of the defenders, as the assault group's first close attack goes in.


With two guns taken, third squad of the assault group switches from covering fire to movement, although this does leave it open the overwatch fire from the MMG position in the HQ.

 German reinforcements move to the trench, but are caught in the open.

Another close assault on the MMG position after weakening it with the base of fire. Some close die rolling here, though the elite status of the Paras pays dividends.

 Second gun blown, moving to the third gun.

With three guns blown and MGs and covering fire controlling German movement, most of the assault team moves back behind the hedgerow, using the initiative to move to the end of the trenchline.


Four guns blown. Time to bug out.


Truth be told, the 'green' vs 'elite' status of the troops was a bit of a gamebreaker, though it does become clear how difficult the command choices would be if the forces had been a little more balanced.

Several BIG advantages to these rules.

  • The system is simple and the activation requires little thought. The rules do not get in the way and do not require page flicking (there is one page).
  • They are infinitely adaptable to scale and level - including upscaling for battalion level.
  • The interplay between initiative shifting between each player could be nailbiting with more equal forces. Command choices must be made on the spur of the moment, yet covering fire and a 'form' of plan really works.
  • Large squads attract fire and become harder to co-ordinate. That said, if you can corner smaller elements with flanking fire and covering fire, you can wipe them out.

Further thoughts...
  • There is no strict morale rule, so the troops that ran from the trenches in 'Band of Brothers' didn't happen, though one could argue that they are absorbed into the casualty and suppression rolls.
  • These rules accurately allow for regular vs amateur troops. I can see 'Blackhawk Down' scenarios working well. Trained troops could hold their own against masses - but time would be running out relatively quickly.
  • Blue on Red style scenarios work too, though I can see that initiative would flow back and forth - a good thing of course.
For free one page rules, these save time and effort - yet with nothing lost in our opinion. Much development to follow here.