Sunday, 20 October 2013

Game 13 - Battle of the Boyne 1690

It has taken a little time to get things together here, though the game proved to be worth it. I had been increasingly worried that Maurice would be unable to handle the number of units, the comparative size of the game, or that it would become bogged down with minutiae. In the end, the rules flowed smoothly. In fact, some of the 'mad' (and increasingly lucky in terms of dice rolls ;)) Jacobite cavalry charges, devastated much of the allied lines, although these opportunistic actions were made all the easier through the allies sticking their neck out a little with absolutely no cavalry support. (Did I hear someone say 'practically begging to be flanked'?).


There was also agreement beforehand that two C in Cs would be used on each side, mainly due to the number of units and the prospect of the game bogging down. This meant that a number of slight rule changes were in effect.

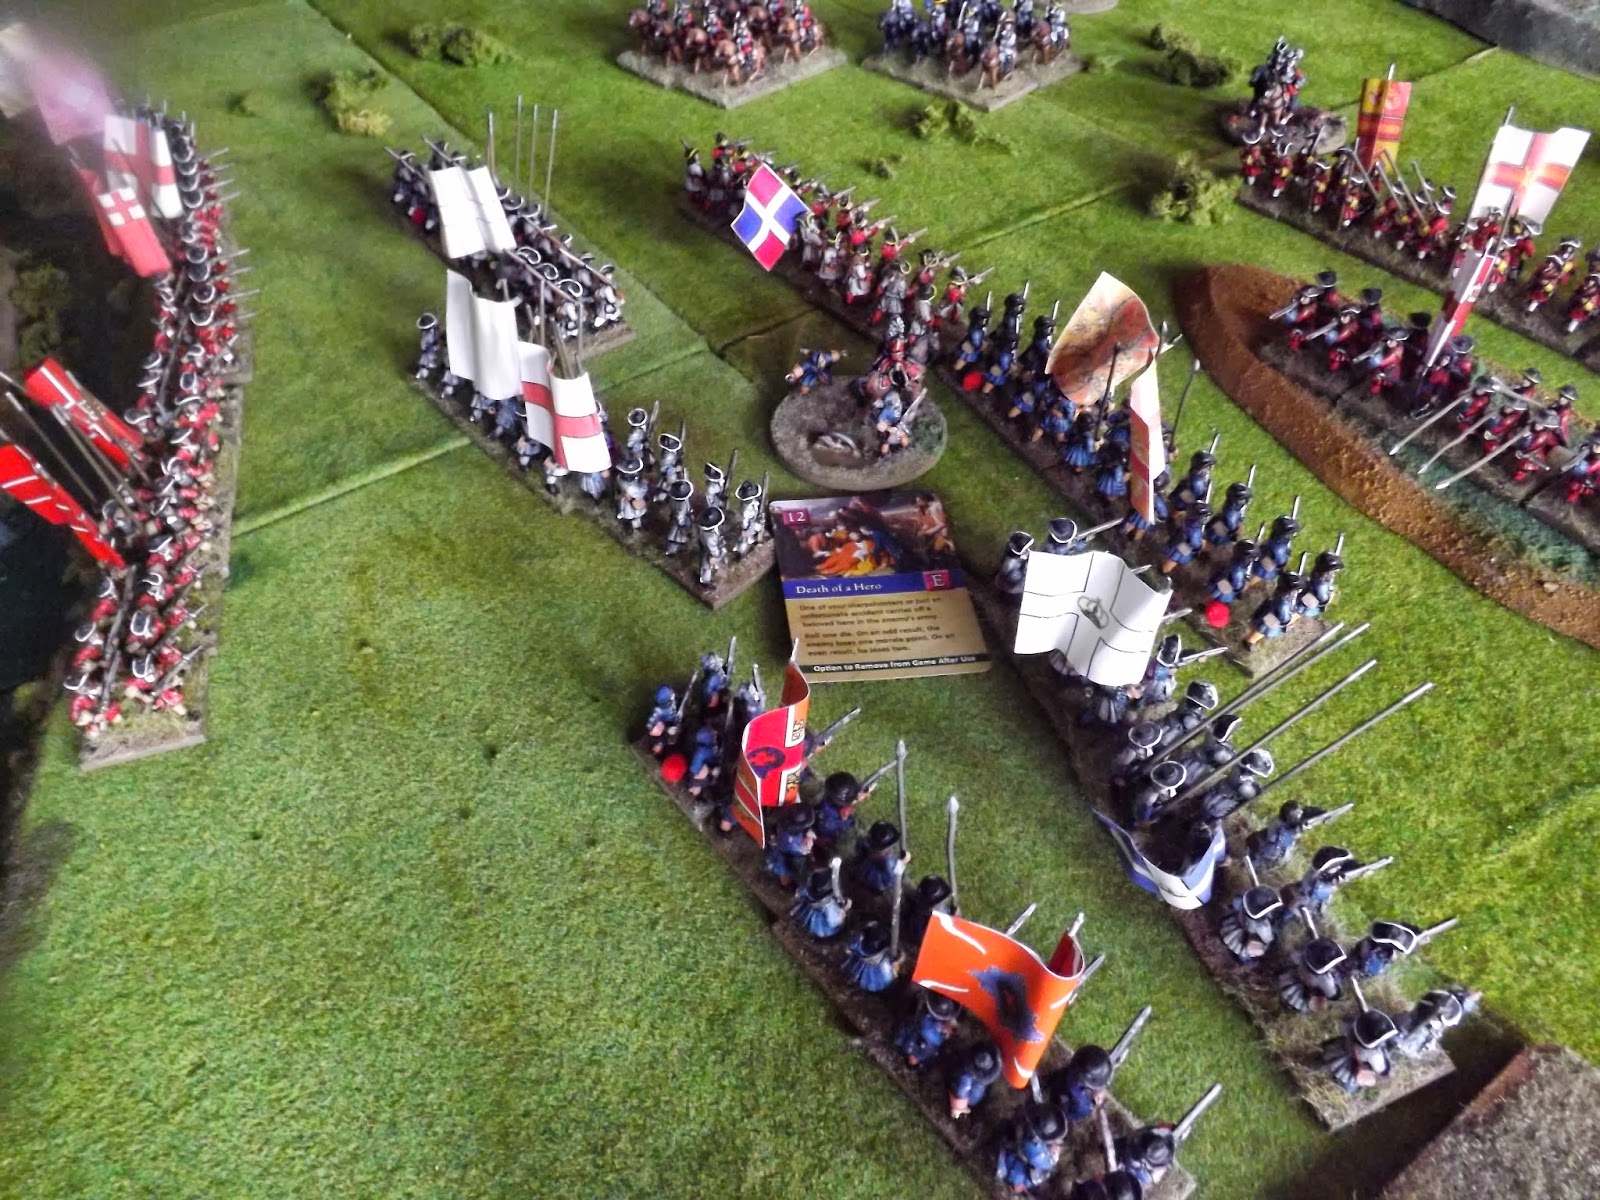
(1) The 'Death of a Hero' card could be used to remove a General if he were within 4BWs of battle. This would remove him from the game and permit only the other C in C to command. The card could only be used once per side. (This would have dire consequences and be eerily accurate).

(2) Although there were two C in Cs, the number of card draws remained the same. In essence, the only change here was the addition of a second command 'centre of gravity'. This consideration was mainly focused on the number of reinforcements that would be available and to avoid any sense of bogging down the game due to the number of units.

(3) Troops could wheel and assemble as they reached the other side of the river (otherwise, there was no room for them to wheel in terms of the scale).


And so to battle:

The Jacobite starting positions in front of Donore hill. Elite cavalry and dragoons bolstered by...raw infantry for the most part.


The Dutch elite Gardes de Voet cross the Boyne heading for Oldbridge, and Clanricarde's raw troops. Luckily, James's own guard units are close by.


The Jacobites in Oldbridge bend...


...then break as platoon firing and a handy 'Confusion' card push them from their covered position in Oldbridge, and accurate fire finishes them off.


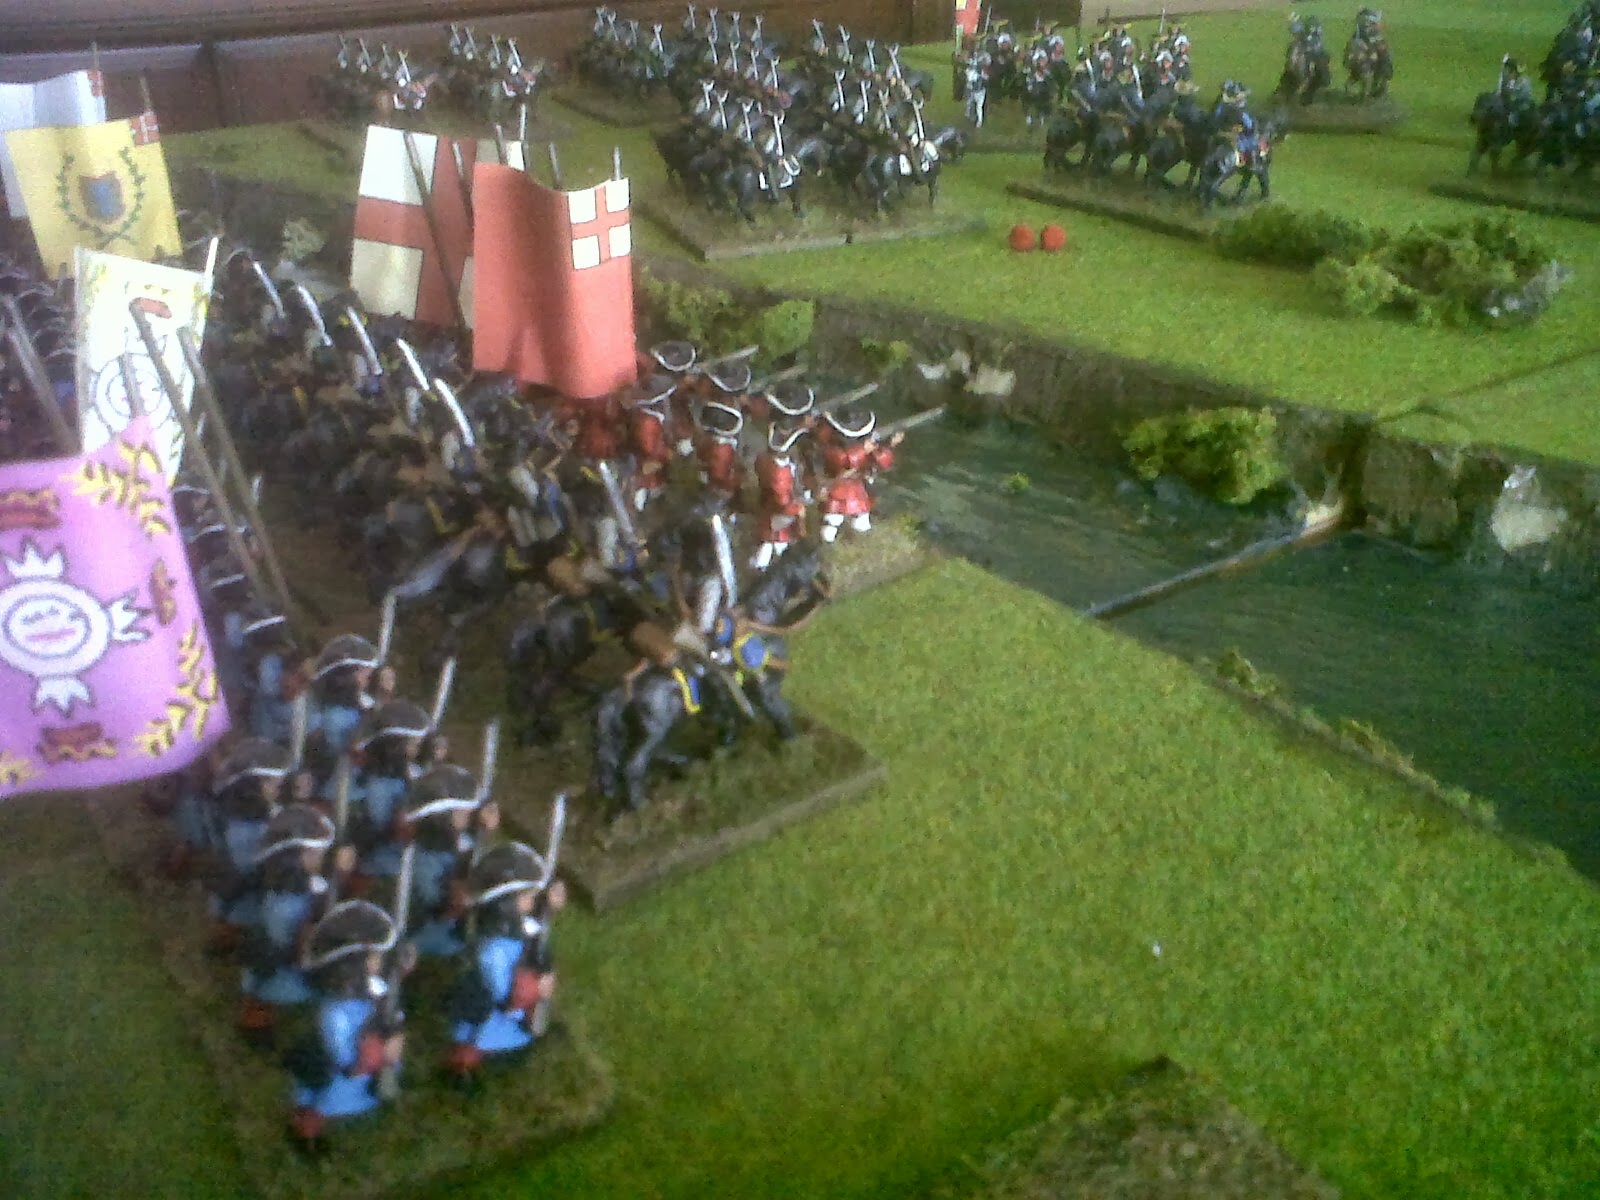
Allied reinforcements in the shape of French Hugenot and Northern Irish troops are delayed through rough going, while Jacobite cavalry moves menacingly close to the river.


It is only a delay to the inevitable however, as the first reinforcements cross the river, joined by Schomberg.


 ...straight into the jaws of elite cavalry charges. Gaps in the line mean that a Guards regiment is flanked early on in the confusion and broken. Cries of desperation along the allied line (well, from the player anyway).


Canny card play and the effect of massed muskets however will force the cavalry back.

As yet more Dutch and English reinforcements make ready to cross. The Jacobite infantry have remained relatively unengaged as the allied infantry deflects the blows of the cavalry.


 As English and Dutch troops successfully cross the river and the Allies push deeper, Schomberg, apparently in the thick of the action, is killed by a stray musketball.

Leaving William to coordinate the army.


The allies have some success on their right against the trained guard units, though one remains.

As Danish reinforcements start to ford the river, Dutch and allied cavalry waits their turn. Things look bleak for the Jacobites, unless they do something rash of course. 


  The Jacobite infantry holds on, despite withering fire.


 ...as the cavalry moves to the flank. Are they hoping to quell the Danes and Dutch at the river?


Despite what it looks like, the allies move their left flank, just in time for the massed cavalry charge.


By this time, Richard Hamilton is starting to run out of infantry to inspire, and moves to support the cavalry.


 ...who dramatically disrupt the Dutch and Northern Irish units as the flank melts away, and the charge goes on.


Not without cost, as the allies start to consolidate, Hamilton leads the cavalry on.

But the Jacobite morale is on the verge of collapse.


Hamilton's string of impetuous charges strikes the next Northern Irish and English regiments after he uses his 'notable' bonus to rally the almost shattered cavalry...


...and the charges destroy the integrity of unit after unit, though his cavalry become further weakened.


Despite the use of multiple advantageous cards, Jacobite morale is almost shattered, with only two points left. Having said that, with thousands of men running to the rear, allied morale was even taking a battering.

Final accurate platoon firing from the rallied Gardes de Voet puts and end to Hamilton's almost decisive action however, as the Jacobites roll poorly for morale due to losses, and flee the field.

 At game end, there are few units left on the field, and the Danish will be moving to reinforce, with massed cavalry just behind them.


We could probably call this a draw in terms of comparison against actual events. This was mainly caused by Hamilton's last minute success, the fact that the allies had to deal with it rather than focus on getting reinforcements across the river and the length of time that the Jacobites were able to hang on without being forced to Donore Hill.

The turning point was the death of Schomberg. Had the allies been able to retain two command radii, they would, as the Jacobites were able to, command a wide range of troop movement and thus bring troops across the river with more fluidity. As it was, one remaining C in C proved decisive in terms of where the allies could centre their attention.

One could argue that this is a flaw with the rules. I don't think so. Let's look at what happened historically. Schomberg was killed, there was utter confusion in the allied attack at times, the Jacobite charges were successful in terms of delaying the advance and significant numbers of allied troops were mauled and the pursuit was flawed (although historians have argued the real reasons for that). Granted, the flanking actions did not really happen, though we can see the price paid here was due to allied inattention to their position.

In other words, I still love the rules.

Next up? More Maurice or ...Modern Spearhead is beginning to call...or more Snappy Nappy...*sigh*...need more hours in the day dammit!

Sunday, 29 September 2013

The Boyne - Order of Battle ...and yet more Table Prep

Most modern works have more accurately attempted to pin down the order of battle at the Boyne and certainly more than when I had attempted a previous refight a decade ago. I've used both Padraig Lenihan's and Michael McNally's more modern works, amongst others,  in this regard.

I've opted to use two commanders and two notables and experiment with multiple card draws, since this battle will have in excess of 30 units on the table at one stage. Maurice is not exactly designed for this, but let's see how we go with the experiment.


Ignoring those portions of the army staring each other out at Roughgrange, at Oldbridge and the Donore area we have:

Jacobite Forces

Commanders - Tyrconnel & Berwick
Notables - Hamilton & Sheldon

Infantry

1st Battalion James's Foot Guards (south of Oldbridge)
2nd Battalion James's Foot Guards (south of Oldbridge)
Clanricarde's Regt of Foot (at Oldbridge)
Antrim's Regt of Foot (south-west of Oldbridge)
Boisseleau's Regt of Foot (probably two battalions - south west of Oldbridge)

Cavalry (from west to east around Donore hill)
James's Life Guards
Tyrconnel's Horse
Sutherland's Horse
Parker's Horse

Clare's Dragoons
Dongan's Dragoons


Williamite Forces

Commanders - William and Schomberg
Notables - Wurttemburg

Dutch Gardes te Voet (2-3 Battalions) (cross at 10am toward Oldbridge)
Hugenot Regts (De la Melioniere, Caillemotte, Cambon)
Hanmer's Regt of Foot
Nassau etc. Regt of Foot (one Dutch Battalion)
Brandenburg Regt of Foot  (one Dutch Battalion)
Mitchelbourne's Londonderry Regt of Foot (Possible second with St.John)
Hamilton's Enniskillen Regt of Foot
Tiffin's Enniskillen Regt of Foot

The Danish Brigade (was eight battalions - four will be on table)
The Dutch Brigade (represented by a further six horse units on table - Ginkel's etc.)

Note: This discounts much of the available Dutch infantry that would otherwise be available in the latter stages. These would sit outside both the scope of the game and the army morale levels and their introduction late in the battle would not have an immediate effect i.e. the card deck refresh will already have been played, and the scale of the Jacobite retreat will be evident - in other words, the role of the Jacobite player is to seek to improve upon the historical result of the infantry delaying action and the elite Jacobite cavalry charges by the time the retreat to Donore Hill is played out.

In order to replicate much of the differences in morale between units, the following ratings will be used:

Jacobites
Guard units - regular
Infantry - conscript (reflects lack of training and matchlock over flintlock availability)
Cavalry - all elite on the day


Williamites
Guard Units - elite
Infantry - regular, Hugenot units lack pikes but do not get the improved firing dice
Cavalry - regular
Danish units - will most likely make these elite to reflect increasing numbers and pressure on eastern side of river in absence of additional regiments. This might also reflect their resilience to cavalry (be it with bayonet or the ubiquitous chevaux de frise).

Some shots of the setup to date. PVA is still drying on the river (simpler than getting yacht varnish), most of the units are on the field of battle (so that I can dust off and catalogue) and Oldbridge has made an appearance at last - sparse of buildings I know, but I need to get units inside so that helps. Another report (or perhaps even the battle) soon.


Saturday, 14 September 2013

The Boyne - Table Prep

Despite pressure to break from playing Maurice, we have resisted!!! And so, to a somewhat larger battle.

I have fought the Battle of the Boyne in 28mm before, back in 2001 using the Wargames Holiday Centre rules (then printed in a far less glossy Wargames Illustrated). The thought of using Maurice, with the various card management mechanics is quite exciting for a battle on this scale, though that could present a problem when we consider the size and relative flow of the previous battles. To that end, we'll be using some of the regimental options and indeed, notables (Schomberg, Wurtenburg and Berwick, Hamilton etc. who will of course have a foot and cavalry figure to symbolise his daring (or should that be darting) on the day).

This should help spread the load a little in terms of available troops and prevent the local attack and rally 'bottlenecks' halting the rest of the battle. It is critical for instance, that the momentum of the Williamite attack be kept up with ford crossings etc. while the charges of the Jacobite cavalry again and again, be wholly represented in some manner.


As we can see though, there will be some work to do first. My terrain boards have suffered a house move, storage, movement, re-storage and the weight of a world war II book collection in the last twelve years, and so need a bit of work - especially to the river sections. I also seem to have lost the hills and ridges that I had at the time. There is also a large body of newer work which I'll be looking at again prior to the game (Padraig Lenihan's 2003 book for instance - which needs a close re-read).

At the time of the original game, my map was based on Beresford Ellis's The Boyne Water (1976). Although it does suffer a little from its age and absence of certain sources, it still remains a great read and that damned map is forever etched on my brain as I tried to work out scales. My battlefield is the 2x1 mile rectangle marked out on it as I tried to interpret just what I was going to fight. I love this map.


With 4' to 1 mile, or 5280 yards, an infantry battalion at 7.5 inches (5 x 1.5" squares) wide works out at 825 yards wide to scale, which is a little much depending on whether you like 2 paces or 3 between files in a late seventeenth century infantry battalion (see Nosworthy and Graham's work on this) and would mean dropping my 5 base units to 3 or 4 base units. That said, the difference is marginal on a large table and there's plenty of space to get the larger units fighting so it shouldn't affect the rules too much.

I would be keen to go with 3 base units when I do Aughrim (but only because I don't have enough figures HA).

Of course, as with any Boyne refight, we're ignoring James's massive flanking debacle to the west which made things a little easier for William on the day.

So, some scenery touch-up, figures to dust off, hills to find...oh yes, and I have to build Oldbridge again, damn.

Friday, 30 August 2013

Painting Table Recon...DON'T PANIC!

'Sir, I regret to inform that the content of this damned painting table shows no planning, or desire to get anything finished...it's a bloody shambles Sir!'


'Tis true, I must confess.

With talk of doing a Charlie Company campaign with a larger group of players, the partly painted 'Figures Armour Artillery' Vietnam figures (I think...though there are a few Platoon 20 relics in there too)  that I got in the '90s - now no longer available(?) - have pushed their way past troops for the Boyne refight, 15mm 7 Years War French, and even my 25mm AWI British.

If I were a painting factory, I'd probably be as far from 'lean' manufacturing as you can get *sigh*


Keep calm...and carry on...or something like that.


Sunday, 18 August 2013

Game 12 - Crom Castle 1689


This battle is fictional with an OOB developed from (1) the forces that were (mostly) available in Ireland in 1689 and (2) the Jacobite strategy that was discussed at the Jacobite Parliament in Dublin in May, with regard to sending a force to deal with the raids on Jacobite forces and logistics emanating from Enniskillen. We’ve looked at the actual battle which resulted from that last time. On this occasion, we’re making a few more assumptions.

The day before the Enniskilleners and Lord Mountcashel’s force met at Newtownbutler, he had attacked Crom Castle. The original Crom Castle (as opposed to the current one, built in the 19th century), or at least the remnant of it, was well defended by Abraham Creighton’s men. This had been the second siege, as Lord Galmoy had threatened it earlier in the year with his dragoons/troops. Neither attempt to take the stronghold could be considered a siege in the classical sense, and on both occasions, Creighton’s troops were able to fend off any attempt to take the place (though Mountcashel’s effort with three infantry battalions and cannon was the more serious effort of the two).

Our assumptions for this fictional encounter therefore were:


(1)    Mountcashel was substantially reinforced in the latter part of July with infantry and dragoons from Sarsfield and Berwick (as had been promised but never actually happened) and guns and further infantry from Sutherland.
(2)    Wolseley had not only arrived early from the ships sent to relieve Londonderry, and rallied the Enniskillen troops, but had also brought two English regiments and cannon to help garrison the fort.
(3)    Wolseley had left Enniskillen a day or so before he actually did.

What this all means is that we have two larger forces than we had at Newtownbutler, and both are well reinforced with Irish/English troops and cavalry.

The idea behind this of course was to further test out the Maurice rules in a larger scenario.
All infantry fire was modified for matchlock and presence of pike elements within the battalion.
All cavalry charges were modified for the presence of pikes within the infantry block (this made a real difference).

Other points of note for a larger battle:
(1)    The command range can have a really detrimental effect on your command cards, as you have to spend more and more resource as your troops disappear into melee, until you move closer.
(2)    Cavalry can sit and stare at each other (perhaps trading shots and not charging) until it recovers. This all takes time and removes the focus from other areas of the battlefield. Really excellent for matching the period (Sarsfield at Aughrim for instance).
(3)    Musketry is random and deadly and can break a regiment well before its time if the troops are poorly disciplined.
(4)    You can get pinned on a flank, worn down, while the opponent pulls a surprise move elsewhere on the battlefield, but you are left with no resource in terms of cards and may have to ‘pass’ to get more, letting your opponent retain the initiative. We found that this initiative/momentum changed several times throughout the game. Excellent stuff and very reminiscent of the journals and historical records.


The remains of the original Crom Castle today - sixteen miles from Enniskillen and part of a large estate.

 And so to battle:


The defender's setup. Having opted to position troops outside the castle, Wolseley has positioned his artillery (what there was of it) in fixed positions within the castle. Guns didn't move too much once deployed in the late seventeenth century.


A cavalry clash on the Jacobite right as they send their elite cavalry and (not so elite) dragoons into the fray, hoping to turn a flank and exploit it. The Enniskillener horse suffers badly and is routed through receiving too many disruptions. The English regiments on the flank are forced to wheel and defend the integrity of the whole position. Activity was centred here for several turns.


With a new flank formed, and Enniskilleners moving from the centre to reinforce it, the infantry on the Jacobite right begins its attack. The action was important here for several more turns, with both commanders focused on the outcome, leaving cavalry and infantry on the flanks, staring at each other without command. The Jacobites had failed to exploit their flank action, though it would have meant charging straight into the English regiments, who were well trained to repel them.


Mountcashel's regiment and a guards regiment lead the assault on the covered position outside the castle. Musketry takes its toll, but the Jacobite decision to charge home proves fatal. (Maurice is very unforgiving in this regard, as it should be.)


 The situation on the attacker's right remains quiet, though additional infantry are moving through the woods toward the English flank.


A cavalry action on the left, with charge after charge, is unresolved until the end of the game.

The right too could still be fought over, though there are too many other issues with the attack for Lord Mountcashel to focus here.

A breakthrough of sorts, as an Enniskillener regiment routs.

 But the attacker's momentum in the centre could not hold, and the attack is stalled, with only a single Enniskillener regiment left defending the line. A final assault on the Jacobite right also proved fatal, as massed English pikes broke the dragoons and the cavalry was decimated.

We ended the game at that point. Though army morale on both sides was low, the Jacobites simply had no more infantry left with which to occupy the position.

A great set of rules, with a result within 2-3 hours.


Monday, 12 August 2013

Game 11 - Newtownbutler 1689

I admit, it's been a while since the last game, but the Maurice rules have made it worth the wait.

Some immediate observations though:

1. The game makes nice use of card activation and events which can mean that (really) unforeseen events pop out of nowhere. For a quasi fictional wargame campaign, this is wonderful, and probably lends itself to tales of the 'best laid plans' rarely panning out. When trying to refight a historical battle, it's a distinctly double edged sword, where events can be uncannily accurate while others can have little place on the actual battlefield. That's not a criticism of the rules though, which are very free flowing.

2. I used the adjustment for pikes listed in the rules, which makes musketry a bit less useful, cavalry a
little more brittle and charges a lot more effective if they come off, though of course melee is very risky. Makes for a great game though.

3. Newtownbutler had very little room for maneuver as a narrow raised 'causeway' and marshy ground (which allowed infantry to pass but not cavalry) characterised the approach. This meant that the approach and immediate battlefield was 'somewhat 'squeezed', thus leaving the Enniskillener commander with many headaches.

4. Following that - the rules lend themselves to flanking and maneuver though are heavily restrictive on what the active player can do in a turn. If you like being able to do everything with all your troops, prepare to be disappointed. This is a real military resource management system, which to me makes perfect sense when we consider many of the historical sources.

5. I was really concerned that there weren't enough units to do the rules justice. Yes, I can see how more units would create a larger command headache, but I still got a real feel for how the system works. Larger 9YW or AWI battles would be real epics, especially where very different troop qualities are thrown into the mix. I'm not sure how one would retain the drama in multi player games, though there are guidelines for it.

6. Some of the cards allow real player vs player interaction, where the bonuses used by one player for charging are wiped out by a defensive card, or the hope of firing first is disrupted by the enemy firing first because of a card play. Makes for exciting and very unpredictable games. Of course, any true old schooler who wants to busy himself counting up modifiers and having a sore head may not like this. I won't ever desert the simplicity of Volley & Bayonet though this is a different type of game.


The rough OOBs from last time were used. In the actual battle, Wolseley's Enniskillers encountered the swampy bogland (which was impassable to cavalry), the only access for horses being the narrow causeway toward the high ground. This was defended with Mountcashel's cannon. The Enniskillen troops charged across the bog with infantry - toward the high ground where Mountcashel had assembled his troops. Mountcashel's men got off a few vollies, though could not slow the charge.

When the Enniskilleners reached the guns at the base of the hill, they quickly disabled them, allowing their cavalry to charge in column along the causeway. Melee on the hill and close range vollies ensued, with the Jacobite troops coming off worst. First, their dragoons (who had been bloodied earlier at the Lisnaskea skirmish) broke, then the infantry (mostly conscripts) began to falter. With the advance of the Enniskillener cavalry, the Jacobies routed, leaving only Mountcashel's troops to fight a losing battle. The rest fled into the surrounding bogland, though very few escaped with their lives.

The Enniskillen accounts (Hamilton and McCarmick) also describe the detachment of the pike elements from each battalion, so that they would not slow down the matchlock elements during the charge across the bogland. I tried to mimic this in the game. There was no real effect on frontages in terms of mechanics and the Maurice rules do grant bonuses to those with and without pikes during the early part of the game's period, so, a nice touch.

Mountcashel himself was captured and taken to Ennikillen, though would escape later in the year and get to Dublin, where he would be enlisted by the French to lead the Irish regiments in the French army in mainland Europe, until his death in 1694. Wolseley would go on to fight with the Enniskilleners at both the Boyne and Aughrim, before his death in 1697.


And so to battle:


In comparison with earlier games, the battlefield was certainly a little sparse. Enniskillen troops, having been ambushed outside Newtown(butler), have passed through the town and are making for the Jacobite position on the hill at Sandholes. (In reality, there is a large ridge between town and hill, but it makes little difference in game terms).


The requirement for cards can take up a little space on the table. 25mm in use today, although with 15mm figures and a 6'x4', these would be quite unobtrusive. Having said that, the cards are almost a game in themselves and a welcome addition to the table. I've placed a few in the pics that follow. That's purely for effect as they don't need to be left amidst the figures.


The Enniskillen troops start to close on the Jacobite position...


 ...straight into the sights of King James's artillery detachment.


The first cards start to appear, affecting hit chances and general mechanics. 'Well laid guns' increase the chance to hit,


while 'find the way' allows the Enniskillen infantry to move across the bog without incurring disruptions (uncannily accurate),


...while 'that's not on the map' makes one area of it impassable - HA! (Granted, for a historical refight, this makes it less historical, but this is what makes campaign games unpredictable).


 As the Enniskilleners charge the guns (which had little effect), they are slowed on their left flank, and encounter a fresh battalion.

 
 ...or perhaps not so fresh, as it breaks when charged (bad dice rolls) and the Jacobites are forced to commit their dragoons/cavalry to their left flank. (This reduces army morale based on a dice roll. The commander needs to keep a close eye on this as the entire army can fracture and run).


More cards help with charges and melee. The cards tend to focus the commander's attention. There may be a grand plan, though it's destined to change as the situation remains fluid. The Enniskilleners charge over the guns in the centre toward Mountcashel's own battalion, with their cavalry behind them on the causeway.


 Repeated vollies in the centre, and the threat of Clare's regiment outflanking them, force the Enniskillen troops to shift position (they have a lot of disruptions and rallying attempts would slow the momentum). They are replaced with a cavalry charge.

 
 Finally, the Enniskillen left flank is moving, though the Jacobite centre is solid.


 Some nice cardplay allowed the Jacobite player to move an Enniskillen battalion in line for a cavalry charge, just as it was about to hit the rear of Clare's battalion. Total chaos! HA!

 
Another example of card/counter-card play, as one bonus to stop the charge is outweighed by another which gives it a bonus.


 Finally, in the centre, after mounting pressure from Enniskillen cavalry with the Jacobite cavalry failing to engage in force, Mountcashel's regiment breaks. It's enough to reduce their army morale to breaking point, and the army withdraws.


Maurice is unpredictable, exciting and gives a great game. There is little old school feel to it, though that of course is a good thing in certain instances. Having scanned the campaign rules and the notables/characters involved, a campaign would write itself and remain fluid and entertaining. I will look at these again with a 1690 Irish campaign in mind. Very nice indeed.



Saturday, 13 July 2013

Newtownbutler 1689 - Orders of Battle

Using the research and OOBs from the books mentioned in the previous post, I've constructed two forces for the game:

Lord Mountcashel's Jacobite Troops

Justin MacCarthy, the newly made Lord Mountcashel, was a very experienced soldier having served in England before the Popish Plot, France with the Irish regiments there and even Denmark. He had been given the task of ending the threat from the Enniskillen garrison, which had spent time gathering forces since Tyrconnel's purges and who had been, through their raiding actions, providing problems for Jacobite logistics while most of the fledgling Irish army was engaged at the siege of Londonderry.

The grander strategy that had been discussed at the May 1689 Dublin Parliament, had involved using Berwick and Patrick Sarsfield's troops in conjunction with Mountcashel's movement from the south. Sarsfield and Berwick had both fought smaller Enniskillener detachments in the previous months. Berwick had even achieved a victory of sorts at Cornegrade Castle. There would be no link up of the three armies however, and Mountcashel would be forced to fight alone.

There are varying historical records with regard to numbers, so we'll just field the regiments present for 'Maurice' with more detail when we try out other rulesets.

Mountcashel's Regiment
Mountcashel's own troops. Detailed in the Jacobite Narrative and the works of French ambasssador D'Avaux and Former Lord Lt. Ormonde, this would have had between 450 and 600 men. Of all the regiments, it would have been the best led, best trained and possibly the most experienced - therefore regular. Greater numbers are suggested in other sources.

Bophin's Regiment
John Burke's (Lord Bophin's) had 13 companies though records suggest that it was undermanned. There is some historical discussion of conscript troops being added to the muster as Mountcashel moved north. Classed as Poor or Inexperienced troops.

Clare's regiment
Daniel O'Brien's (Lord Clare's) infantry regim,ent. Again classed as Poor - though Major Marigny, a French envoy, was present here. Again inexperienced.

Cotter's Dragoons
Recorded as having around 360 men. These would have been classed as regular.

Clare's Dragoons
Recorded as having had 450 men. At least part of the force of dragoons was mauled at the Lisnaskea ambush earlier in the day with Anthony Hamilton. One regiment will be classed as Poor therefore.

Artillery
D'Avaux records 4 artillery pieces -classed as small field pieces, though sources suggest less. We'll use one gun model here - regular.


The Enniskillen Garrison

Led (literally for days) by William Wolseley, who arrived with Kirke's Londonderry relief force, the Enniskillen garriosn had been raiding and fighting for months and can be classed as a mix of regular and a few elites.

Col. Tiffin's Battalion of Foot
5-6 companies

Wynne's Dragoons
2 troops

Wolseley's Foot (main body)
9-11 companies

Berry's Horse
8 troops of cavalry
(Berry had conducted the earlier ambush at Lisnaskea where Anthony Hamilton had been caught napping)

Major Stone's Horse
8 troops of cavalry


More on the battlefield and prep next time. One unusual facet of the Enniskillen sources is that the Enniskillen regiments leave their pike element 'behind' when they move over swampy ground on foot. This is understandable since the ground in question was impassable to cavalry on the day. More on this, and how we will simulate it, next time. (We might even get the game in LOL).