Sunday, 26 October 2014

Game 22 - Wireless Ridge, 1982

A little Falklands skirmish this time. Main reasoning for this was to test the Beta rules version of '3rd Generation Warfare' - a new modern warfare ruleset. The scenario is part of the pack.
 
One of the nicer elements of the rules is the action points system. Better commands get more points to do things with their various squad elements, while less effective platoons/companies are less useful as their points dry up quickly. You can move an element (twice) fire a number of times, or use multiple points for supporting fire etc.

The combat rules need a little work as they're quite clunky and table intensive, but these are a 'beta' after all.

We played the game again with FUBAR - another resounding success with a simple ruleset; fast flowing, intuitive, promoting crossfires and fire and movement to lend credence to the simplicity. Elegant and exciting are the watchwords here.

Anyway...to the pics!!!


 Argentine defences on the ridge, with British Armour making a dash around the flank.


My thanks to my work's car park for providing the basis for the stones used in the Falklands style 'natural rock' effect on the ground.(And yes, once again these are my ESCI 80s West Germans, painted as Israelis, representing Argentinian infantry today. Get the most out of your figures, I say ;).)


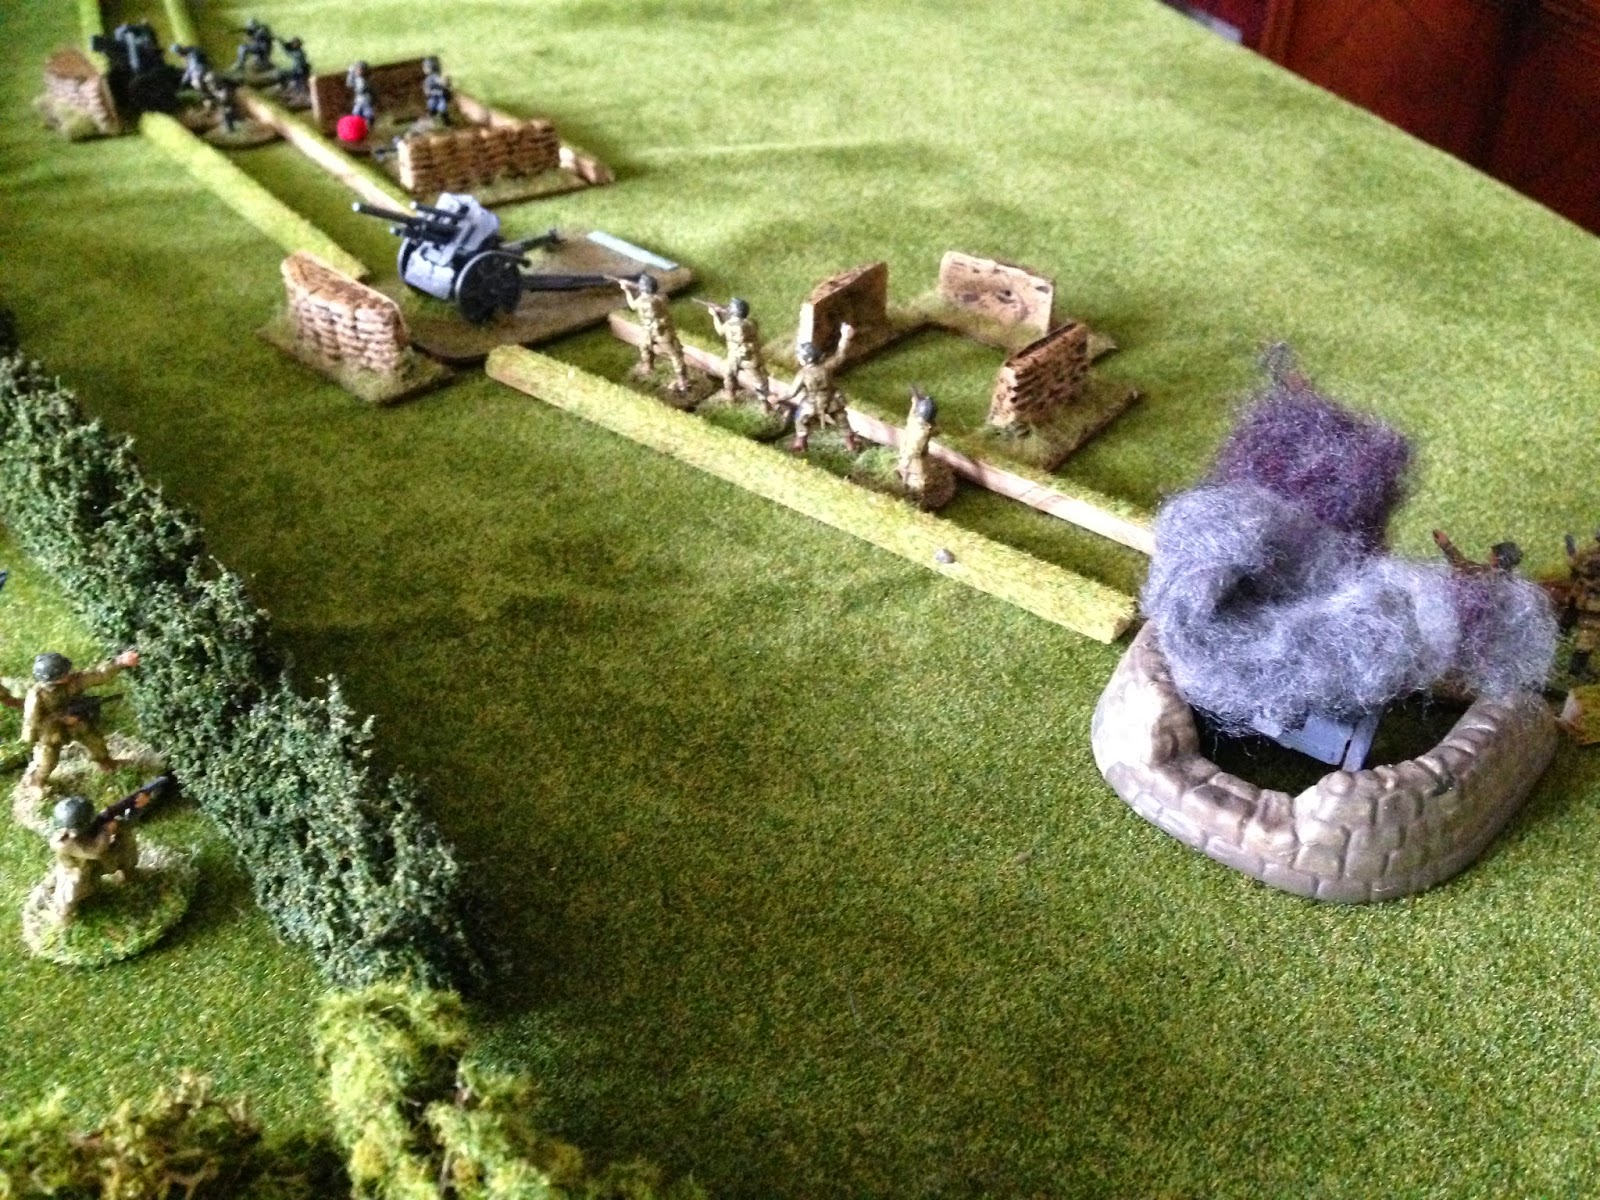
 Right - this is where it gets messy. Flanking action in place - but who told the Argies they could advance from their trenches into the  cover right in front of the British phaseline postion ;) ? Unexpected and bloomin' deadly mate!


We spent a while getting our head around the combat system, rolling one dice - rolling buckets of dice, trying every option and failing miserably to get to grips with how it's supposed to work - with one kill, a few suppressions, a scarper and brass piling up on the bloomin' moor.

We need a little more work on understanding the combat system, but the multiple actions on the basis of command effectiveness was really nice.


So - the attack recommenced with FUBAR.

A little advance on the British left, with accurate covering fire from the cover in the centre from B Section and the Scimitar.

 ...and another assault on the right. This one would be particularly bloody. It ain't easy chargin' bleedin' machine guns mate!

...and it never helps when the 'blahdy armour' fails its activation.


The Scimitar does come into its own eventually, accurately covering the desperate assaults against fixed Argentine positions.


There isn't much left as the Paras get into the Argentine position - defended now only by the remnants of the command element. 

Oh...hits from the British command element end the need for an assault, before it even gets a chance to ready itself.

A really, really close game. FUBAR can be used in many games and is always fast and decisive.


The game did prompt me to start thinking about my own rules based on some of the excellent things we're seeing with action points and with FUBAR - at a company/regimental level for WWII and Modern...hmmm, thinking...thinking.


Sunday, 5 October 2014

Game 21 - Brecourt Manor, June 1944

As promised, here's our first AAR using the FUBAR rules. A little WWII action which has been discussed, dissected, written about, lectured upon, filmed, gamed and otherwise gone over countless times.

As for the rules:
  • The FUBAR rules use alternate activations - with the chance of being able to do something based on the quality of the troops. That quality, in turn, also affects the ability to hit, AND (key) to take suppressions over 'kills'.
  • The player retains initiative as long as he keeps successfully activating. Once he fails, initiative passes.
  • Better quality troops take supressions easily before casualties, worse troops take more kills.
  • This game was deliberately designed to test the gulf between 'elite' and 'green' troops in terms of how much of the initiative the elites could hold, and for how long.
  • In failing their activation roll, an element can still go into overwatch mode.

Lt. Winter's famous assault on the guns at Brecourt Manor remains one of textbook actions of the war - so rather than dwell on what we have all read about, let's get to the action - with rules interpretation to follow at the end.

The US player has 4 assault teams, with 2 30 cal MGs acting independantly - hence six possible activations. The US Paras were classed as Elite.

The German artillerymen and MMG crews had six units - classed as Green. Reinforcements were classed as Seasoned.

"Let's go! Let's go! Follow me."


The big advantage of activating in any sequence is that covering fire can suppress while you make your move. Obvious, but clearly outlined, and bizarrely simple within these rules. Of course, it's made easier with elite troops.


 Covering fire from the MGs...oops, initiative shift on a '1'.

There's a lot of trench still to cover, though that doesn't stop a German squad abandoning their position in order to do a little flanking work.

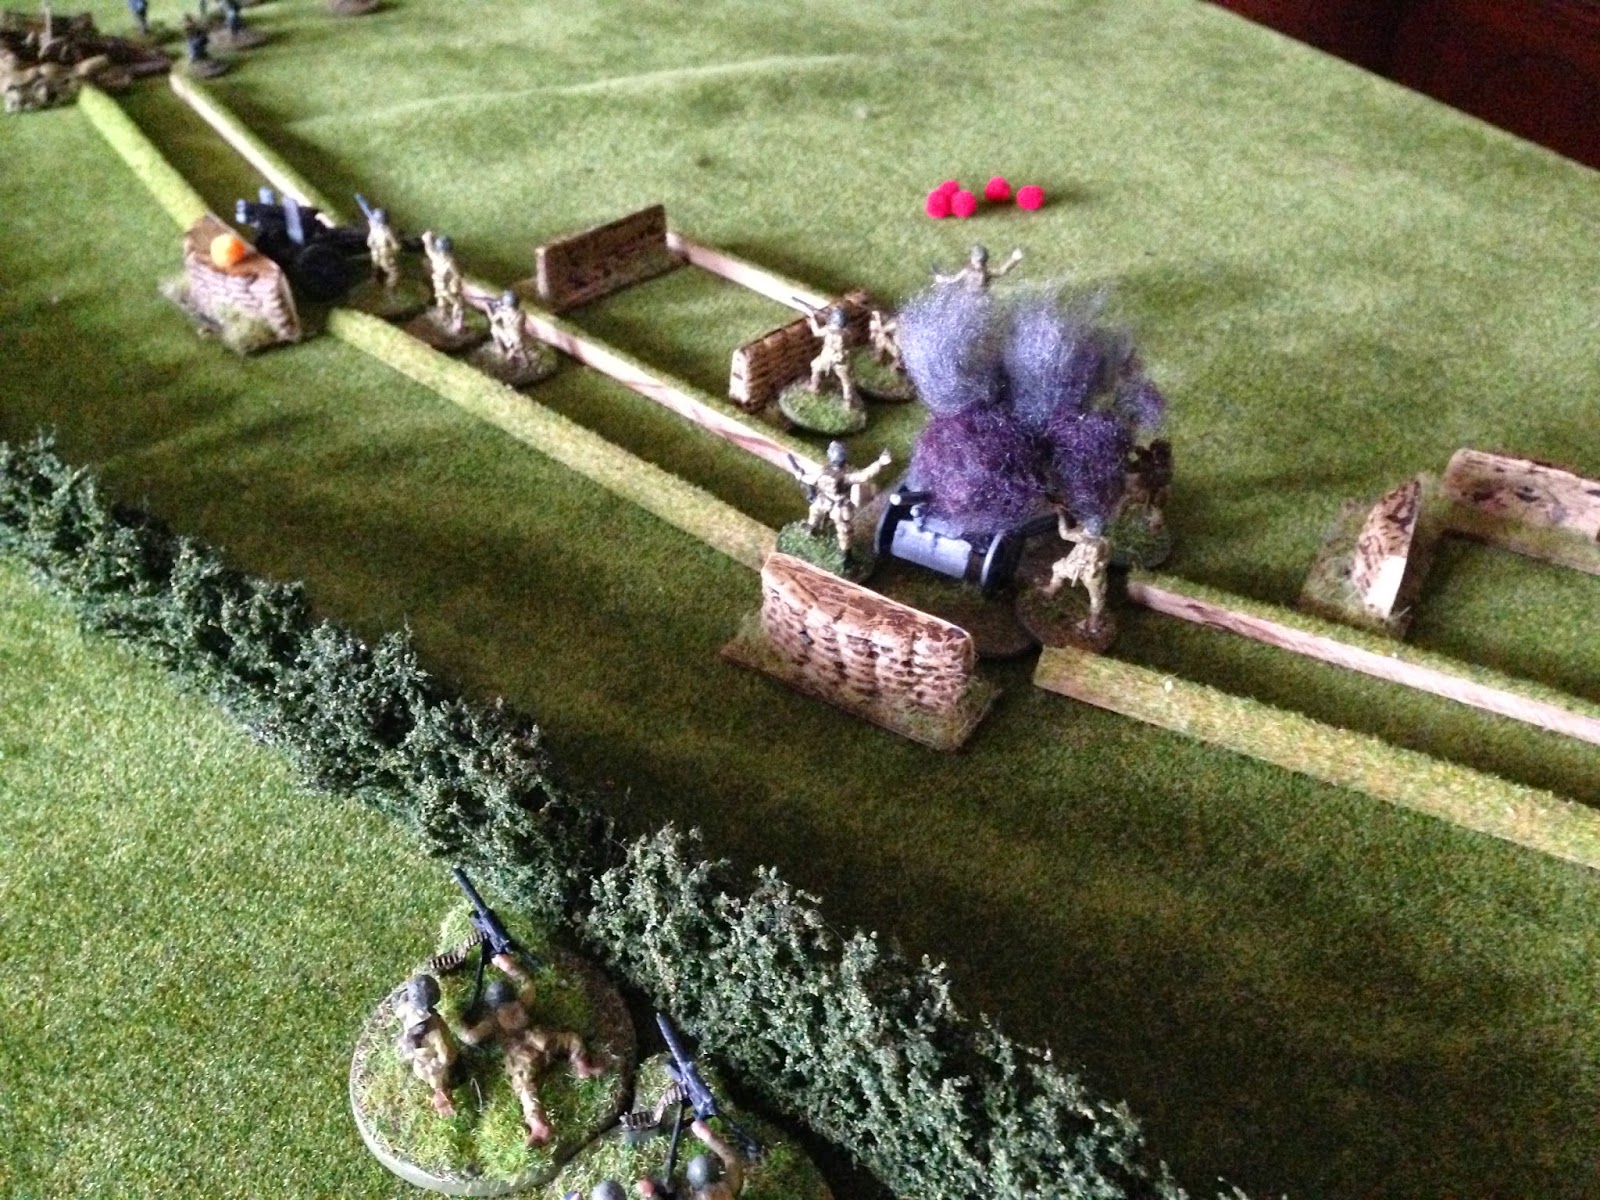
The first gun is taken. "TNT!"

30 cal cover makes the difference between effective counterattack and keeping heads down.

...effectively neutralising all but one of the defenders, as the assault group's first close attack goes in.


With two guns taken, third squad of the assault group switches from covering fire to movement, although this does leave it open the overwatch fire from the MMG position in the HQ.

 German reinforcements move to the trench, but are caught in the open.

Another close assault on the MMG position after weakening it with the base of fire. Some close die rolling here, though the elite status of the Paras pays dividends.

 Second gun blown, moving to the third gun.

With three guns blown and MGs and covering fire controlling German movement, most of the assault team moves back behind the hedgerow, using the initiative to move to the end of the trenchline.


Four guns blown. Time to bug out.


Truth be told, the 'green' vs 'elite' status of the troops was a bit of a gamebreaker, though it does become clear how difficult the command choices would be if the forces had been a little more balanced.

Several BIG advantages to these rules.

  • The system is simple and the activation requires little thought. The rules do not get in the way and do not require page flicking (there is one page).
  • They are infinitely adaptable to scale and level - including upscaling for battalion level.
  • The interplay between initiative shifting between each player could be nailbiting with more equal forces. Command choices must be made on the spur of the moment, yet covering fire and a 'form' of plan really works.
  • Large squads attract fire and become harder to co-ordinate. That said, if you can corner smaller elements with flanking fire and covering fire, you can wipe them out.

Further thoughts...
  • There is no strict morale rule, so the troops that ran from the trenches in 'Band of Brothers' didn't happen, though one could argue that they are absorbed into the casualty and suppression rolls.
  • These rules accurately allow for regular vs amateur troops. I can see 'Blackhawk Down' scenarios working well. Trained troops could hold their own against masses - but time would be running out relatively quickly.
  • Blue on Red style scenarios work too, though I can see that initiative would flow back and forth - a good thing of course.
For free one page rules, these save time and effort - yet with nothing lost in our opinion. Much development to follow here.


Saturday, 13 September 2014

Completely FUBARed

I've bought many modern skirmish rules over the years, and of course downloaded a lot of free stuff from the internet.

That said, I'd probably downloaded the FUBAR rules before, without actually paying them much attention.

Having now read this 'one pager', I see a lot of things that are exciting for a set of skirmish rules; things that make more sense than force on force, or don't have the 'slowing' effects of arc of fire.

There's a wonderful activation system based on troop quality, which also neatly allows for loss of unit effectiveness based on inherent training and quality. There are 6mm, sci-fi and even medieval variants.

Some relevant links here:

www.fubarwargames.wordpress.com/downloads/

www.6mmfubar.blogspot.co.uk/


We'll be trying these rules soon...some WWII action I think.


Sunday, 24 August 2014

Game 20 - Wombat 52, May 1968

And now for something completely different.

I've tried a few sets of Vietnam rules over the years, but this scenario was mainly a playtest for the 'TAC' series 'Arc of Fire' rules.

These are mostly traditional in terms of tables and mods, though the 'TAC' roll which sorts the competent troops from the less so, helps adjudicate most of the action and is a little different to what we're used to.

Playing cards call initiative, and I couldn't help myself comparing with the smoother feel of 'Force on Force', although there the rules need a bit of work to make them intuitive. I think running this scenario again with FoF would be a nice idea and would show up some of the differences between the two styles of rules and gameplay.


There's a chopper crew down and advisors to the ARVN 30th battalion are the closest units to hand.


 Improvised armour in the form of the venerable M113.

 ...as the downed crew, plus wounded, try to make it from a rapidly approaching VC Main Force.

 'Huey Down' near the river.

 Civilians, co-ordinated through the cardplay (and actually quite dangerous), began to prevent the US getting a clear line of spotting and fire - conflicting with their rules of engagement.

VC fire pins 2nd squad in the rice paddy, and starts inflicting casualties.

 ...while the VC remain in an eminently defensible position.

High rolls on the d10 wound dice are never good. Two morale checks and a kill.

 The machine guns on the M113 however, help to restore balance to the US advance.

 Despite encroaching cells of VC.

 Is it too late for them to intercept the helicopter crew?

 A very definite 'yes'. A turn of the card allows the crew to get the jump on the chasing VC and they make it through the jungle to the HQ element of the US platoon.


A nice scenario, though I'd like to try something similar with different sets of modern rules. Arc of Fire is nice but perhaps lacks some of the subtleties that we see in FoF (eventually, when you get your head around it that is). More to follow - and perhaps some 'Charlie Company'.

Sunday, 6 July 2014

Game 19 - (not) Fontenoy

The call of Maurice is never far away. With discussion as to a suitable scenario, we resorted to the Fontenoy 1745 scenario in the rulebook, though using the 1690s figures that we have available.

We opted to use the National Characteristic cards ('a la baionette', 'steady lads' etc.), and the standard 4+ to hit (rather than 5+ which we had used previously due to presence of pikes and the prevalence of matchlocks over flintlocks).

This certainly put a different spin on the gameplay.

Again, a fine and exciting game, with twists and turns and periods where, due to command attention (cards) being focused elsewhere, troops might sit without moving, or flanks might be held simply by the imposing presence of elite cavalry.

Each game is a new experience with these rules, yet, each game also offers a unique insight into battlefield management in the horse and musket era. You simply can't do everything that you want to do and half of your time is spent 'fighting fires' which threaten the flank or weaken your centre, while you try to gain victory.

There are times when it pays to do nothing, other than simply roll for musket fire in the centre, while you sneakily gather resource and cards to enable a flank attack with your cavalry, even while your opponent (who may be stronger on the opposing flank) has to focus on your breakthroughs and thus leave more powerful forces sitting doing nothing. This is the stuff of period battlefield accounts.

Very intuitive, fast flowing and seems to echo (as much as gameplay can) our perception of the period.


The Allied right flank. A mass of French elite cavalry waits to do some damage.

Allied cavalry's early maneuvering is halted through some marshy ground which wasn't on the damned map.

The Allied assault on the centre.

...as flanks are refused in order to keep an eye on French cavalry.


On the allied left however, English infantry is making headway, as weakened French cavalry is stalled by musket fire.


French cavalry goes in on the Allied right, routing the Dutch Guards, and forcing defensive measures.


View from the Allied left...mid game


...and the Allied right

 A refused flank however,

 ...is countered by headway on the Allied left, where a cavalry breakthrough and rout of French infantry has changed the face of the battle.


Mounting pressure and severe effects on morale with bad dice rolls after losing units, forces the French to withdraw and gives the allies a victory.


A fast flowing, tense and evocative game in less than 3 hours. You have to love these rules.