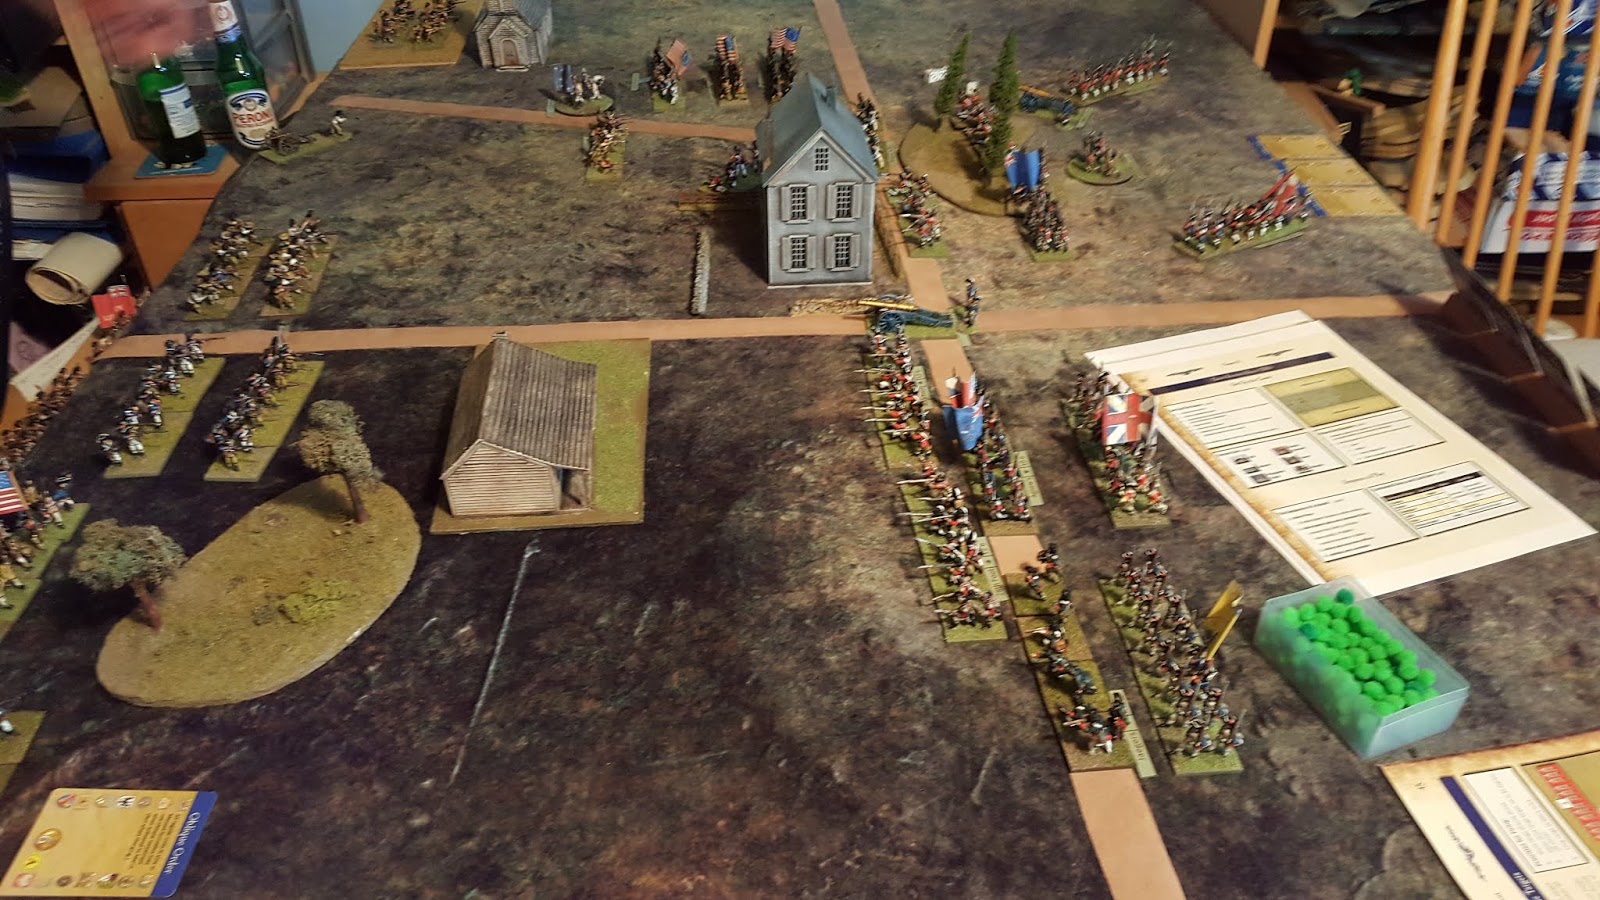
Completing our 'rough guide to Field of Battle' with Tony, FoB Czar Steiner and Dice Demon Steve with the Sunday game.
Neerwinden (or Landen; history can’t even decide on the
names of battles in this period, though the battle designation is also used
subsequently during the Napoleonic period) was fought in July 1693.
I should also remind readers that Ed Mueller has done a lot
of work for V&B & wargaming in general in the Nine Years War period
(1688-97 version), citing it as the Rodney
Dangerfield of wars and wargaming; i.e. ‘It don’t get no respect!’
 |
| Assaulting the guns, as French cavalry pours through the gap...POUR LA GLOIRE! |
The French Army under Luxembourg attacked the hurriedly
fortified positions of William III’s Allied Army, during three bloody assaults,
eventually driving the allies from the field – from which they for the most
part escaped, despite the presence of several less than hospitable waterways at
their back (again, William is slated for this positioning, though perhaps we
should consider that he was trying to hold disparate allies together and stop
them fleeing in the face of superior force – was the positioning perhaps by design?).
Losses were heavy, and despite the dyed-in-the-wool historian’s somewhat
ill-informed view that ‘yet again, the victory was not exploited due to a lack
of pursuit…blah…blah,’ one could argue that armies in this period were neither
capable, nor willing for the most part, to engage in serious pursuit ‘post
battle’.
 |
| Hey. Talk about respect and the Nine Years War all ya like, but it’s taking longer than nine years to read this damned blog post! Get on with it kid! |
It is a prime example of a confrontation designed via Louis
XIV’s intended ‘peace and concession forced through the pursuit of rapid
victory,’ as France, and to a large extent the allies, were bankrupting
themselves in the pursuit of a war which yielded no conclusive result through
battle (mainly due to the nature of warfare during the period – but that, as
they say, is another story), and negotiating from a position of strength is of
course preferable to being forced to offer concessions to a cocky victor.
 |
| The very thought of it Monsieur…mon Dieu! I put the RAW in Roi de Soleil. |
Aspects of the actual battle:
- French main assault force on the Allied right (at Neerwinden)
- Successive lines of infantry and cavalry, poised to exploit a breakthrough in the hasty defences when removed, cover the approaches.
- It takes 3 assaults to break through and rout the Allied lines.
- Berwick is famously captured by his own uncle – Marlborough’s brother Charles Churchill, at Neerwinden. Patrick Sarsfield (leading the 2nd batch of Wild Geese Irish after Limerick) is killed during a subsequent cavalry charge, and reputedly breathes his last words as he lies dying…’if only this were for Ireland…’ (this seems less than likely, and more based on legend rather than fact...)

Aspects of the re-fight with FoB:
- French assaults on the Allied defences achieve breakthroughs on the Allied right (under Berwick) and in the centre under Crequi (Sarsfield almost gets to lead a cavalry charge), but the cost of these, despite local success and penetrations into the Allied line, is extremely high with regard to French Army morale.
- Despite driving the allies back in some locations, their cavalry remain fresh and ready to counterattack behind Neerwinden, but the French army is broken in the attempt (next time, I’ll add another 10 cards to each army’s morale deck in order to prolong the battle perhaps).
- Luxembourg himself, Berwick at the point of breakthrough, Feuquieres and Montreval, are all killed in action on the French left. (Yours truly rolled those d20s).
- Rumsdorp changes hands twice, while Neerwinden would hold out, despite incursions by Berwick and the Irish on the Allied right.
- The French army gores itself on the crucible of allied defences, allowing William III to escape with most of his cavalry intact. The French army is spread bloody across the battlefield. The French C in C is reputed to have …ahem…criticised his commanders on the left most vociferously. At this time, we are unable to confirm if some of the officers might have been shot in the field due to cowardice and insubordination.
Now that is what we mean by a battle narrative!
 |
| That French guy’s overrated! You tell ‘em Billy, ma wee luv. |
Dispositions:
From the French left: Berwick/Rubental/Montreval/
Bezon, Luxembourg (CiC), Crequi/Sarsfield/Feuquieres, Conti and Lucan (…might be Sarsfield again – some
‘fiction’ there due to lack of source detail)
Allies: Churchill
at Neerwinden, Ramsey at Laer, the
somewhat abrasive Solmes in support, Tollemache at Neerlanden, supported by Bellasise and Erle.

 |
| A breakthrough on the French left. |
 | |
| Berwick’s assault on the Allied right is successful early on, then falters in the face of stoic Scots Guards. |


Staring through his spyglass at French gains on the left and in the centre, a stray cannonball (or perhaps a well aimed one, fired by a certain gunner who had taken down St Ruth at Aughrim years earlier) decapitates the French commander in chief…as the army threatens to melt into disarray; only the forceful will of senior commanders keeps it in check. (The d20 in the picture was subsequently taken outside, while the other dice were lined up in front of it – so that they could see what happens when the dice don’t obey! Then the hammer came down…dice justice is hard, but fair chez le Duc, I think you’ll agree.)

This can’t be right. I
don’t die until next year???


In a last gasp attempt to take the left flank, Berwick too is shot from the saddle (after letting le Duc down in 3 turns in a row…we can not comment at this time, as to whether he may have been shot by his own men who refused to assault the breech… ‘one more time lads!’, he was heard to scream. Despite the best efforts of our roving reporter, family and friends at St Germain have refused to comment, though Richard Hamilton smacked our cameraman in the face. Tricky Dicky loves a spot of bother. Anthony Hamilton is writing a play about it apparently).


What the hell? – how am I supposed to help the Jacobite cause now??? Who’s gonna win at Almanza?


Lots of epic touches and a great game, with no less than 3
bloggers present including Tony at Prometheus in Aspic (who we hope to have
impressed with regard to FoB, Maurice and Memoir 44 – 4 games in 48 hours is
never a bad thing ).
(Next time, must add 10 cards to the morale deck to extend
things a little, and make cavalry a little more flexible in terms of movement).

Nine Years War? (No, not that one, the other one…oh never
mind) Respect due!