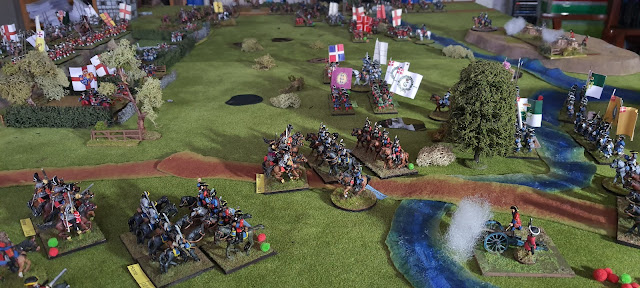
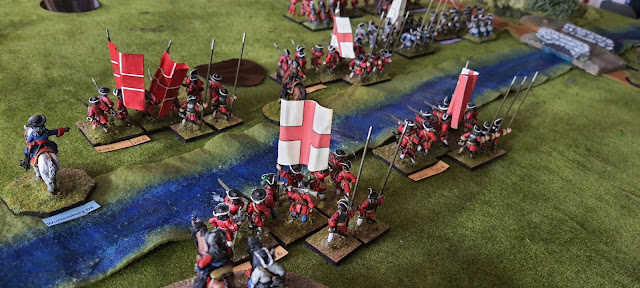
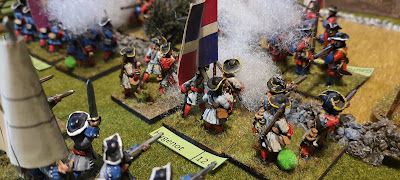
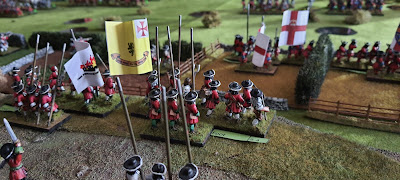
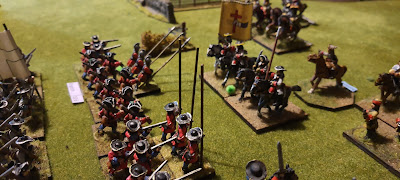
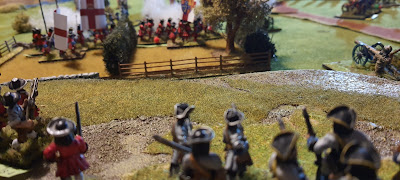
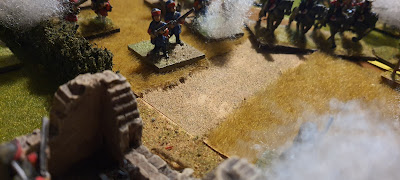
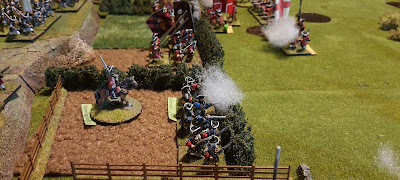
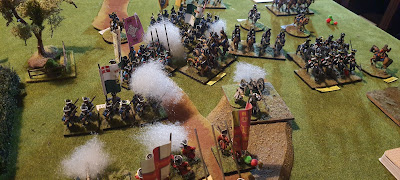
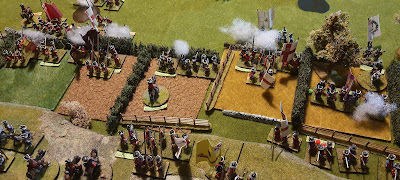
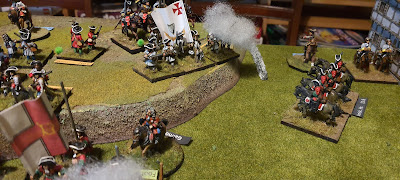
Another game of this famous Irish battle, which we first played over four years ago with Field of Battle. Same rules this time - though with 3rd edition, and a few historical tweaks.
Again. FoB gives a fantastic game and result. As army morale melts down, you are challenged to make command rolls, and manage resources, in order to hold things together.
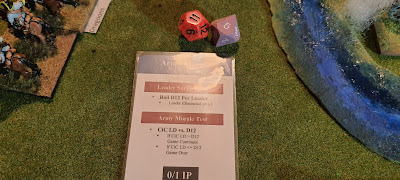
As things started to go awry in this game, two army morale rolls in succession were very tense moments. Both sides were very close to collapse - just as in the real battle.
It's also worth repeating some of the accounts which detail events in battle, which I used in the last post - which are nicely replicated in the rules:
These quotes are from Hates-McCoy's superlative account. 'The boggy ground...proved a serious obstacle ...and forced him to confine operations to the two wings'.
(Any troops in the bog were 'out of command' - down dice for firing, down movement etc - a real pain in the allied centre - but they could still launch desperate melees when they reached the Jacobite lines.)
'They had not been under unified control; indeed, some of their commanders had exceeded orders.'
We saw this in detail when some commanders rolled better on move cards,
and surged forward, leaving flanks open, rather than conserving linear
mass.
'Sheldon and Luttrell, should have intervened to the full extent of their ability to hold Mackay back.'
In the previous game they held back - inactive for the most part, though here they were fully engaged when there were supply problems at Aughrim Castle. Sheldon would be killed in this version - so he wasn't holding back. '(General) St Ruth was decapitated by a cannonball.' Any brigade commanders whose troops are in contact, or who rally, are
subject to risk under the Army Morale card. a 1 in 12 in rules as
written. Sheldon was shot from the saddle today on the Jacobite left - and it had a disastrous effect.
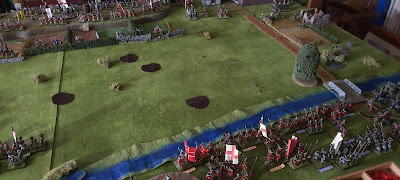
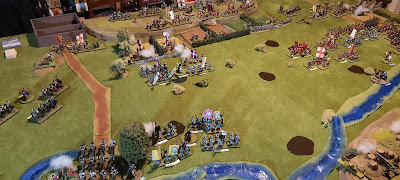
Early moves across the ford on the Allied left
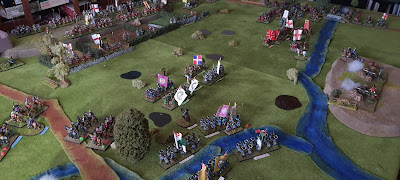
A huge bog to cross in the centre. This will grant all the disadvantages of units being 'out of command', with ledership rolls required upon exiting, though with the ability to melee out into solid ground (at a disadvantage - really tough).
slow movement in the centre
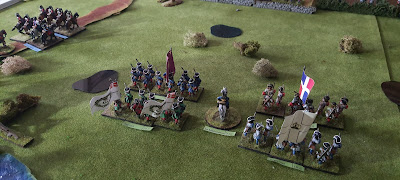
Ginkel watches his troops cross, committing most of his reserves early.
There seems to be an ammunition supply problem on the Jacobite left - 'right...who's been paid off by Billy's boys?'
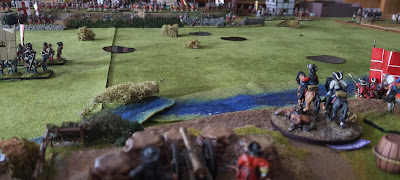
Crossing the ford - the 'bloody hollow' to the left of pic.
Patrick Sarsfield moves the Jacobite reserve in early - clearly less than concerned this time, about the path of retreat (that was the excuse anyway).
The causeway glutted by Allied cavalry - though there is only sporadic fire from the ruined castle - have they run out of ammo I wonder???
Slow movement in the centre
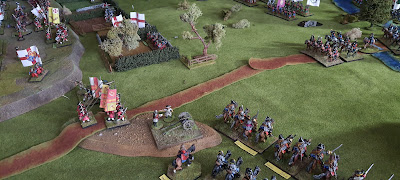
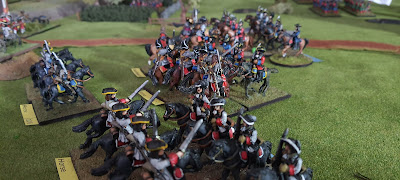
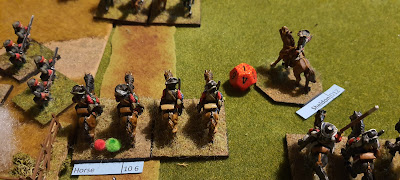
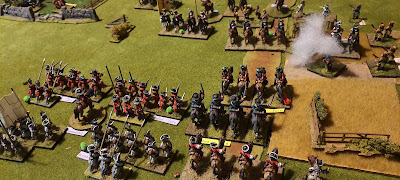
Cavalry battles on the Jacobite right would last all day
View from the Jacobite infantry positions in the centre
Sheldon is shot by a stray ball - this would actually cause horrendous command problems on the Jacobite left, and is largely responsible (combined with some fine Allied cavalry tactics *ahem*) for an Allied incursion on the flank.
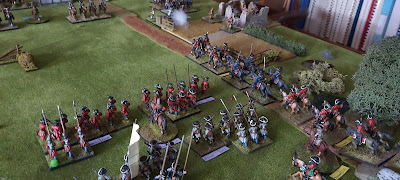
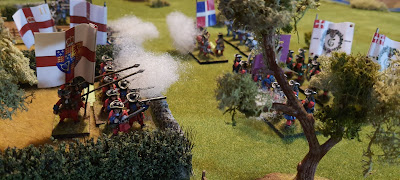
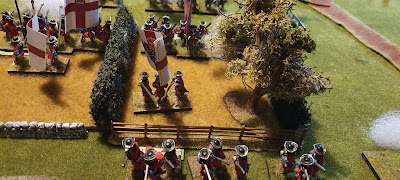
Danish troops are first to engage along the fence-line and enclosures - defended by Jacobite skirmishers and guards.
The Jacobite left is now under extreme pressure, with Allied dragoons dismounting to take on Jacobite skirmishers.
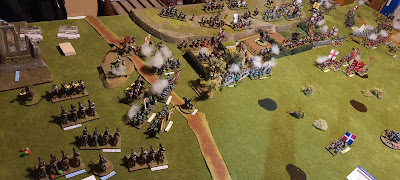
On the Allied left - a massive cavalry action, slow movement in centre, and pressure on the Allied right against a failing Jacobite defensive position.
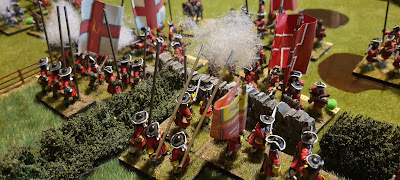
Savage fighting at the wall.
'Pikes front!'
'Here they come!'
Dragoon action at the ruined castle
Dorrington takes personal responsibility in trying to hold the line - moving troops off the hill.
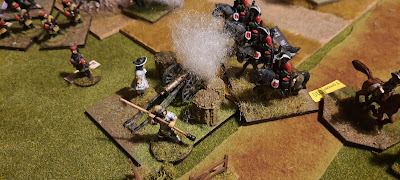
Enniskilleners assault the guns
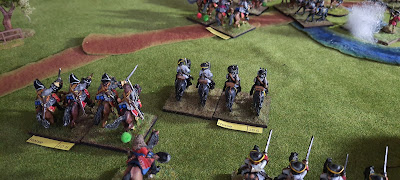
Enniskillen Horse engages Galmoy's horse ...these boys have previous with each other... a long story.
Red on Red - as English and Irish troops engage in ferocious hand to hand combat at the wall
Danish charges get into the enclosures - casualties are horrific
Dutch & Danes are slowly forcing the Jacobite right - there are none of Pat's cavalry left
.
The Jacobite right will cave - just too many fresh troops on the way in.
Even the centre is begining to falter now.
The Jacobite left is failing - under severe pressure now.
One Army Morale test is passed..a second, not so much. Having said that, the Allies were also only a few cards from testing. So close...so very close.
A great game. I still think these rules give the finest battle, an eminently sensible result, and fantastic gameplay. It plays like a historical account. What else is required?
More fun with the 'Live Free or Die' ruleset from the guys at Little Wars TV.
This scenario is in the original ruleset, and certainly defied
expectations during play. Victory conditions stipulated that the British
either exited infantry off the road on the far side of the table, or
out-did the American player in terms of casualties. This, as it turned
out, was a tough ask.
Again, this is a very tight ruleset, despite being done on 4 pages of text. Very professional, very succinct, and key: it works really well, with some excellent period flavour.
The high ground near the British entry point. Well defended by militia; however, the thing with these rules, is that losing a stand means a morale test...and militia are not great with morale tests - and are inevitably pushed back.
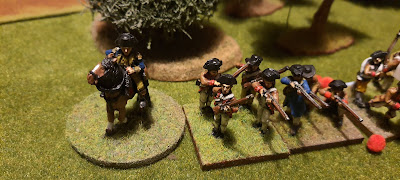
'What'd he say Zeke?'
British lights lead the attack
Now, here's a thing; on the British left, DeKalb's 2nd class continentals, are waiting to do something special...
British line and colonial troops march on at their entry point, then turn a sharp left, inorder to counter what will be a fierce flank attack...
The British attack on the right flank, with Tarleton leading his cavalry to counter Armand's Legion...
'WAIT! Did you say Tarleton??? Oh, no wait, it's Tavington I'm after ...go ahead.'
The American right, and decent continental/2nd class troops will do a lot of damage...
1st charge goes in - these rules really accentuate the Briitish bayonet charge ...and it works. This wil be the first of three for the 23rd foot.
As Tarleton (easy Mel) goes in on the flank.
'Wait 'til you see the whites of their eyes boys!'
hmmm - watch that left flank
The 2nd charge of the 23rd foot
Deployed British units start to get to grips with the left flank
3rd charge of the 23rd foot :)
The 23rd's example followed up by the lgihts ond the British legion - American guns become isolated on the ridgeline
More British cold steel, as the 71st foot (this time) go in on the right, but they're inflicting losses, but pushing militia back - the road is still not yet open...
Massive British casualties on the left, but they still hold.
The British right, a success story; the left, not so much.
Tarleton (easy Mel) goes in again on the left.
British Gen Francis Rowdon, is shot from the saddle
British lights interpenetrating militia lines now, but victory is far from certain.
Surely, they can exit the far side of the table ...surely...
...but there's nothing left on the British right.
Cornwallis himself steps in to bolster the 71st, even as Gates moves in to help the oppisite militia regiment in repsonse.
There's that bloke Tarleton again!!!
...easy mate..I said Tarleton...put it down Mel... Step away from the Tomohawk mate...
The final charge - both Gates and Cornwallis are wounded...
The casualty count... But the game is over! It's game turn ten, and the British have failed to (1) get to the road and (2) inflict twice as many casualties as sustained. It's an American victory!
A very nice set of rules, and well put together with the scenario pack. Great work as ever, from Little Wars TV.