Sunday, 24 February 2013

Game 8 - Quatre Bras - 16th June, 1815

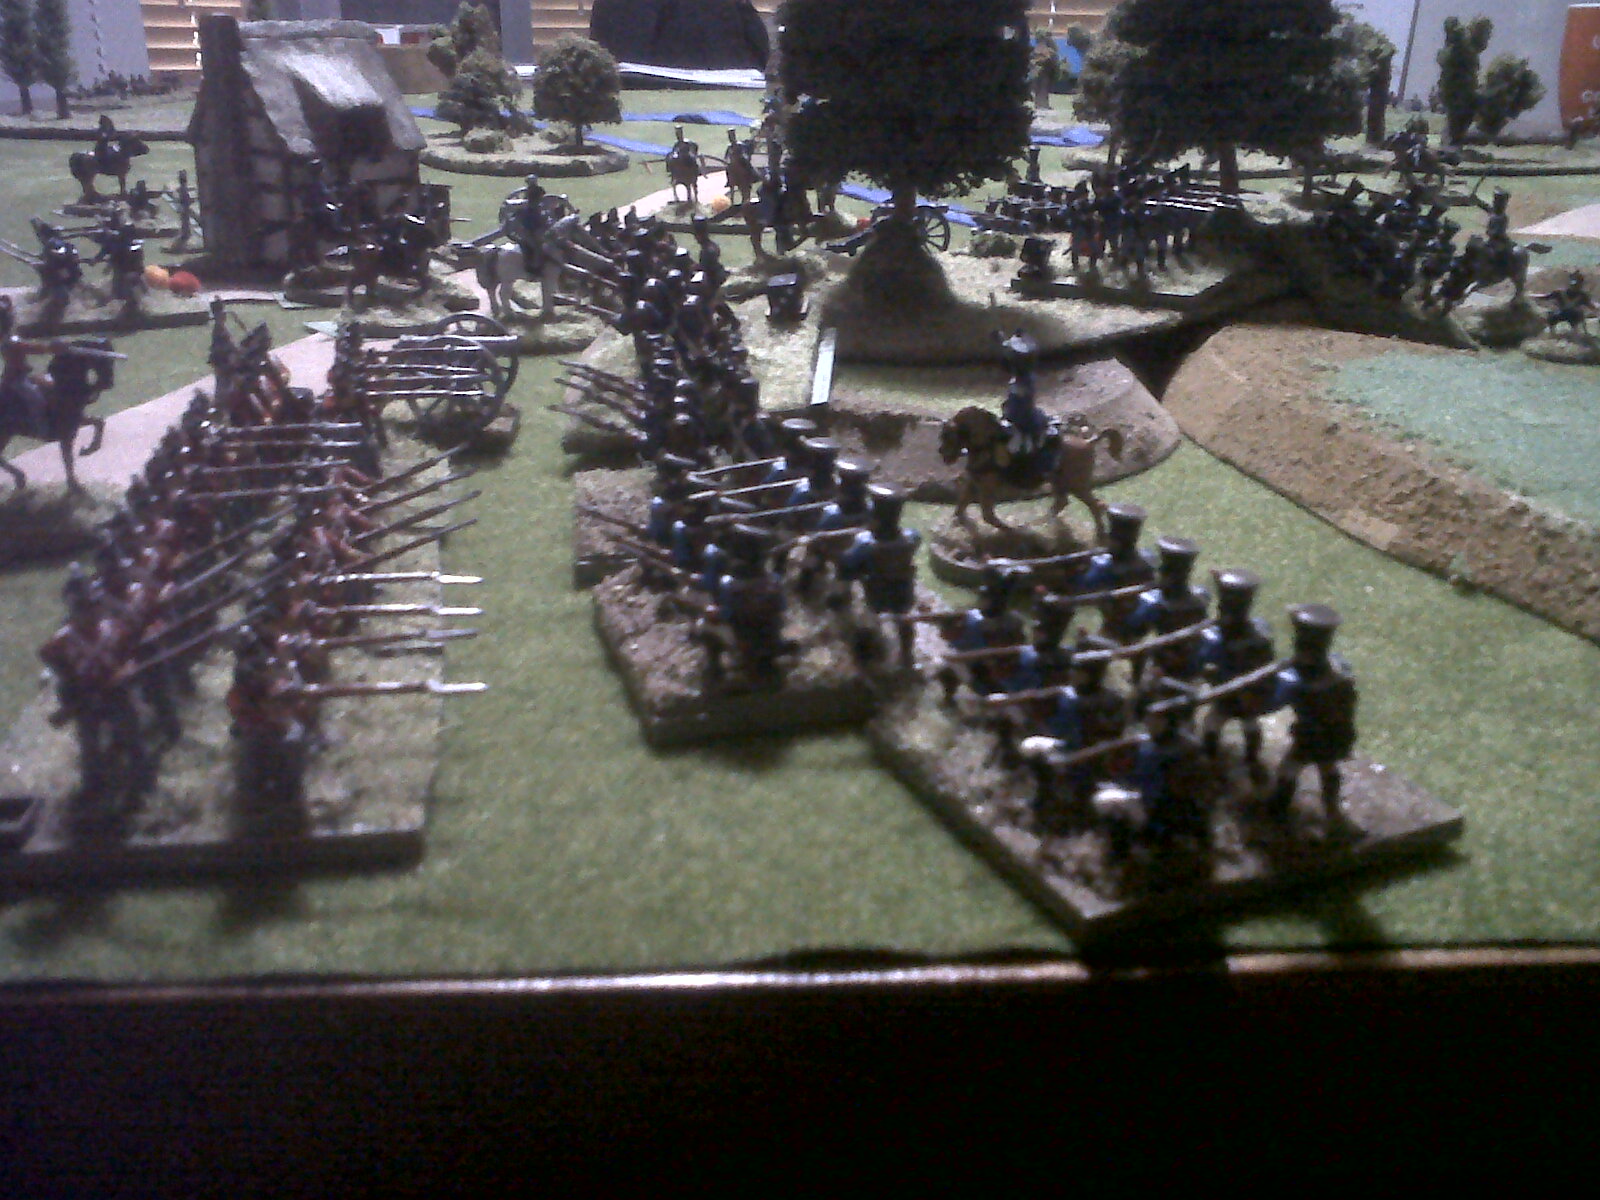
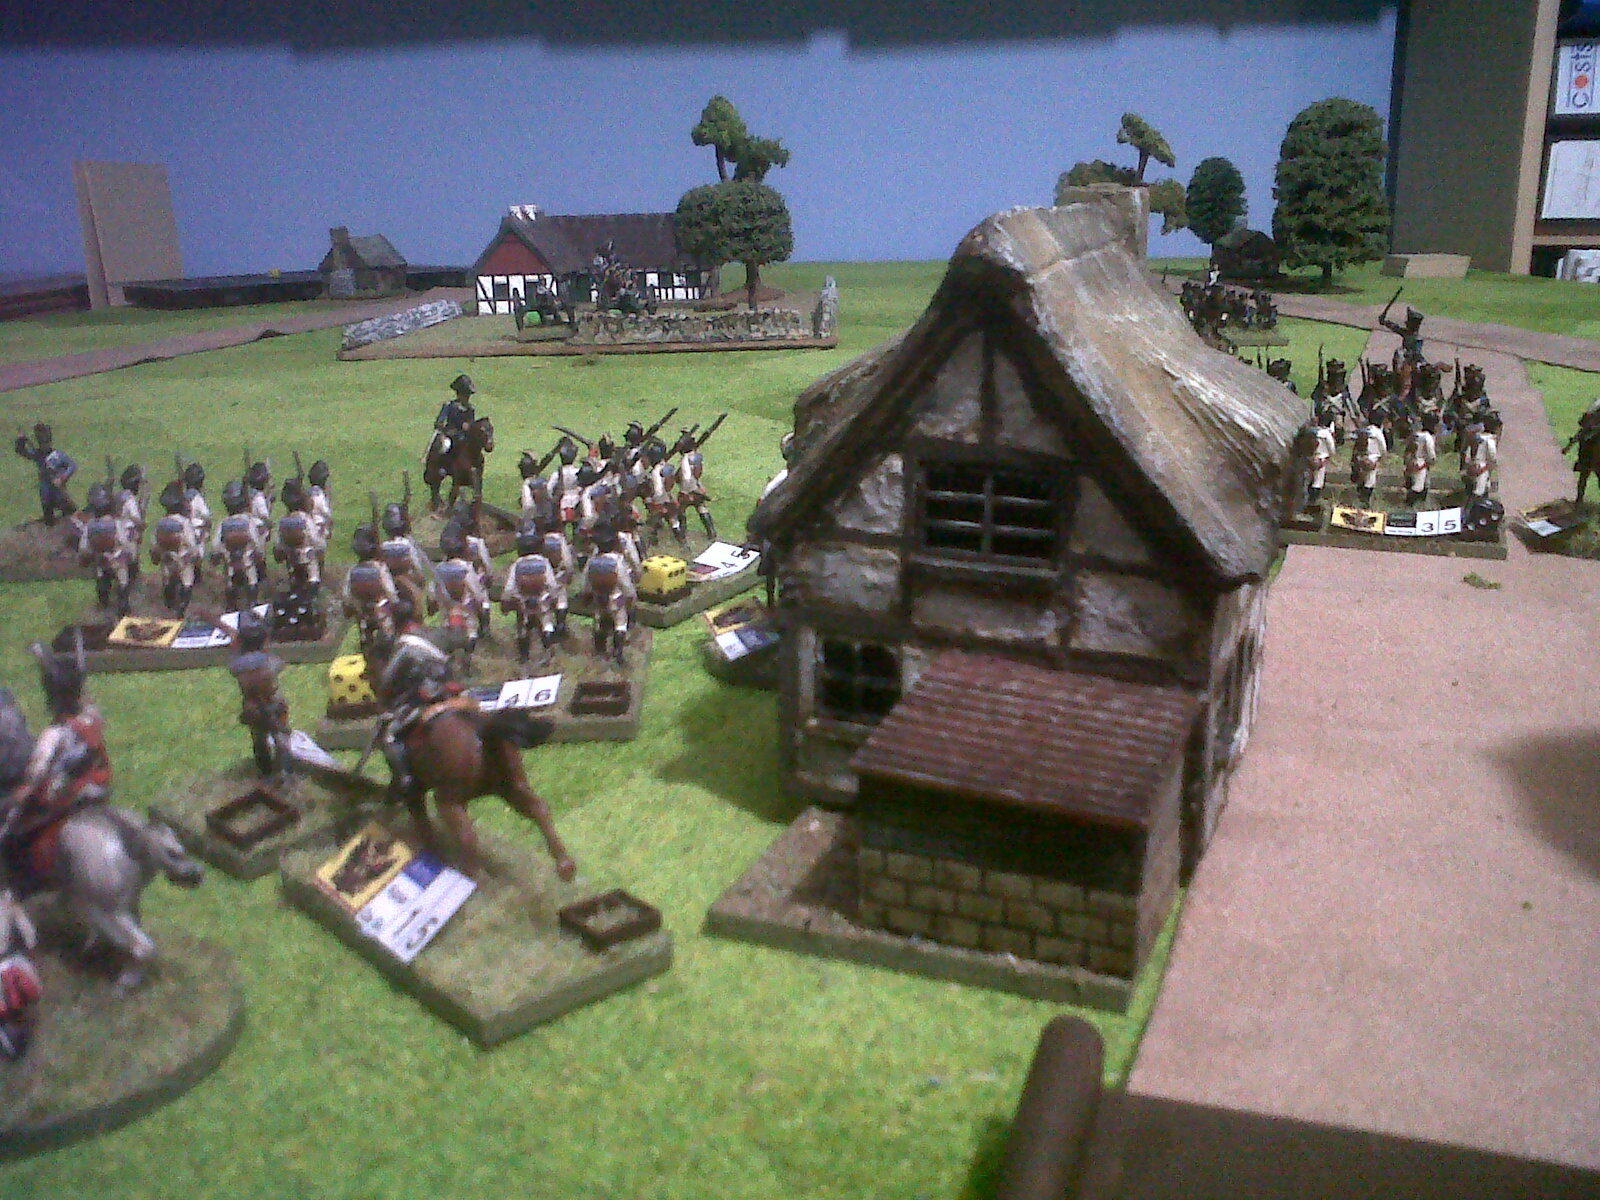
Another foray into Volley & Bayonet. This time a certain little prelude to Waterloo. We used older V&B edition for Marengo, so this time it was full bore V&B ' Road to Glory'. Many nuances and clarifications. As usual with the rules however, they were all intuitive after a few turns.

The scenario was based on that outlined in 'Napoleon Returns' rather than in the recent rulebook (although we plan to do that one in 54mm...you have to love Volley & Bayonet for the refreshing scale adaptability alone).

(Most of the French & Allied figures were Airfix, including some conversions done 30 years ago. Revell British and French too, some Hat and some Newline officers also included.)


The initial setup - the small French force under Foy and Bachelu face a disorganised Dutch Belgian division.


  Initial French reinforcements begin to head to the French left, where hard fighting would be seen throughout the day.


 As the first British/KGL and Hanoverian units began to arrive, the French were committed to the left, in hope of breaking through to the crossroads and the Brussels road.


Light cavalry clashes(!) resulted in a breakthrough charge along the Namur Road, just as Wellington was riding toward his troops.


Picton's reserve was committed on the Allied left early in the day, to secure the road.


 On the French left, musketry duels begin in earnest. Who would break first? The allied troops had the advantage of shock and sharpshooters - and would most likely win via attrition unless the French did something drastic.
...like moving up their guns...


The centre held, but the Brunswickers and Dutch-Belgians wouldn't stand for long.


 ..and so they broke...


As Picton watched the drama at the crossroads unfold.


  By 6pm Cooke's division had arrived to reinforce the centre...just in time.


While on the Allied left, Kellerman's heavy French cavalry attacked.


 On the Allied right, the French have charged...rather successfully, pushing the line back.


 The situation at the start of the 8pm turn. Wellington, the Prince of Orange and the Duke of Brunswick have rallied the lost brigades to hold the road to Brussels.

Soon after, Dutch Belgian reinforcements arrived and surrounded the French breakthrough at the Nivelles Road.


The Allied left were under increasing pressure from French cavalry, but they were too few and number and it was already too late.


As the French I Corps heads for the crossroads, the allies still hold it...Merde!


A great game once more, with a few nice rule adjustments for the era. As Faulkner Fitzwilliam remarked...'this is true wargaming'.

Next time? Hmmm...more V&B, or perhaps Force on Force or something completely different. Stay tuned.


Oh yes...and the little 'un did the rivers again. though this time of course she had to get paid for it.


Monday, 21 January 2013

Game 7 - Stones River, Dec 31st, 1863

Ahhhh I love the smell of Volley & Bayonet in the morning...smells like, perfection.

The second V&B clash was set during the American Civil War, near Murfreesboro. A little Reb vs Yank, where both historical commanders actually had the same plan - i.e. to turn each other's right flank.

Interestingly, our own clash proved a little different.

But firstly...having decided that my felt interpretations of rivers for the game were far too bland (granted she used a different word. I believe it was 'terrible'), my youngest daughter decided to use her chalks to add a little colour. Now, despite Dad's initial trepidation, she did a fine job, turning the blue felt into fast flowing rivers, as you can see.


The overall effect was really quite impressive. I will have need of these artistic services again...well, at least until she works out that she can charge me money.


...and then Faulkner Fitzwilliam arrived and it became 'Game Faces' time. Choosing the union troops, FF would have the tiresome task of defending his flanks. Now, the neatest mechanism in V&B is centred on division exhaustion levels. This is where troop quality is factored into the division and represents it starting to break as casualties mount. The Union divisions were therefore a little fragile and when to commit the reserve would become an important decision.

The main Confederate attack came on the Union right. Fast moving Reb cavalry charging against the flank. Would Union horsemen hold out?


Astute observors will also note the single (rather than double) dice marker/frame combos used this time - complemented by miniature 'pompoms' (courtesy of aforementioned daughter) in use for disordered and stationary markers.


Meanwhile in the centre, the Rebs mass for a charge. 


While on the right, Gobin begins his planned flanking action with far too few divisions and perhaps a little too late. Of course, no plan survives first contact.


 The left flank sees most of the action as the Union troops bend...break...


...then return valiantly to the fight, stopping the Confederate onslaught. In the background you can just see the reserve committed to the Union right. (Yes, those chaps closest to the camera are running away!..SIR! Look to your Division!!!)


Probably the best decision since not only was the Confederate right mucking about, but the Union left flank had been maneuvered into defensive positions.


Gobin realised at this point that the game was up...as the centre had become a bit of a mess. Charge, countercharge, rout, reform, disorder...dude! Where are my troops?


Volley & Bayonet will return for 'Quatre Bras', when Gobin will have his revenge.

(...and there will be rivers...with chalk on 'em.)


Saturday, 22 December 2012

Game 6 - The Battle of Marengo, 1800

The pinnacle of one of Napoleon's most famous strategic campaigns, and yet very nearly a complete disaster, Marengo represented a wasted opportunity for the Austrians. The Austrian centre collapsed in the wake of a French cavalry charge. Would history repeat itself?

The old version of GDW's Volley and Bayonet was used, complete with the scenario in the book. We hope to use the newer version at a later date (perhaps with the same scenario).

Figures are 20mm plastic and lead. Various manufacturers including Airfix, Hat, Italeri, Revell, Newline. 2/3 scale (2"x2") bases were used with appropriate movement and range adjustments. Table was 6'x4'.


The French right was weakly held, so much so that several Austrian brigades were able to secure the flank - or were they (?)


The centre would prove more problematic. Crossing the bridge in dense columns, with one eye on French movements, meant that the centre quickly became a morass of disorganised brigades.

 Austrian cavalry focused on the French left, in the hope of defeating it early.

Immediate action in the centre.

French cavalry were quick to respond.
 
Murat and Kellerman leading their first charge of the day.

The Austrian centre still confused.

Note the little dice on the 2/3 scale bases. Quite good markers - especially so for casualties.

Inevitable melee. Always a dangerous proposition for both sides in the V&B rules.


French units quickly plugged the gap between the marsh and Marengo itself, where Austrian skirmishers were attempting to gain a foothold. Had the Austrians focused more of their main infantry body here, instead of trying to force it across a narrow bridge, matters in the centre might have been very different.

On the Austrian left, the flank was slowly being secured, despite the approach of French reinforcements.


While on the right, a massed cavalry action was developing.


Shots of the centre and left. By 1pm, the Austrians had secured a foothold across the river, but were becoming bogged down.


Despite Austrian confusion, they were beginning to gain the upper hand in the centre, their large numbers having more staying power than the rapidly mustered force of the French.


There remained one option. The French retreated and regrouped. having lost Marengo, they would make any attempts to take San Guiliano very costly for the Austrians however.


Given confidence by their securing of thecentre, and despite some doubt on the flanks, the Austrians attacked the new French lines head on - bringing them nicely into range of the French artillery batteries which had sat in the vineyards to the east for most of the game.


 Some shots of the dice markers in action, combined with some mini 'poms poms'. Green is 'stationary', red or yellow is 'disorder', and black indicates casualties - the number on the black dice indicating hits taken.

Murat, having got the better of the Austrian flank, leads a cavalry charge 'around' their rear to secure his left - straight into the scattered remnants of the depleted Austrian flanking force. Vive L'Empereur!


By game end, the Austrians have nothing left to take their remaining objective with, and the French win the day! By 5pm (turn 9), it is all over. Four Austrian divisions have retreated or collapsed and only Marengo is held.

Volley and Bayonet is a wonderful set of rules, although there are several non-intuitive elements which have to be remembered (morale in contact, retreat vs rout etc.). Experience with these nuances makes them second nature however. More V&B to follow, between bouts of Force on Force and the new WW2 game 'Blood & Guts'.

Oh yes, and finally, MERRY CHRISTMAS to all.