Saturday, 13 July 2013

Newtownbutler 1689 - Orders of Battle

Using the research and OOBs from the books mentioned in the previous post, I've constructed two forces for the game:

Lord Mountcashel's Jacobite Troops

Justin MacCarthy, the newly made Lord Mountcashel, was a very experienced soldier having served in England before the Popish Plot, France with the Irish regiments there and even Denmark. He had been given the task of ending the threat from the Enniskillen garrison, which had spent time gathering forces since Tyrconnel's purges and who had been, through their raiding actions, providing problems for Jacobite logistics while most of the fledgling Irish army was engaged at the siege of Londonderry.

The grander strategy that had been discussed at the May 1689 Dublin Parliament, had involved using Berwick and Patrick Sarsfield's troops in conjunction with Mountcashel's movement from the south. Sarsfield and Berwick had both fought smaller Enniskillener detachments in the previous months. Berwick had even achieved a victory of sorts at Cornegrade Castle. There would be no link up of the three armies however, and Mountcashel would be forced to fight alone.

There are varying historical records with regard to numbers, so we'll just field the regiments present for 'Maurice' with more detail when we try out other rulesets.

Mountcashel's Regiment
Mountcashel's own troops. Detailed in the Jacobite Narrative and the works of French ambasssador D'Avaux and Former Lord Lt. Ormonde, this would have had between 450 and 600 men. Of all the regiments, it would have been the best led, best trained and possibly the most experienced - therefore regular. Greater numbers are suggested in other sources.

Bophin's Regiment
John Burke's (Lord Bophin's) had 13 companies though records suggest that it was undermanned. There is some historical discussion of conscript troops being added to the muster as Mountcashel moved north. Classed as Poor or Inexperienced troops.

Clare's regiment
Daniel O'Brien's (Lord Clare's) infantry regim,ent. Again classed as Poor - though Major Marigny, a French envoy, was present here. Again inexperienced.

Cotter's Dragoons
Recorded as having around 360 men. These would have been classed as regular.

Clare's Dragoons
Recorded as having had 450 men. At least part of the force of dragoons was mauled at the Lisnaskea ambush earlier in the day with Anthony Hamilton. One regiment will be classed as Poor therefore.

Artillery
D'Avaux records 4 artillery pieces -classed as small field pieces, though sources suggest less. We'll use one gun model here - regular.


The Enniskillen Garrison

Led (literally for days) by William Wolseley, who arrived with Kirke's Londonderry relief force, the Enniskillen garriosn had been raiding and fighting for months and can be classed as a mix of regular and a few elites.

Col. Tiffin's Battalion of Foot
5-6 companies

Wynne's Dragoons
2 troops

Wolseley's Foot (main body)
9-11 companies

Berry's Horse
8 troops of cavalry
(Berry had conducted the earlier ambush at Lisnaskea where Anthony Hamilton had been caught napping)

Major Stone's Horse
8 troops of cavalry


More on the battlefield and prep next time. One unusual facet of the Enniskillen sources is that the Enniskillen regiments leave their pike element 'behind' when they move over swampy ground on foot. This is understandable since the ground in question was impassable to cavalry on the day. More on this, and how we will simulate it, next time. (We might even get the game in LOL).

Saturday, 29 June 2013

Newtownbutler 1689 – ‘Prep’


I’ve been looking at Newtownbutler in 1689 as the first battle with 'Maurice' rules. Late seventeeth century (nine years war) has to be one of my favourite periods despite its relative unpopularity  in terms of ‘in vogue’ wargaming. The Irish battles in particular are very interesting, so expect the Boyne and Aughrim to follow. We’ll also be looking at these in terms of ‘Black Powder’ and of course ‘Beneath the Lily Banners’ by the League of Augsberg gents.

Many would argue that the Boyne or even Augrhim was the real turning point of the Irish war in 1690 and 91 respectively. However, prior to the battle at Newtownbutler in July 1689, the Protestant descendents of the original plantation settlers had seen the army purged and restyled by Tyrconnel, in a Jacobite mould, apparently with the blessing of James II (on the throne since 1685 and determined to improve the lot of his Catholic subjects).

With a protracted siege at Londonderry, with most of the Jacobite army tied up in the north, the town of Enniskillen would be a base for raids, skirmishes and a general thorn in the side of the disorganised but large Jacobite army.

The Jacobites themselves had few capable generals, but amongst those they did have were Justin MacCarthy (recently made Lord Mountcashel) and Anthony Hamilton (brother to Richard Hamilton who commanded at the siege). Both had fought in France. MacCarthy especially was a gifted leader.

Under orders to end the Enniskillen threat once and for all, Mountcashel with a force of 4,000 (or so - see the books below) would meet the Enniskilleners (Commanded by William Wolseley – newly arrived by ship with Percy Kirke to help relieve Derry) at Newtownbutler – sixteen miles from Enniskillen.

In essence, the battle was little more than a large skirmish in the scheme of things and when compared with later battles. Before the battle however, the Enniskilleners were nothing more than raiders. After it, they would be seen as a force to be reckoned with and Lord Mountcashel would be captured and held in Enniskillen (at least until his later escape). One could argue that this relatively small affair, when seen in context with the siege at Londonderry, was the turning point in terms of the height of Jacobite power in Ireland.

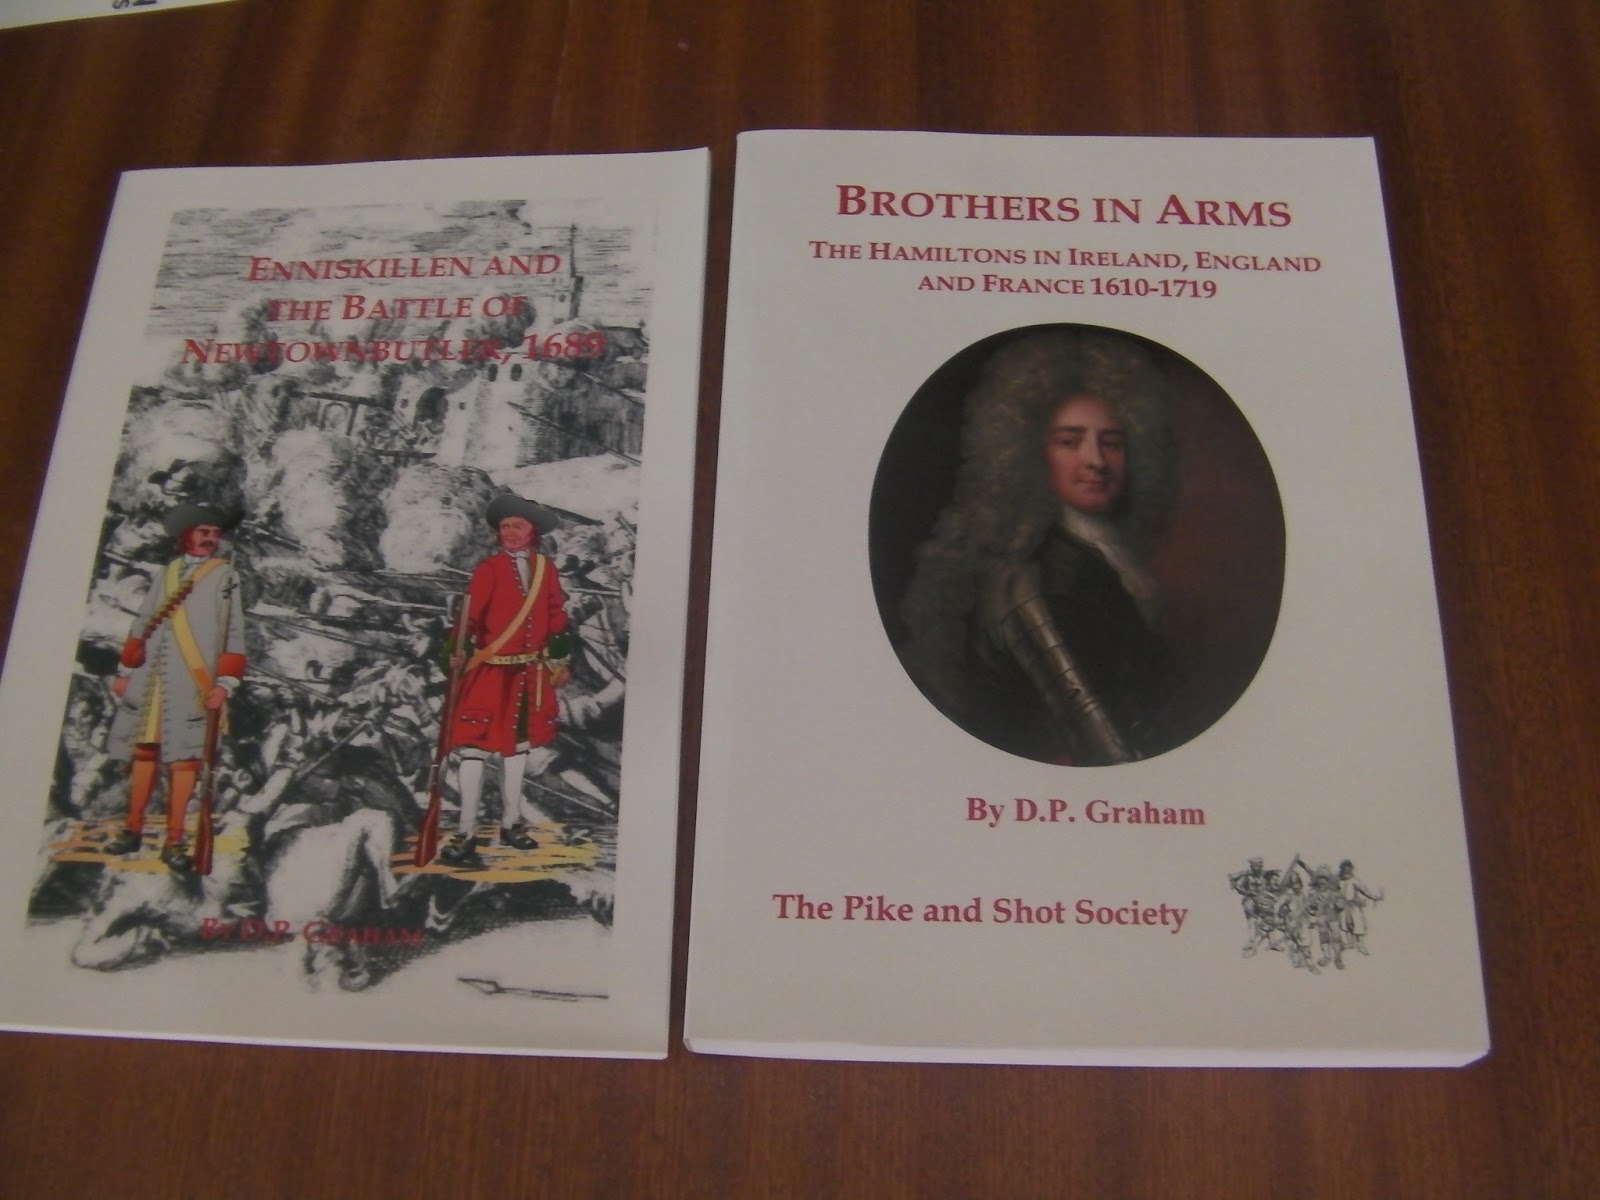
The buildup, battle and aftermath can be found in these two excellent books by Graham.


Some very good research here.

Some leadership elements shown in pic. These were originally supposed to be William IV, The Duke of Berwick (James Fitzjames – bastard son of James II and the only man to have defeated the Enniskilleners in open battle (skirmish!) at that time at Cornegrade Castle) and Schomberg. These were being done for a Boyne game – but they’ll substitute for Mountcashel and Wolseley for the Newtownbutler scenario.


 (Evening shadows or crap photo - can't decide which.  Warhammer style toadstools courtesy of 'da bruvaz' - you know who you are... I'm not sure whether such toadstools grew in Ireland in 1689, but they look nice. Yes, yes - the historical accuracy button-counters will be on my case now, I know.)

Hoping to get this game done soon. OOB to follow.

Monday, 27 May 2013

So is it time for Maurice then?

I've been deliberating over trying 'Men Under Fire' without 54mm figures. Ahhh, decisions, decisions.

SOoo...the other set of rules recently acquired is 'Maurice' (that's 'Mor-ees' as opposed to 'Morris', which is how we normally pronounce it in this neck de la woods). Was very interested in this for a number of reasons:


(1) It covers late C17th (well 1690...so it's the Boyne - what's not to love?). Well, at least there's a paragraph covering pike/shot formations. It also goes as far as the AWI...yay!
(2) It uses card mechanics. Granted, such systems are always interesting (and mostly crap) but these cards just might work.
(3) The rulebook is gorgeous (ok, I'm a sucker for that).
(4) There are very nice looking campaign rules which just might enable me to do the Irish campaign I've been wanting to do for so long.
(5) I don't have to paint anything and can play with available figures. (actually this is key!!! though I may have to blow dust from them...)


So...Men Under Fire is shelved in the interim...

Maurice...to follow.

Thursday, 16 May 2013

Men Under Fire

As there are some figures to paint for the next Snappy Nappy game, I've been considering a quick playtest of the 'Men Under Fire' WWII rules from Test of Battle. I've always loved the old GDW/ToB stuff so Men Under Fire is welcome. I think I once tried the old yahoo group playtest ('Men Against Fire' perhaps - I can't remember) where the scale was such that one 54mm figure represented two effectives. These rules have changed that a little - where one figure is one man (God's own true WWII scale) and they are very 'old school', and I do love the suggestion that figures be mounted 'diagonally' on a square base (see pic) so that the arc of fire can be immediately obvious from the base alignment - inspired idea.

More to follow here, although I don't really have enough 54mm painted, and will be conducting the playtest in 20mm (sadly). A couple of 54mm US Paras and an old Airfix Russian soldier shown in the pic though, mounted diagonally for effect.


Monday, 22 April 2013

Speaking of Rules...


Here’s a thought…

Yesterday's ‘blitzkrieg’ style introduction to Snappy Nappy continues to generate ideas. The mechanisms and morale function, combined with the die roll mechanic, should be easily adaptable to both the AWI and even the 1680s era Grand Alliance. Yes, I know, I should stick to Napoleonics…ho hum.

Some considerations that have struck during the boring work day…

Light Infantry
Although the scale is too big in SN for such considerations, reducing the scope means going to battalion/small brigade level for the AWI. Hence, Light Infantry will inevitably feature. So let’s say that they fire as normal, perhaps with a 90 degree arc of fire, but such fire only incurs a single morale check if it hits, which is then passed or failed, not multiple morale checks if the first one is missed.

Hits upon them then act in the same way – a single roll. Their strength could be such that less hits are required to disperse them

Hmmm… a name for the AWI version? Why, ‘Rapid Redcoats’ of course! (I can hear the sighs from you all already…)

 (Though I have woefully few figures painted in lead)…


Pike and Shot
Not true Pike & Shot of course, but 3:1 or 4:1 ratio, as becomes prevalent during the 1670s – 80s. Squares are replaced by fraised battalions. These can act as squares of a sort against the elite cavalry squadrons and hastily formed squares are replaced with pike formations to protect the muskets - with similarmods. Though the mod would represent full ‘hedgehog’ style pike defence (-8 or -6) or ‘fraised’ style (-3 or so).

The name for this rules hack is harder of course, as ‘Fast Moving Matchlocks’ doesn’t really roll off the tongue. 'Lethal Louis' ?...ok, obviously I’m open to suggestions.

I’m moving towards doing Boyne, Walcourt and Aughrim refights, with different sized units respectively (5 stands for Boyne, 3 for Aughrim, a mix for Walcourt), which lets me use my available forces. Rules still to debate, but Maurice and now Snappy Nappy are being considered. Previously, I used a Wargames Illustrated hack of the Wargames Holiday Centre rules.


Fast moving matchlocks? These guys beg to differ…

 
So many rulesets…so little time…

Sunday, 21 April 2013

Game 10 - Quatre Bras / Ligny

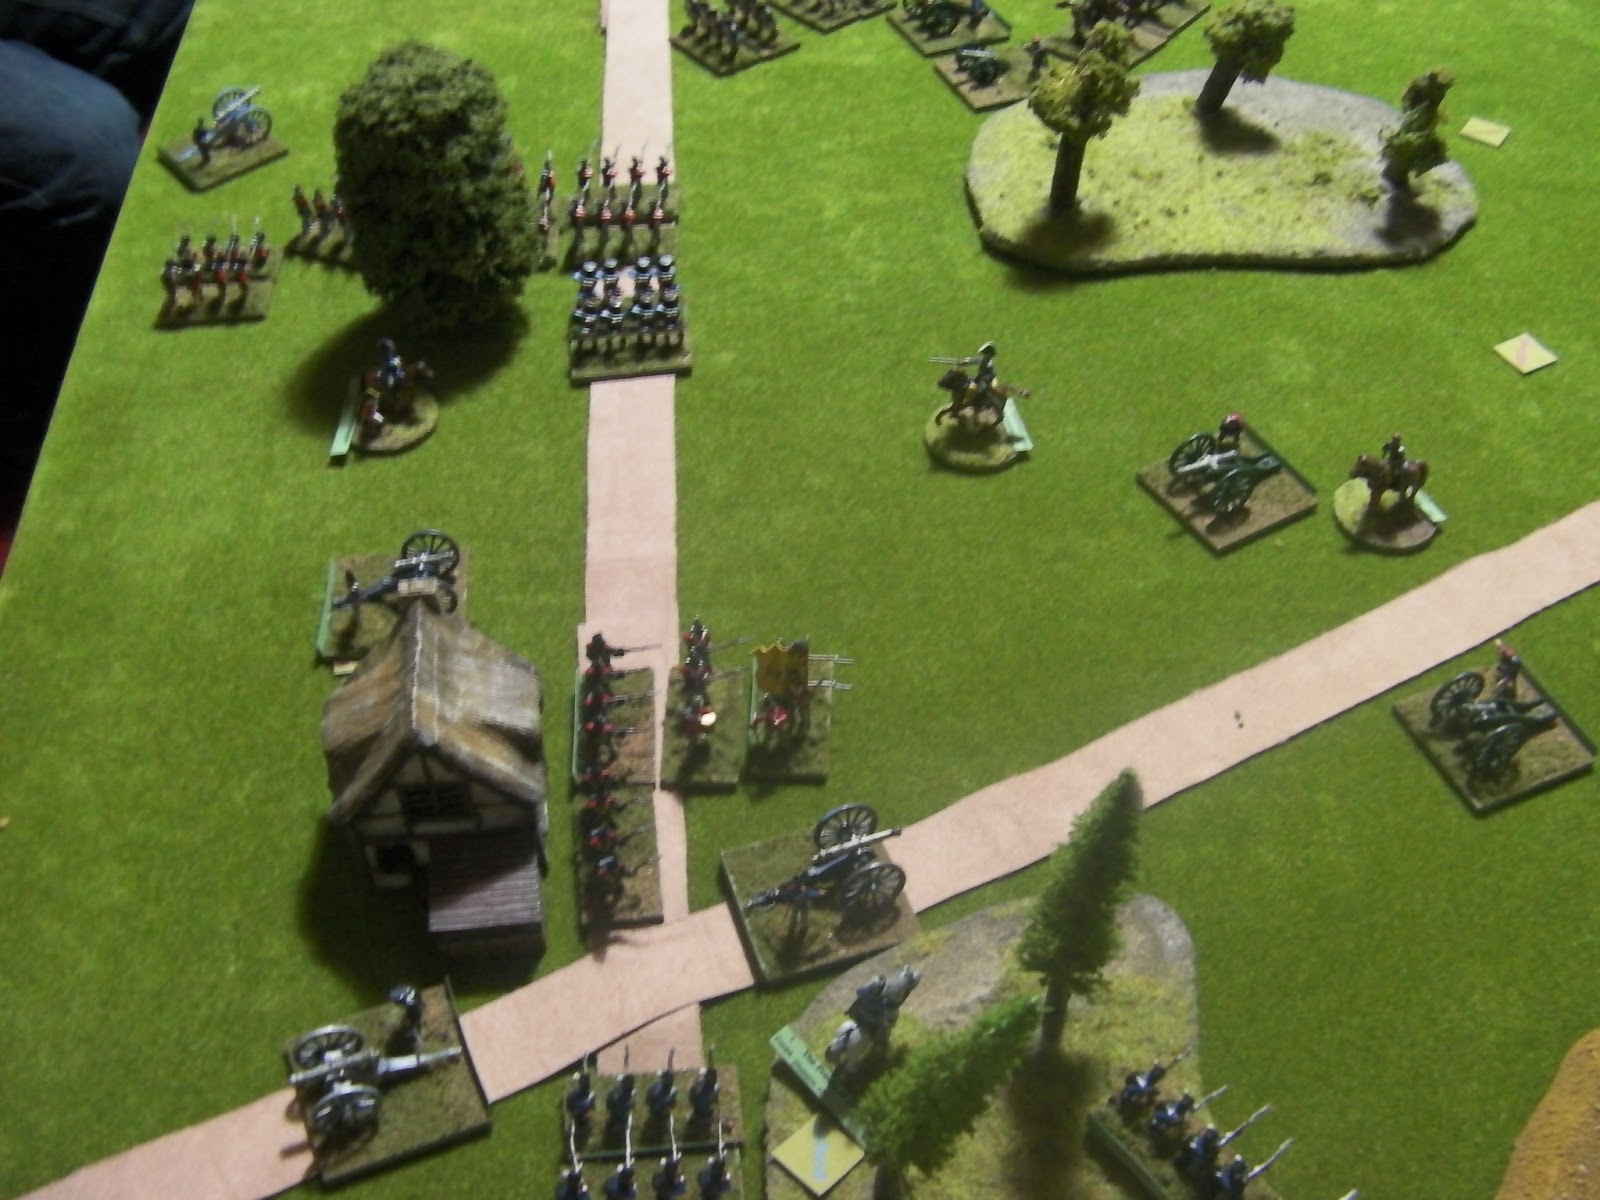
It's not often that both classic 'hundred days' campaign  battles can be fought on a single table, but Snappy Nappy is at such an accessible scale that the transition from how we read about the battle to how we play it, is made more seamless than ever.

BIG benefit to the game is in the almost abstract manner in which manpower is translated into units. As with Volley & Bayonet, the basic unit is the brigade, though V&B takes great pains to represent every single unit (with good reason of course). This can however slow the game down. The principle of Snappy Nappy is that we are interested solely in the corp and its commander. It's his numbers and their relative effectiveness at a point in time that make the difference. Hence, a corps in V&B might have 7 stands/units, while in SN it could be 4 or 5. The scale is 1"=150 yards, so at the reduced scale that I use V&B at (50mm baeses), it should be the same. I used 20mm figures on 50x25 bases - so everything should be equal, but it isn't. SN is a true 'battle' scale. It's the corps and what can be accomplished with them that the commander is concerned with rather than counting strength points. It's effectiveness over numbers.

Advantages:

  • Labelling & breakdown of units is significantly simpler than V&B.
  • The mechanics are breathtaking - troops quality dictates your effectiveness and how easily you pass morale checks (the crux of the game). Hits mean morale checks - and you keep rolling until you pass, with each failure reducing your morale. Good troops (usually) last longer, though I found even the best cavalry units disappearing from the field after bad die rolls at just the wrong time.
I really think this system could be hacked and used elsewhere. ACW really beckons and AWI would be sweet, and truly reflect the difference on the battlefield between British regulars and American Militia (at opposite ends of the spectrum).

Disadvantages:
By the end, we found ourselves not using the orders system. That's a pity, since it is well thought out, and biased toward the French/British (as it should be). It just didn't seem to gel with other mechanics, though it could have been the massive size of the battle we started with  - which left us with too much to grasp in one game perhaps.


And so to the battle:

I cheated slightly. The table I have is 8'x5'. To scale I should have been using 9-10' long, so I squeezed some elements. In the end, it made little difference.

Key things to note:
I sent D'Erlon the wrong way and ended up with him being too late to even get to Quatre Bras - uncannily historical.
Kellerman didn't even go near Quatre Bras. In the end, early hopes of a victory there were completely quashed by not reinforcing it early, due to early indications that it would be a walkover.
Ligny became a flank action and the French were mauled in the centre. Cavalry charges were going off on both flanks like fireworks.
The Prussians suffered but held. The Allies held onto Quatre Bras and wouldn't let go.


The view from the east, showing Ligny and the Prussian bottleneck (which the French failed to adequately exploit today.)


View from the Prussian lines.


 Vive L'Empereur!!!

The guard stayed in the Namur area until 4pm - a mistake as it turned out.


 View from the Belltower (at Namur ;) )


Prussian Corps on the Allied left - saved the day in the end.


The opening gambit at Quatre Bras seemed desperate for the allies, but there were so many reinforcements still to arrive.

The French hit the Prussian centre early in the afternoon in an attempt to hold their artillery while the flanking actions went off.


Some French breakthroughs in the centre ended up with mauled units, and in the end, two routed corps.


The French right became a hotly contested cavalry action.


While the centre continued to be a meatgrinder.


As Quatre Bras developed, and it seemed that the Allies could be contained and defeated, Kellerman was ordered to the centre!


Allied reinforcements however (and certain very stubborn Brunswickers), would force the French back on their left.


D'Erlon's reinforcements started to arrive and were sent...to the centre, to turn the Prussians' right flank. An unfortunate decision for the French.


(Ahh! So this is where Napoleon keeps his order markers.)


 View on the French right, as cavalry surges against the flank (and neatly manages to balance on the table).


 French attacks became ever more desperate on their left at Quatre Bras.


 By game end, the French were fighting a useless flanking action without taking the main road, while at Quatre Bras, one brigade was left to settle the matter.

A great game with great rules, and those rules certainly demand to be hacked and tinkered with. We'll be returning to them again.