Sunday, 31 October 2021

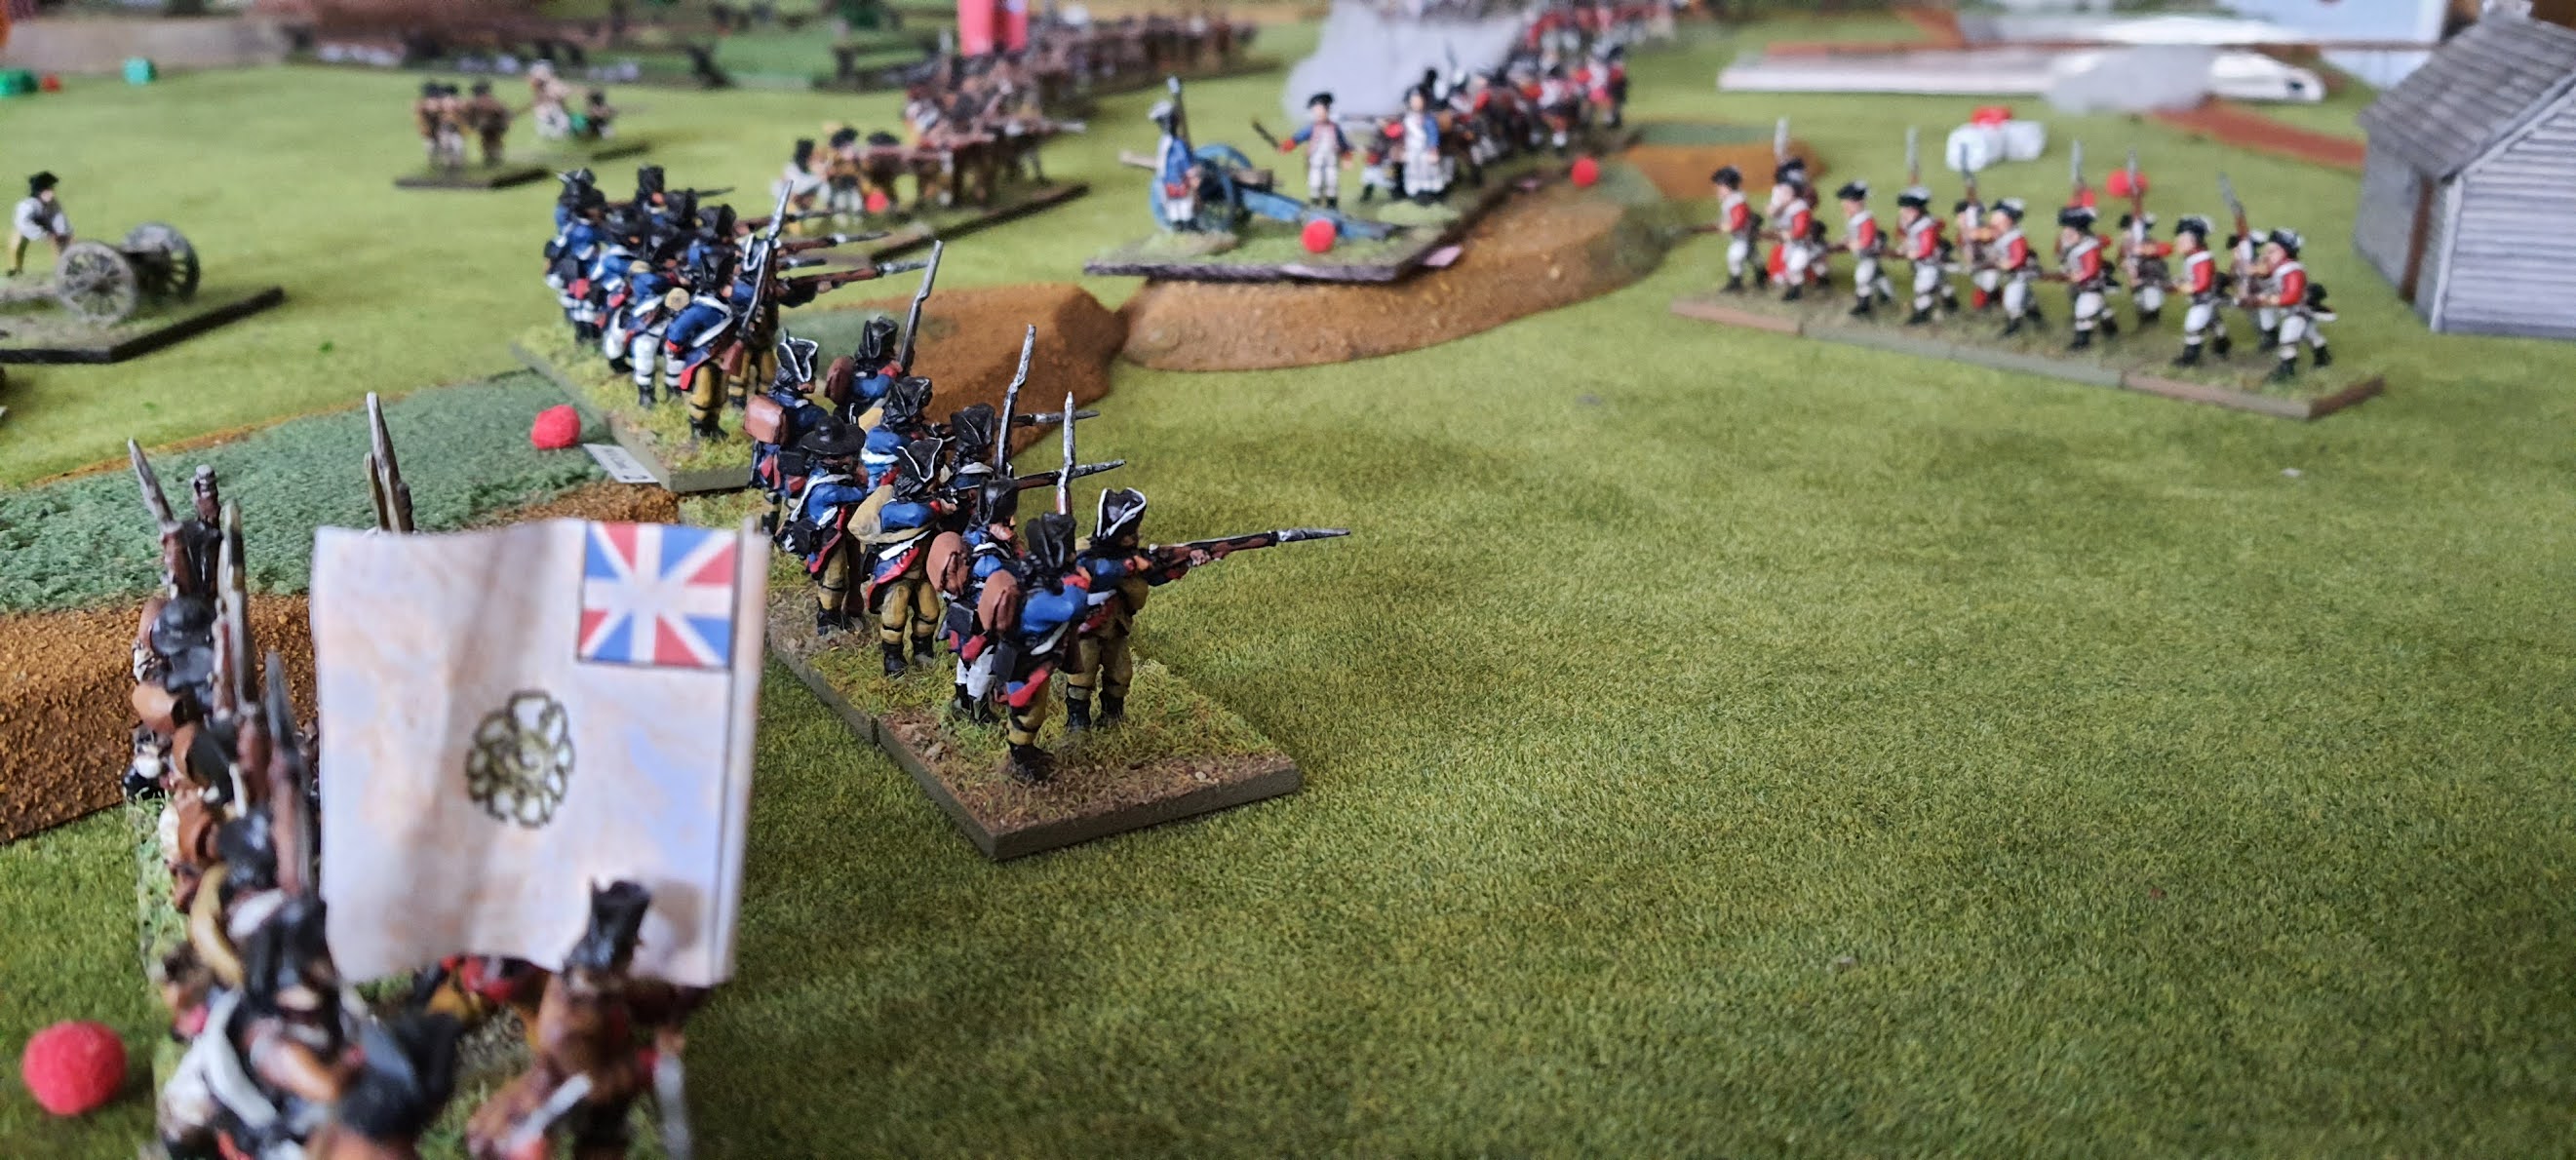
Princeton 1777, with 'Live Free or Die'

I've been itching to try these rules since they arrived from the US; developed by the guys at Little Wars TV, they are a 4 page approach at AWI, with a basis in Andy Callan's 'Loose File & American Scramble' and lots of pertinent scenarios covering most of the events of the war.


Aimed at 1"x1" bases (with 10 or 15mm - see the Little Wars TV Brandywine episode for excellent coverage), I upped the scale (and thereby table size) to suit my 25mm stuff (on 1.5" square bases). It worked beautifully, although I did end up using every single American AWI base that I own for this scenario - I must paint more figures.


Highlights:

  • The rules come in a magazine format book, though you can of course buy the pdf. Proceeds help the American Battlefield Trust. This war has always been a fascination of mine - there are many ironies at work...with subsequent influences felt across the C18th and C19th.
  • The format follows Andy C's LFaAS in the main, but clears up much of the issues where those rules did not focus on the detail. Granted, with 4 or 5 pages of rules, there will be queries, but solutions seemed to be relatively straightforward, and problems were solved intuitively.
  • Turn sequence covers : Command, Initiative, Leaders, Charges, Firing, Moving, Melee and Redress Lines. A more traditional sequence you might think, but you have to be careful how (1) you spend your command (resource), (2) where you place your leaders (who are great when attached but obviously at risk) and (3) how fragile militia or class 3 or 4 troops can be - especially so in the face of 1st or 2nd class troops.
  • Units take 'Demoralisations' (DMZs) which ultimately takes bases away after 5, but more pertinently, create morale rolls and potentially force units back, in turn potentially demoralising forces in their retreat path. This is not as complex as it sounds and works pretty seamlessly. This is the real meat of the resource management aspect. You quickly get a sense of units that can take more DMZs and those who are under threat of capitulation ...and you can't do everything you want to...
  • Firing is d6 based, and there is a distinct difference between 'hasty fire' and moving and 'volley fire' (twice the dice) and thereby not moving - great period flavour here done seamlessly, without lists of modifers. This can make 1st class British units fairly powerful, and by no means a glass hammer, unless confronted/outnumbered by continentals.
  • British charges can be pretty devastating in the right circumstances.
  • There is no arbitrary 2D6 roll for unit activation...

Everything works! Key to this however, is that the guys have really kept the spirit and flavour of the AWI in these rules.  

 The scenario was from the main rulebook: Princeton 1777. Scale is 50 men to a base.

  The British could win if they could retain control of one of the road exits. This would not be easy as American pressure would become increasingly heavy as the turns wore on.


Early American moves in the centre

'Here we go again Zeke'

Some of the British infantry are 1st Class - with devastating vollies, especially so if combined with a leader

An early charge from British cavalry against skirmishers is indecisive

Here they come...in the British centre

The British left remains tantalizingly open...

British 17th foot remains stoic throughout the day

Early signs of Hitchcock's Brigade - reinforcements on turn 3, and keen to do something on the British left flank

The centre bears the brunt of the early American attack


American flanking action starts to develop


On the American left, reinforcements are starting to pour onto the field in column, but it's getting closer to turn 10. Can the British hold?

Washington takes centre stage, in an attempt to hold the British centre in place, with militia ,,,he is wounded twice.


Mercer's skirmishers close again. Actually, we forgot about their extra range at one point, from rifles...

American columns closing to one road exit. They'll undoubtedly take it. If Washington can do something in the centre, the Americans could win the game.

Americans also now seriously threatening the British left.


The British hold and force the Americans back in the centre. It's late in the game, and they still hold the road to Princeton ...

The flank will ultimately cave to American pressure, but perhaps not before game turn end

Washington and Mawhood both wounded with fighting in the centre


American columns will take one objective...


American militia forced back in the centre. British firepower is devastating

The flank action hotly contested ...with the last British unit entering the field


A charge on the British right - simply to deter any riflemen and oncoming Americans...

...though they have now captured the road to Trenton ...and are turning to the other British flank...

...but by game turn 10, the British have held on, and inflicted more losses than they have sustained.

A great set of rules, and well supported with scenarios which take on all the major engagements. More from these rules soon. (and yes...must paint more figures - especially if I want to do Germantown)


Saturday, 23 October 2021

Lasalle 2nd ed. with Sgt. Steiner

1st post plague game with Sgt Steiner last night, and what a game!

I've been a big fan of Sam Mustafa's Maurice, and really should give more attention to Blucher and Rommel than I have. Sam's elegant and solid game design principles always seem to move from strength to strength as he progresses with the 'Honour' series of rules/games.

Lasalle is no exception. Now, I'm no Napoleonics expert, so there will be some national characteristics, or dynamics of square formation etc., that might annoy some purists - but we can always rely on Sam's rules to present us with a good, exciting, dynamic and thought provoking 'wargame'. For me, that beats a complex, unfinished, over complicated 'simulation' any day.

 I'm also less than convinced that more complex games are rarely played 'purely', that is 'properly'. Added complexity means that things get dropped, missed or hacked. You don't see this with Sam's games, where any mistakes are usually made by the player/commander, as opposed to something in the rules which is adversely designed, too subtle, or just plain difficult.

Highlights include:

  • Sam has designed various 'Momentum' management methods in his games: from cards in Maurice, to hidden dice resource in Blucher. There's a nice to and fro activation in Lasalle, with points dependent on the army/commander, with some additional momentum from the commander, if he isn't using his trait(s) to influence the battle that is.
  • There are many choices to make, and with any good design, you can't do everything, nothing is purely arbitrary, and the only thing left to chance is what would naturally have some randomness (firing / melee etc.) ...but even this is affected through certain re-rolls dependent on specialty - as with Sam's other rules.
  • I haven't played 1st ed. but heard some bad reports. It's great to see a refinement here, and the words slick and fluid really apply to game-play. Having knowledge of Sam's other rules helped, so I picked up the rules fairly quickly - and made terrible (horribly terrible) mistakes, but will obviously learn from them.
  • One aspect of battlefield management for instance, is reflected in some of the subtle changes to rallying. In Maurice, this will cost you card resource, but it's safe to do. In Lasalle - failed rally attempts/dice rolls become permanent hits - be careful what you wish for...
  • Light infantry is deployed in an abstract style, and by the player who achieves best roll based on availability - and they are used to stymie and dilute effectiveness. It's perfect, and means that I don't have to manage 'lights' as a separate resource. Right away, there's a rule which lets you be concerned about lights only by virtue of where you want to harass the other player - easy, effective, and as accurate (if not more so) than any other set.
  • It could be called 'Napoleonic Lite', but for me at least, it's simply Napoleonics. It works ...and there's no completely random activation issues for me to scream about ;).  You manage your own endeavor, as best you can, with limited resource,being wary of the opponent. That's a wargame.

The game was a 'capture the flag ...I mean ...town and objective' scenario. The Sgt's excellent 15mm troops - Prussians and French, would be used. Great stuff.

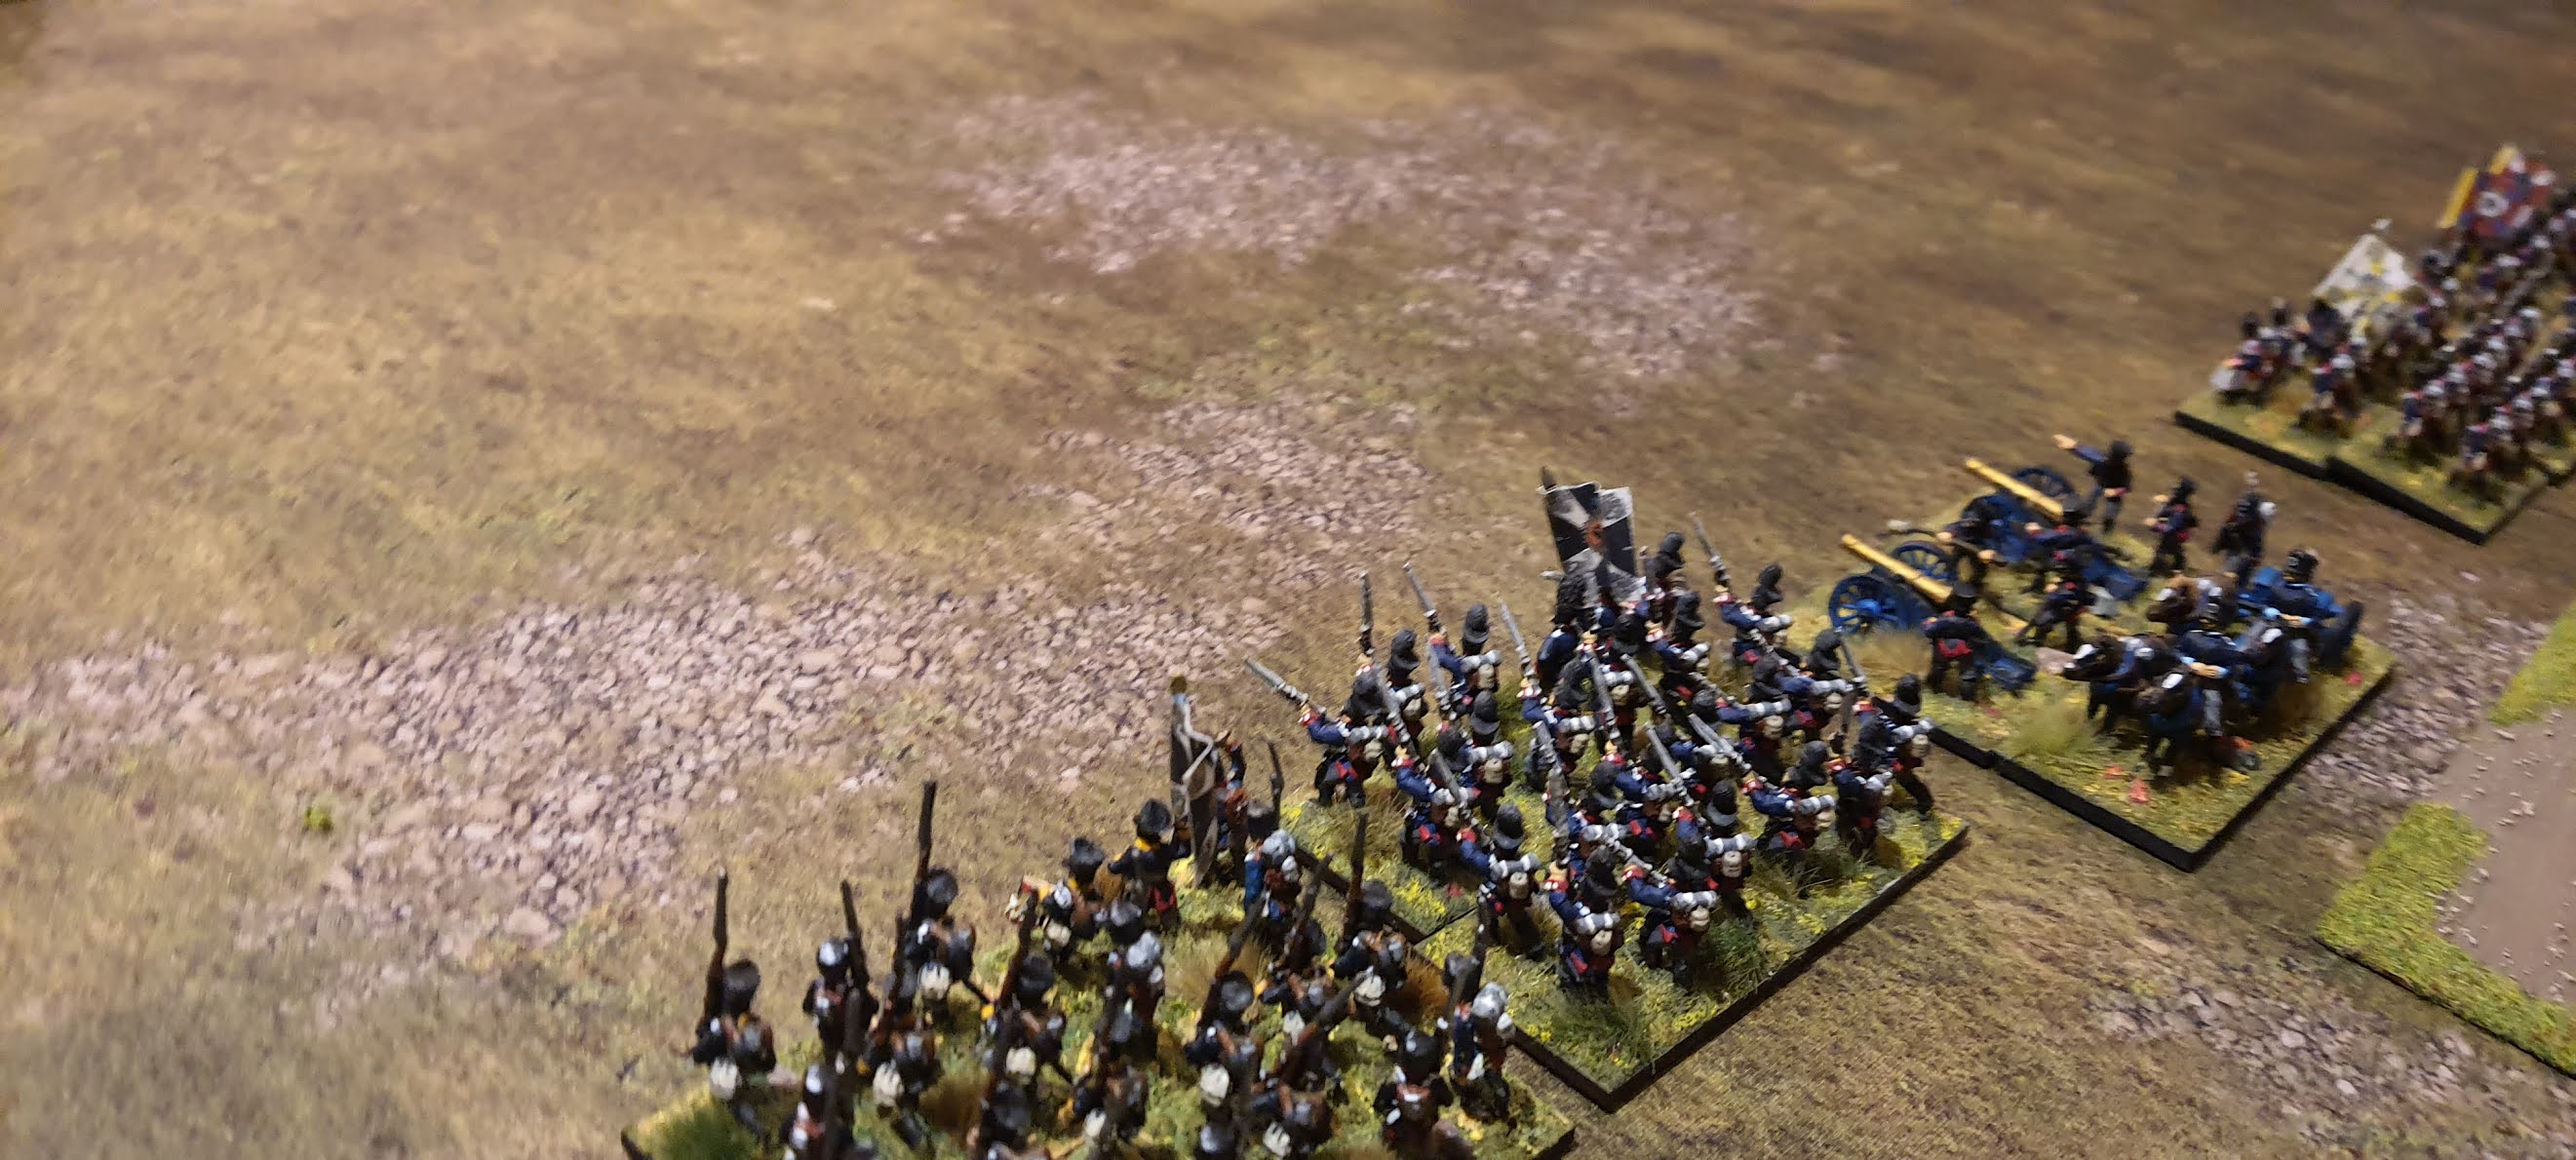
Prussian brigades, ready for attack.

Prussian advance on their left - the objective - a town on the crestline.

Delicate maneuvering around a French battalion - which I really should have blasted away early with some musket discipline...


The Prussian right, which would become a meat-grinder where, despite the advantage of numbers and pressure, the Prussians would be stymied by terrain and French square!


Early mass cavalry action on the Prussian left - they would not fare well, and ultimately, this would open their flank.

Early work on the right - I thought it would be oh so easy to turn that damned flank and reach the 2nd objective ...hmmm... A French battalion holds in square for most of the day ...Pour La Gloire!!!


Oh look - they still haven't broken through ...


Prussians begin to fall apart on left and centre.

...while on the right... (low whistling of obscure Prussian drill song...)

Fast acting cavalry reserve attempts to staunch the flow, but not well...


A breakthrough - but all too late, falling short of 1st objective, never mind the 2nd ...Great rules though - excellent design.


Friday, 10 September 2021

The FFT3 Studies & Observation Group #1 - Chinese Farm

 John & I recently had a go at 'Fistful of TOWs 3'. (Well, John read the rules, and I brought enthusiasm...and pepsi).

This has been an aim for a while, as the system gets widely lauded (especially by the folks at 'Little Wars TV'), and it is complete, pick-up worthy, and offers a wide range across the C20th period. So we formed FFT3SOG, in order to explore this fine set.

To be fair, we weren't disappointed. Now, it's a little different, and subsumes a lot into simple die rolls, but for my money, it works really well.

Highlights:

  • It's fast - we completed 'Chinese Farm', with full Egyptian & Israeli complements in 3 hours - an evening no less.
  • We're used to seeing units disappear when destroyed etc.; then some pushbacks and disruptions and suppression in other games. In FFT3 - you fail your Quality Check, and you're gone - hence massed Egyptian armour can fail QCs and vanish, whilst Israeli stuff tends to be able to hang on; the QC being a method of denoting training/morale/staying power, but this all works, and it will be useful to see how validity is demonstrated in the Fulda Gap say, where Sov units can vary in quality.
  • There's a lot of d6, but it only reached 'bucket' status when an M60 fired at a nasty BMP / Sagger, due to armour differential. Otherwise - no buckets of d6.
  • A lot of online reviews think that it's not a parallel with Spearhead in terms of battle 'scope' / size. I disagree - I would say, speed of play would allow for larger battles quite easily (without those axes of advance arrows...which always seem like a great idea...but...).
  • The turn sequence takes some getting used to - but makes artillery, firing, hold fire and overwatch - all become fairly seamless. In a sense - 'hold fire' and 'overwatch' allow you to interrupt turn sequence, but at a cost - you have to 'know when to hold em'
  • I can see how this is perfect for 1/300 - it all fits nicely with the unit cohesion rules.

Very nice set - and deserves a lot more exploration. 

Battle was 'Chinese Farm 1973'


Israeli M60s and Paras in 1/2 tracks advancing from the south, toward Egyptian infantry lines in Chinese Farm


While to the east, Armoured Battalions in M48s

Though of poor quality, the Egyptian infantry (1) has Saggers and (2) will be hard to dig out as the Israelis have only a single battalion of Paras, reinforced with a lot of armour

Egyptian armour is numerous, but can be stopped with a good warning shot!!!  ...their QCs would be their undoing...

Typically, the Israeli armour units here, would take high ground, engage and disperse at long range, then move in with a covered assault...though as stated, lacked infantry

'Where the hell did the amour go guys?'


Egyptian reinforcements

...a lot of reinforcements


Some M60 action from the ridgeline, and forming a blocking force against the oncoming reinforcing armour, is fairly effective


...although not without some casualties to Saggers


Ultimately, with some covering fire, the Israeli paras go toe to toe with the well ensconced Egyptian infantry, but by the end of the first combat, they're fatigued such that it would be impossible to take all of the positions.


So, all in all, and interesting result, whereby the armour battle became one-sided, while there were too few paras to take the positions on day one.

A great set of rules - we'll do some more. I'll also try to draw some comparisons with the GDW First Battle rulesets when I get time.


Sunday, 8 August 2021

Long Island: Shoemaker's Bridge, 1776 ...dice rolled 'round the world...

 Jonathan from the excellent Palouse Wargaming Journal organised a virtual Zoom AWI game for Steve at the excellent Sound Officers' Call and myself, knowing that we were both AWI 'nuts'.  Steve and I have faced each other across the virtual battle field before (at Norm's Germantown game last year at which Jon played Washington), but on this occasion, we could see the whites of each other's eyes (well, as much as 'Zoom' will permit). 

The format, setup and great camera work and refereeing from Jon made this game seamless and highly enjoyable. This really works, and we must do it again. (Oh, and my dice were excellent - have I mentioned this?)

Electing to play the British (I have a tricorne and lots of tea and a dodgy accent), Steve would take on the defence of the ridge/farm and the area to the east, in an attempt to prevent the British taking their positions and exiting the board to flank a large force.

Rules would be Jon's variant of 'Fields of Honor' - which are superb, both for this type of application and a real AWI/Horse & Musket feel. A few hacks, and the rules could be used (hex-based) across a variety of theatres and periods.

This all proved very tense. Watching myself on camera, I actually looked quite nervous during American attacks from the ridge. Ahhh, the pressures of command. 

This was one of the screens. I didn't get any shots of the river crossing, though you can see a frontal attack on the American left, with a hook around the hill on the right. 15mm miniatures on single bases, and this worked well - even with troops in column.

The British plan ...well, when I say 'plan'... I believe 'hastily fashioned series of actions created via necessity' might be more akin to what actually happened.  The circled American artillery battery gains the Medal of Honor in the AAR. It simply would not die. Three successive British assaults it took...


Some of Jon's pre game information. This was well presented and well prepared. We had very few questions pre-game.

The British flank action. Major Gen Piggot had been killed in action by this stage ...only his Tricorne survived...Lord Percy was forced to take over 'I will deal with these rebels..personally...'

You'd think such a remote game, with only the screen tool to communicate, there would have been an issue. Jon was able to understand our requirements and point to the requisite units seamlessly. Nothing was lost in translation. This all worked very well

What a specatcle, and many thanks to Jon for the prep and virtual hospitality ...I'm told the Americans are looking for a rematch soon :)

Now the rules. There was so much to like here. Some highlights:

  • There is no restriction on moving by brigade/battalion in terms of activation - but that's enough to get you into trouble anyway.
  • Firing/Melee is based on D10 availability - in turn based on 1-3 strength points. You want to beat 5 with a number of mods. There is a -2 smoothbore modifier for instance, with cover and/or national characteristic mods. I guess if you wanted to change this for a different period (say matchlocks) you could work off D8s and reduce max range to 1 hex instead of 2, but these are minor hacks.
  • Other mods include melee/firing 'ratings' , so this is where the British scored in terms of firing accuracy/methodology and cold steel. This helped them immensely, and gave a very nice flavour - forcing the Americans to use cover and defensive tactics to their advantage.
  • Movement of 1 or 2 hexes seems slow, but remember the small battlefield means that action happens quickly, and flanking can happen when you least expect it. 
  • Units can also be brittle, but only if you push them too hard. There are some real command decisions to be made for a straightforward rule set. Like most good designs, hard to master, but easy to understand. 
  • This seemed like a real battle, and we commanded on the same basis. There were no strange rules or tables to look up, no cards to sort through. I can see this working for larger affairs very easily.
  • The systems are fluid and can be easily hacked for specific battles/periods.


A great set, and based on an earlier C19th set. There is a ww2 variant which I saw, though the rules there are very different. 

A great game, and can't wait to do more of this. Thanks again for all the hard work Jon. And thanks to Steve for a sterling defence against my fumbling attacks.