I've waxed lyrical about these rules for years, and I had Brandywine set up for Fitz and I to have a go at, even before we tried the FKaP game last episode. That said, I do want to try the FKaP hack for Williamite wars, plus I needed the table for another side project, hence we had to get Brandywine done...
We have done Brandywine before, so rather than go through the battle (the British won it again :O ), it was indeed refreshing to see the elegant simplicity (without being simple) that is V&B in all its glory.
Granted the new edition simplifies a few things, gives an extra dice for regimental stuff due to some Napoleonic battles now have linear vs brigade bases, and sorts out the skirmisher issues, but we used the original rules for this one.
It did make me think again about using the wing scale rules for AWI (which extends range, but allows for individual battalions, or even companies, depending on scale); indeed, perhaps V&B are the perfect set for AWI, especially so with a multi battle campaign in mind. Definite food for thought. They also make a perfect group game.
An inch is 100 yards at Divisional scale, a strength point 500 men. you can field large regiments or brigades.
PLAY SEQUENCE is Command Determination, Move, Rally (by touch), Morale tests (in contact or short range - muskets don't have a short range though - later firearms do), Combat.
Roster sheets are used, but they have never caused me great issue; in fact their contribution to logging the numbers vs an eventual division exhaustion total, can be quite tense.
COMMAND DETERMINATION is fairly simple - the only downside is the number of commanders due to 'better' staff. French Napoleonic armies have officer clutter everywhere. I have considered fixing this by using division 'counters' as commanders.
MOVEMENT is 'BIG' : 12" for an infantry regiment/brigade. NEVER forget the advantage of going stationary after movement however. You double your fire effectiveness. This is the dirty little secret of the original game.
DISORDER effects can radically reduce effectiveness, allow saves from firing etc. requiring rallying - which is where the high number of officers come in where relevant. Older C18th armies miss this benefit.
Units moving to contact, can't move obliquely, but CAN make a facing change at the start of movement. This makes decisions very interesting along the line of firing. Actually a very well thought out mechanism.
MORALE TESTS - built into the turn sequence - can be devastating for poor troops as they disorder. Double disorder is a rout. The mechanisms here are well thought out and work well.,
COMBAT has some nice touches; again, stationary units can win out simply by virtue of being well formed and in good order.
SAVING THROWS - NOT like BP in this regard, as they are used vs disordered fire, buildings, arty vs arty, and skirmishers. That's pretty much it - buckets of D6 you will not see here.
DIVISION EXHAUISTION - my single favourite mechanic in the game. As the brigade wear down, they contribute to the overall division 'number', which can be 40-60% of overall strength. This is absolutely key, as when DE is reached, it can't move to contact, and then has to roll vs morale collapse, which means permanent disorder. Rallying will help for DE, but not morale collapse. It's the nicest mechanism I've seen for seeing your division just devastated in the midst of battle. I can see it happening in everything from Williamite wars through to ACW.
A lovely system, which has also been hacked for many periods and does deserve more attention. I have often considered using it with hexes, but that, is as they say, another story.
View across the Brandywine, form the American lines
The Americans keep a decent reserve throughout the battle, but...
British assaults on the fords
Hessians make massive gains on the flank
At the fords, fighting is vicious, with units being shot to pieces
The Americans make an error, pulling back from British artillery, but leaving room for British manoeuvre en masse
'Here they come' Cornwallis's flanking actions make massive inroads against what would have been the American reserve
British pressure on the American right flank
A few isolated British regiments, could have been pulverised, but American caution was too prevalent
Washington splits his forces, then splits them again. The battle become three separate fights. (This also happened last time, if I recall).
There was simply too much British pressure, and allowing them to move around the fords, permitted too many units to gain ground. The Americans simply ran out of units. But again, these rules let us fight big battles, and get sensible results.
I have a few of the additional books, and really must analyse the Scottish Jacobite one in some detail.
I missed most of the good hype around Simon Miller's 'To the Strongest' ancient rules, though I knew that a grid and cards were involved, so when the two Steves set up a game of 'For King and Parliament' - the ECW version, I just had to attend.
Also of course, Simon has looked at a late C17th version of this, so already, he has my attention..
Actually, just for contrast, these are some of Steve's 28mm Empress figures painted up - awesome...
The key take-aways from the game for me were:
As mentioned above - a few tweaks based on French doctrine and cavalry doctrine for the 1680-1690 period, and these rules allow me to do Boyne, Aughrim, Neerwinden, and even stretch to Marlburian battles - I believe. Just look at a map of Almanza for instance - it looks perfect for the gridded approach.
Everything operates off a grid. Now, that does create a a few issues with diagonal decisions and charges.
BUT more is solved via using a grid, than is made complex - i.e. delineation of terrain is simple; movement is simple; range is simple; arguing is mostly invalid, and my concerns about it all appearing 'too' linear were mostly disproved.
Ok , ok ...I'm a heretic - I didn't like the playing cards, and I prefer D10s ...I know, I know.
D10s still work, and to my mind, give a nicer element of randomness when required, and are quicker in a large game.
And as Bruce used to say 'Tonight's the night, if you play your cards right!'
Time for a Brucey Bonus???
(I fully appreciate that this 1980s/90s British TV reference is so far off base for my American friends, that its relevance as a meme, joke or otherwise humourous skit, is about as useful as a fart in a space suit...)
The figures are all from the two Steves' excellent 15mm stuff.
The initial set-up
Those Rubbery Royalist forces
Those Pesky Parliamentarians
The first cards for activation go down - now a D10 can be used, and much debate over their pertinence, vs the 'passion' of using cards was discussed. Apparently the rules say I am a 'heretic' for preferring D10s ...oops
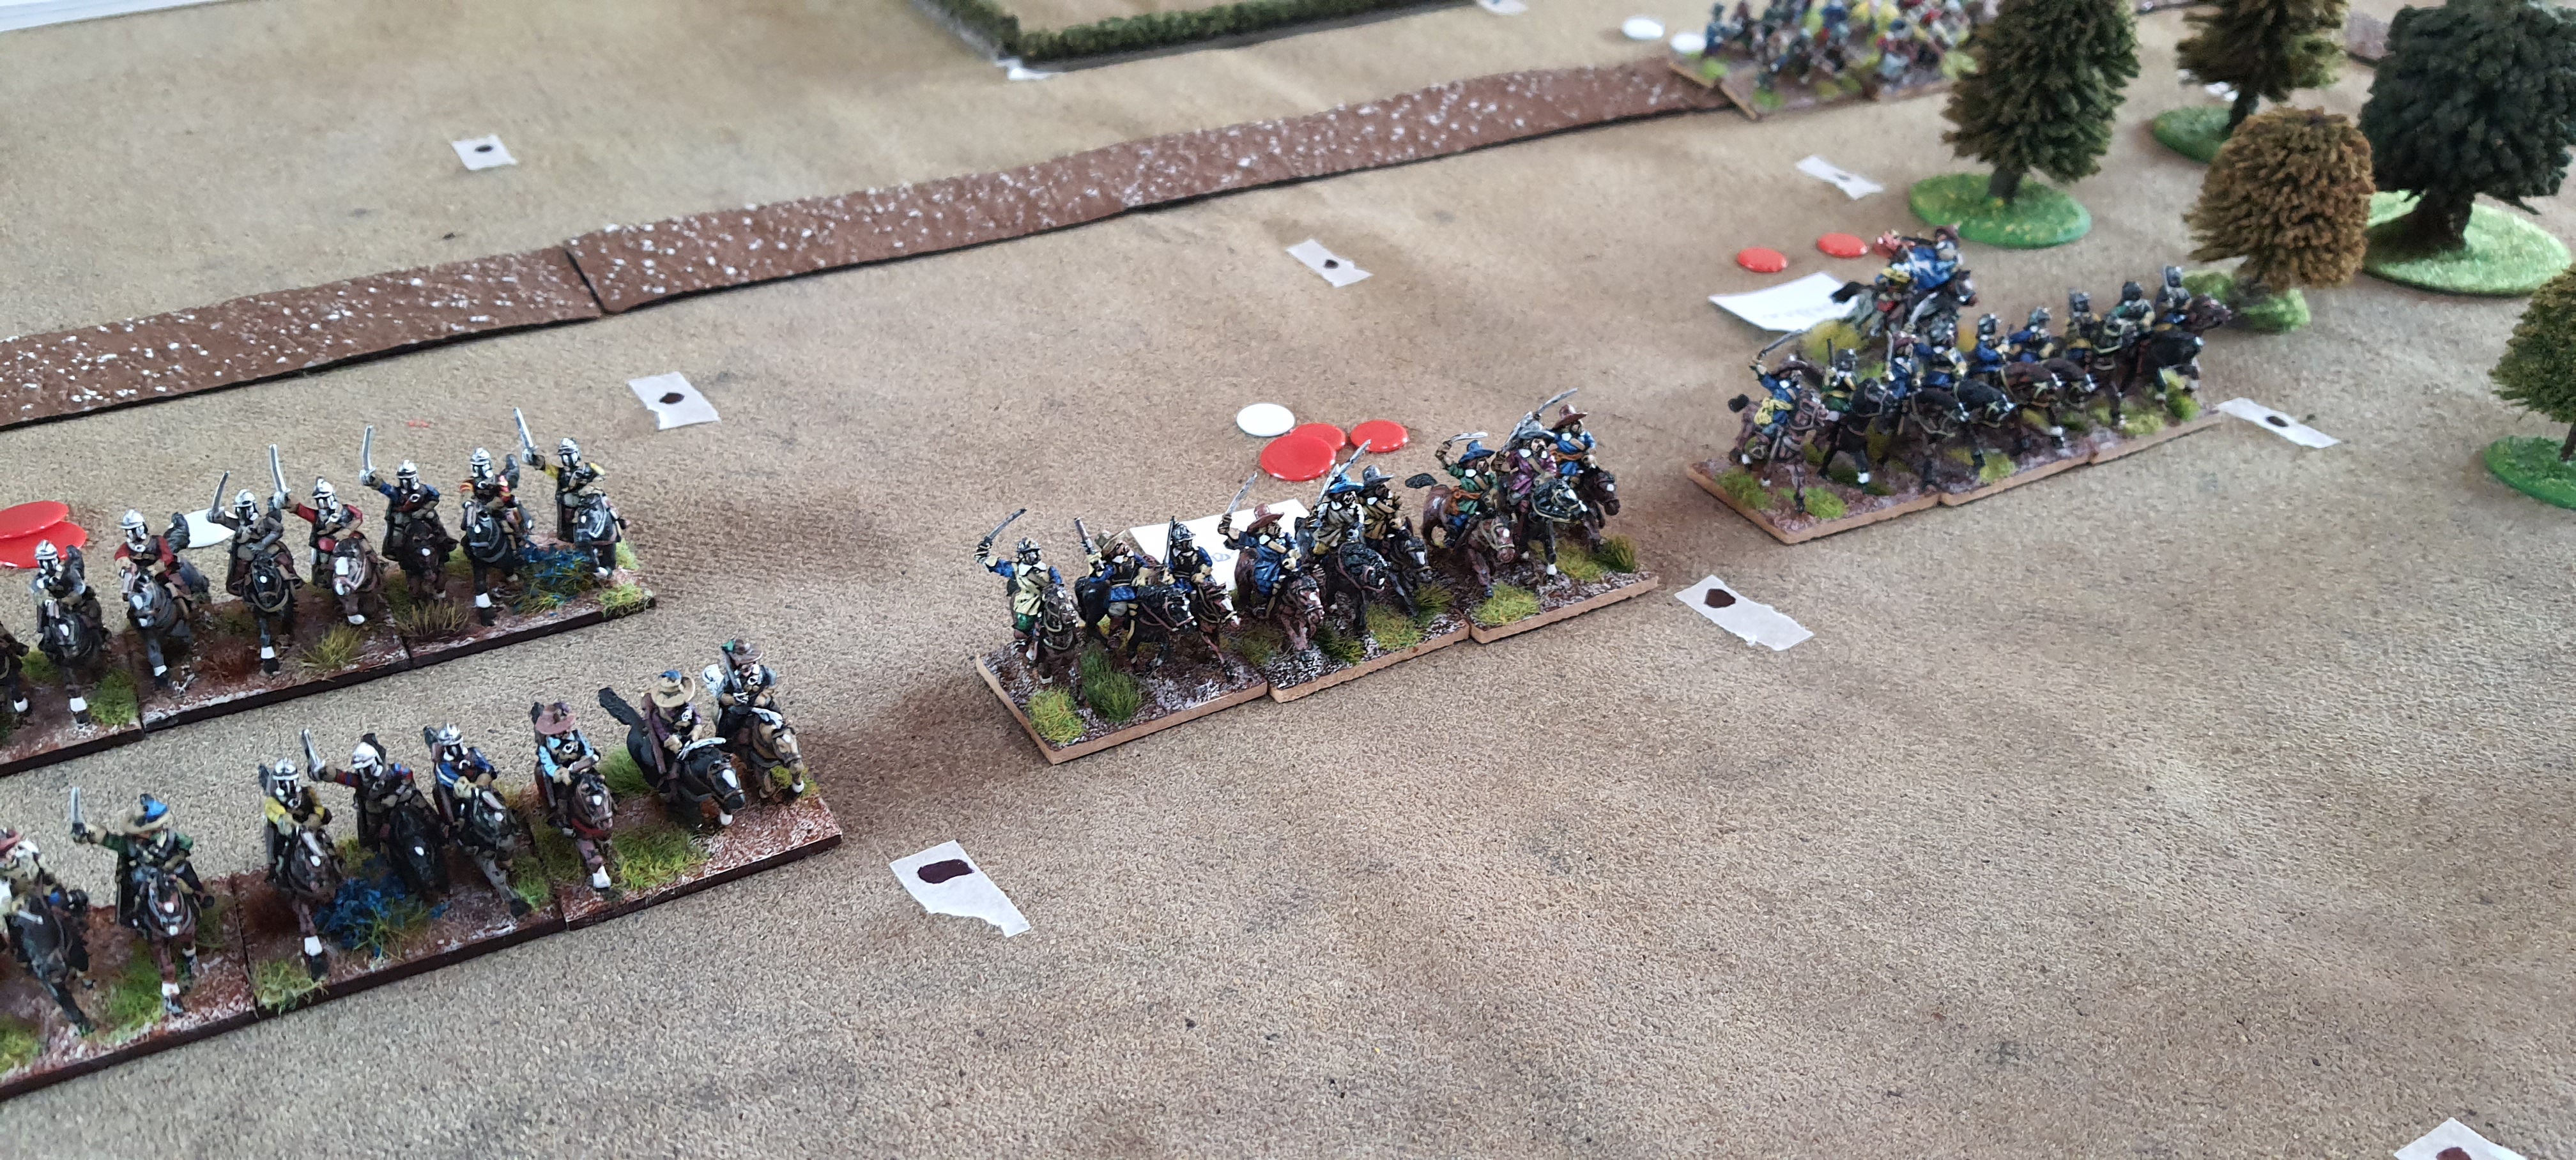
The chits are used to delineate dash (no of charges as horses get blown, which is a great mechanism) and fires (for cavalry it is literal, for infantry firing at full effect does wear down)
Cavalry clash on the Royalist right
Royalist infantry engages in the centre
The right would see an epic clash of horse all day
Now the cards aren't visually great looking, but they have their place. Again, I will playtest with D10s and maybe use small cards for actual group games.
The Royalists are getting the better of the clash - Dutch style cavalry vs Swedish style cavalry - one is lithe, the other enduring...
It's all going off in the centre - the Royalists have seized the initiative
Guns pretty much sit when emplaced - a feature that we can use right into the early C18th.
By game end, the Parliamentarian left and centre had started to collapse.
There is a lot to like in these rules, and this style of play. I love the fact that I can transpose this to Grand Alliance / Nine Years War / even Marlburian - I believe, with relative ease.
It's a very different style of play, but I think one that really lends itself to a good game - the tactics are somewhat different - but the key to play is knowing 'when' to commit. That's probably a lot closer to the real decisions made at this time, in these periods, than we actually realise.