Sunday, 28 February 2016

Steiner & le Duc...and Blucher

I've been trying to get a Blucher game sorted out, so Sgt. Steiner kindly organised one in order to show me the ropes. I've been itching to try this, hoping that Sam's Napoleonic rules are as good as Maurice. I wasn't disappointed.

So the scale is grand tactical, in similar fashion to Volley & Bayonet, and there are some similarities with V&B and Maurice, though I'm guessing that some remnants of Grande Armee might also be in there.

Highlights included:

  •  Watch your deployment! If you don't have room to swing or pivot that brigade footprint, you're out of luck. The scale make brigade deployment and movement a delicate thing.
  • Nice reduction of artillery effectiveness, and of course army morale effects.
  • Everything is quite straightforward re. fighting and melee. The masterstroke is learning when/how to commit reserves.I mentioned epic defence in my last game of Maurice...I kind of got carried away and tried to carry the attack from a defensive position here (unsuccessfully I might add)...en avant mes amis!!!...pour la Gloire?
  • The momentum rules work beautifully. The opposing player knows how many 'moves' you have left, as he has rolled them. You don't...so you never know just how much further you can push.
  • This game is difficult in the right way! Rules are straightforward, but mastering the battlefield is difficult. You start to think like a Napoleonic commander in effect. It's less resource management, as in Maurice, and more attrition management - so knowing when and where to commit the reserve is critical.
There's a lot of flexibility in terms of basing convention. Something for me to think about for my 20mm perhaps.

Forces arrayed, with cards for unspotted units. This works well, though there weren't many surprises as the game went on.


Strong Prussian left and decent French centre.


 La Garde Imperiale goes nuts in the centre...what was I thinking?


The cavalry action on the French right became more desperate as the battle went on; well, there was an objective to defend!

Near the end, the French centre is crumbling, though the left is secure (since they were effectively held in reserve, but for too long) - yet those French troops are too far away to do anything on the crumbling right.


 Dodgy little move on the French left with light cavalry  stumbling through the woods to the Prussian rear...well, almost.

 The battlefield at game end. Too many French attacks, when they should have stayed put perhaps.


Blucher is a great system. Just the right level of detail, friction, chaos and still retaining the 'big battle' feel. The Scharnhorst campaign system probably adds to that chaos, and allows you to march to the 'sound of the guns' (then arrive at the wrong time). Great stuff here.


We also had some discussion on Crossfire for WWII. It's been gathering dust on my shelf for 20 years. Perhaps worth looking at in order to solve my WWII concerns for lower level games (see SLiM discussion last time)...and then I started looking at the Crossfire yahoo group, with its modern and Vietnam variants, and files started to get copied and...well, another set of rules won't make any difference now, will it ?...sigh... 


Sunday, 21 February 2016

Game 38 - Brandywine (again!)

After a few false starts (one of which will be making me extol the virtues of Squad Leader over most other WWII rules fairly soon - watch this space - because I'm returning to Squad Leader in Miniature or one of Steve's variants - nothing else works for me...rant...rant)...we eventually got a game in.


Maurice of course, with the Brandywine scenario from the rule book (roughly, as I played about with some of the fords and had to use 3 base instead of 4 base units due to lack of figures painted).

What a game. I think I've finally learned how to defend!!! Pull back out of range when required (stay away from units which haven't taken 2x DISRs and cannister range), waste the attacker's resources as much as possible and wait for night (burn that card deck down as much as you can) and threaten the flanks, even if it means doing nothing (sneaky units can sit in the right place for the entire game and 'worry' an infantry flank - and send your opponent's focus elsewhere - which is the essence of defence).

Very tense, and as usual with Maurice of course, the action was focused on a few key areas, though here we noticed it did tend to move about more than in our other games, i.e. it concentrated on the fords and the delaying action on the flank. The greater focus actually was on the fords, rather than the flanking action, which made it more difficult for the British today I think.

It should also be noted that we had an exact turnaround in comparison with our version of Brandywine played with Volley & Bayonet in October. It could be random of course ;)


British units moving across the river to their historical flanking position.

The British centre, which would be the focus of ford crossing attempts...which would have been less than diversionary if they had broken through.

American view on their right flank.

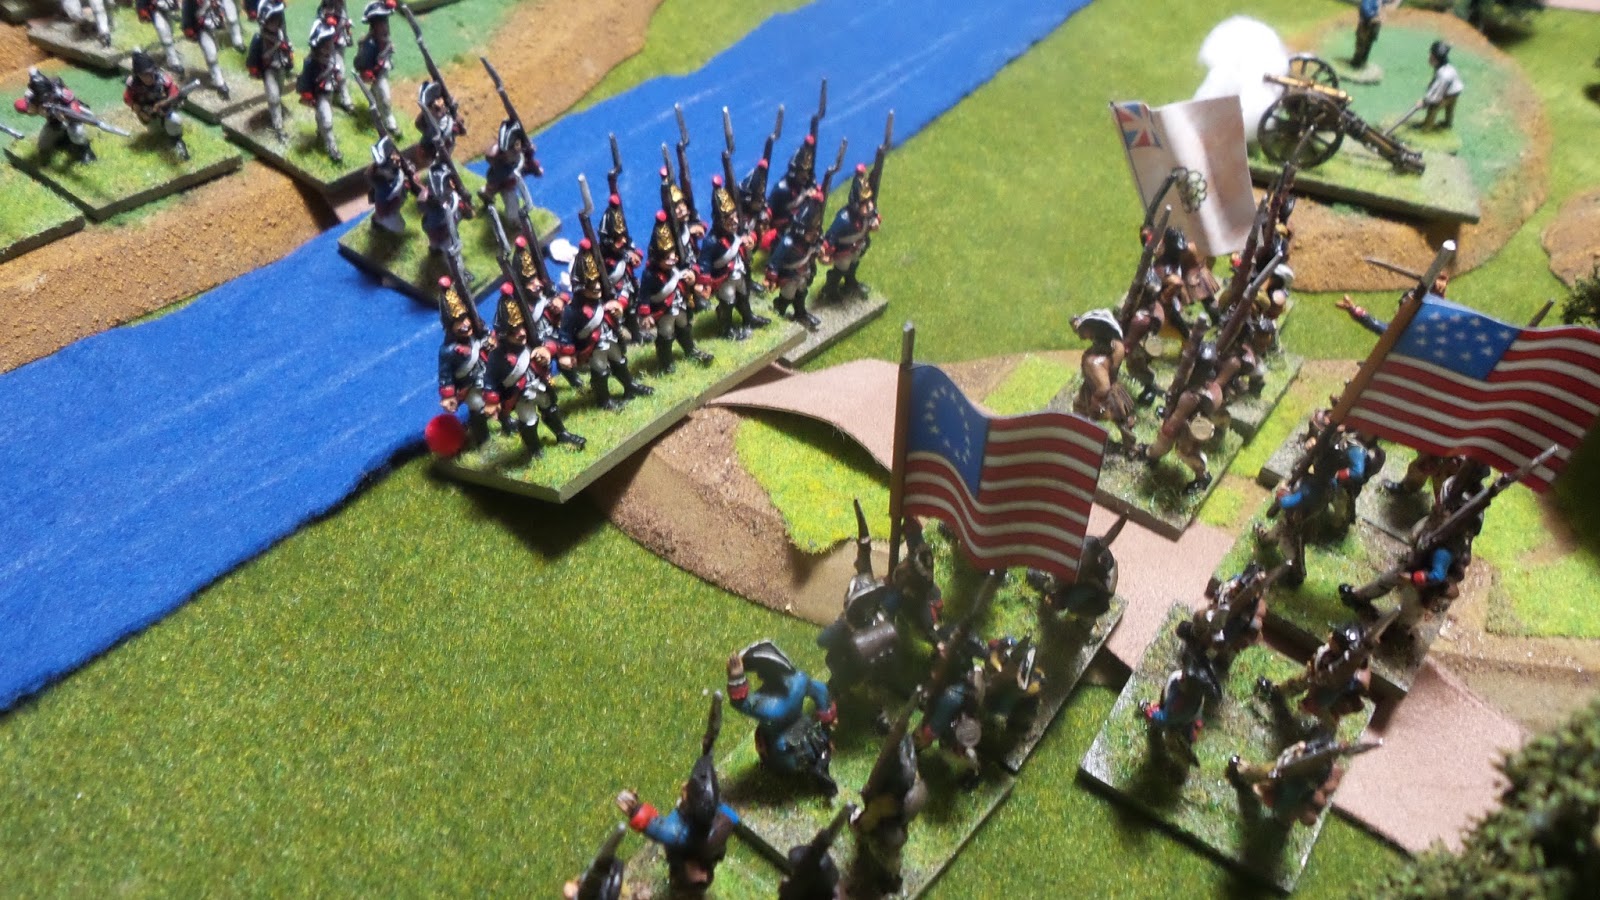
Hessians fording on the American left.

American move to secure the right as British make tentative moves, though some pesky American horse is floating about.

British bombard actions in the centre.


View of the as the Hessians attack across the ford. Maurice 'movement near the enemy' is a great rule here (well, for the defender anyway).

A charge is pushed back - with devastating effect.

Maurice has a tendency to find random pieces of difficult terrain, unsuspectingly, right in the way of the elite unit's advance...strange that ;)

 Deadly musket duels at the ford crossings.


 ...as the British attack on the American right goes in, in earnest. (That church is Dilworth of course).


 ...but the British simply ran out of steam. A few well placed cards had eroded their morale, but the Americans chose so many 'rally' actions, and placed so much fire on the key assaults, that the British units were simply worn down, without getting a chance to rally and having to push the assault home. A real comparative analysis required between this game and what we got from Volley and Bayonet with the same battle. Both very enjoyable, but in different ways.


Still a great game, covering a great period and still tense - sound resource management, simple systems and tense interaction with just right amount of 'friction'. (Since everyone is jumping on the bloody 'friction' bandwagon right now...*sigh*...more to follow on this and why I'm going back to Squad Leader for WWII soon...I know, two periods in one blog post...here's a pic to confuse things further):


Saturday, 2 January 2016

Sgt.Steiner's Post New Year Miniature Multi-Player Marlburian Mash-Up !


 Regular readers will of course know of recent games with Sgt. Steiner of the blog-o-sphere.

Well this one was a multi player extravaganza with his excellent 10mm Marlburians.

Five generals plus referee competed in an epic struggle against each other (and the dice!).

In the end, the French broke the Allied centre - though it was touch and go for a while.

'Field of Battle' rules used once more - excellent for large battles and beautifully unpredictable.

In addition, it seems that at least one of the participants can force players to roll the worst possible result, simply by chanting the mantra 'don't roll a one'. Uncannily, many ones followed, and many generals died in combat today!

(Next stop for Stephen is Las Vegas apparently.)

The French centre, as Dutch & Allies are deployed.

Appearance of French elite cavalry on the right, moves the Allies to relocate their own mounted troops.


Heavy musket exchanges and a weakening of the French centre.

...as the cavalry looks on, staring at the Dutch infantry in front of it.

 The Battlefield. Epic spectacle.


French gains on the left flank.

With a drastic turn of events so symptomatic of the unpredictable nature of early 18th century battle, the Dutch centre begins to crumble, yet the reserves have already been committed...

Great hospitality and game today. Thanks to Steiner and the guys.

Thursday, 31 December 2015

Game 37 - 'Megablitz'


Now this is a nice set of rules.

If you’re not aware of this one, the concept is operational (The Soviet ‘Operational Art’, as quoted - actually, I’ve had Tim Gow’s rulebook since the 90s and only getting around to playing it now! Maybe I’m the one that’s not aware…doh!). The rules may be pretty hard to find now, but the concepts are lovely.

In essence we’re dealing with stands of infantry which represent entire battalions, where 4cm=1km (or half that in 1/300). (…as Bolt Action fans run away screaming…). Tank bases can represent multiples of companies.

So, we’re looking at the sort of level we normally see in Hex’n’Chit wargames. The beauty of this is that I’ve always wanted to do Market Garden on an 8’x5’ table, with 20mm miniatures. Pull up the distance between Eindhoven and Arnhem on google and you’ll see how it fits.

Highlights include:
  •         The SMART orders system (Static, Mobile, Attack, Retreat, Transit). This is the focus of the game and dictates movement, readiness for combat etc. Outguess your opponent and manage your resources. This is what WW2 gaming should really be about.
  •         Relative strengths dictate all differentiation between units, and degrading strengths are kept hidden from opponents – with them rolling to see how many hits they take from the dice you hand them.
  •         To this end, Recon elements are used properly, to assess actual strengths, actual orders etc. A lovely fog of war concept, (though the counters I used for strength and orders were too big, and strewn across the table like so much confetti at one stage).
  •         Logistics (in terms of both supplies and fuel) is critical to protracted battles. If you can’t trace your supply route, and use up the lorries’ supplies appropriately (yes, trucks are really important), you degrade your capability fast (like ZOCs and supply in the old SPI games).
  •         Combat at the sharp end is close up and personal and protracted – there are no ranges for infantry and vehicles at this level and artillery is on the table (yay). It’s what happening behind the lines that can make a big difference. Don’t get hung up on the fight at the crossroads – support it, withdraw, or look at supply issues that are coming.
  •         Bombing and air support and the concepts used in blitzkrieg start to work, and key – you understand ‘why’ they worked.
  •         Here’s a pretentious point. You aren’t managing the battlefield here, you’re managing the ‘battlespace’ (to coin an oft used more modern term). You’re concerned about the front, supporting that front, potential breakthroughs which hit your flank or rear, and supply…oh, like things a real general would worry about you say? Yep.

All that said, we probably didn’t give the rules the outing they require, with no real urban combat (which sucks up supplies likes nobody’s business), and I know we made some mistakes in terms of logistics. That’s no bad thing, as the rules are eminently hackable (in fact the format positively encourages house ‘rulings’).

There are of course some very pertinent links
Tim Gow’s (the author) blog:

Bob Cordery’s blog – which has some relevant rules hacks (HexBlitz), and has some great development rules concepts. My reason for citing this one is that I have hexes on the gamespace in the pics below, which will of course lend themselves to dictating movement and range etc.for future runs.

The Megablitz website:

Steve’s Balagan blog, with some nice quick reference sheets and rules clarifications and scenarios. Actually it was his Eastern Front version of ‘Dot sur la Mappe’ that we used for the game.


The long road east. Minimum terrain, but at this scale, it's unimportant as range issues are handled very differently.


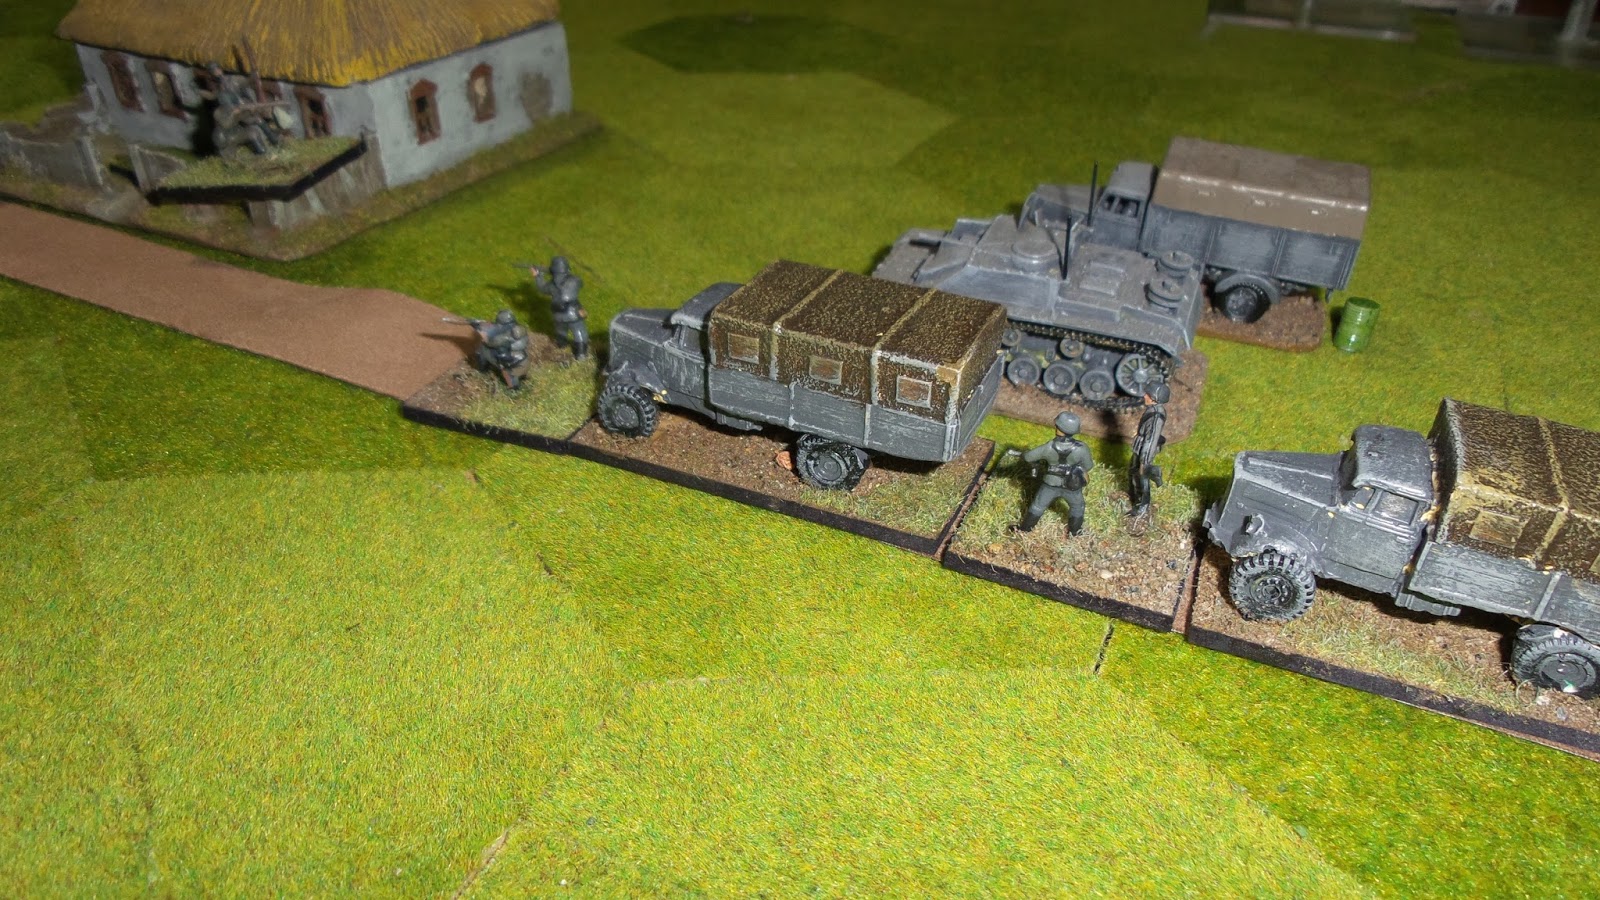
  On board elements, awaiting 16th Panzer, make first moves toward the farm complex..

...as 16th Panzer division make drive toward east.

 Dive bombing fire discipline required.

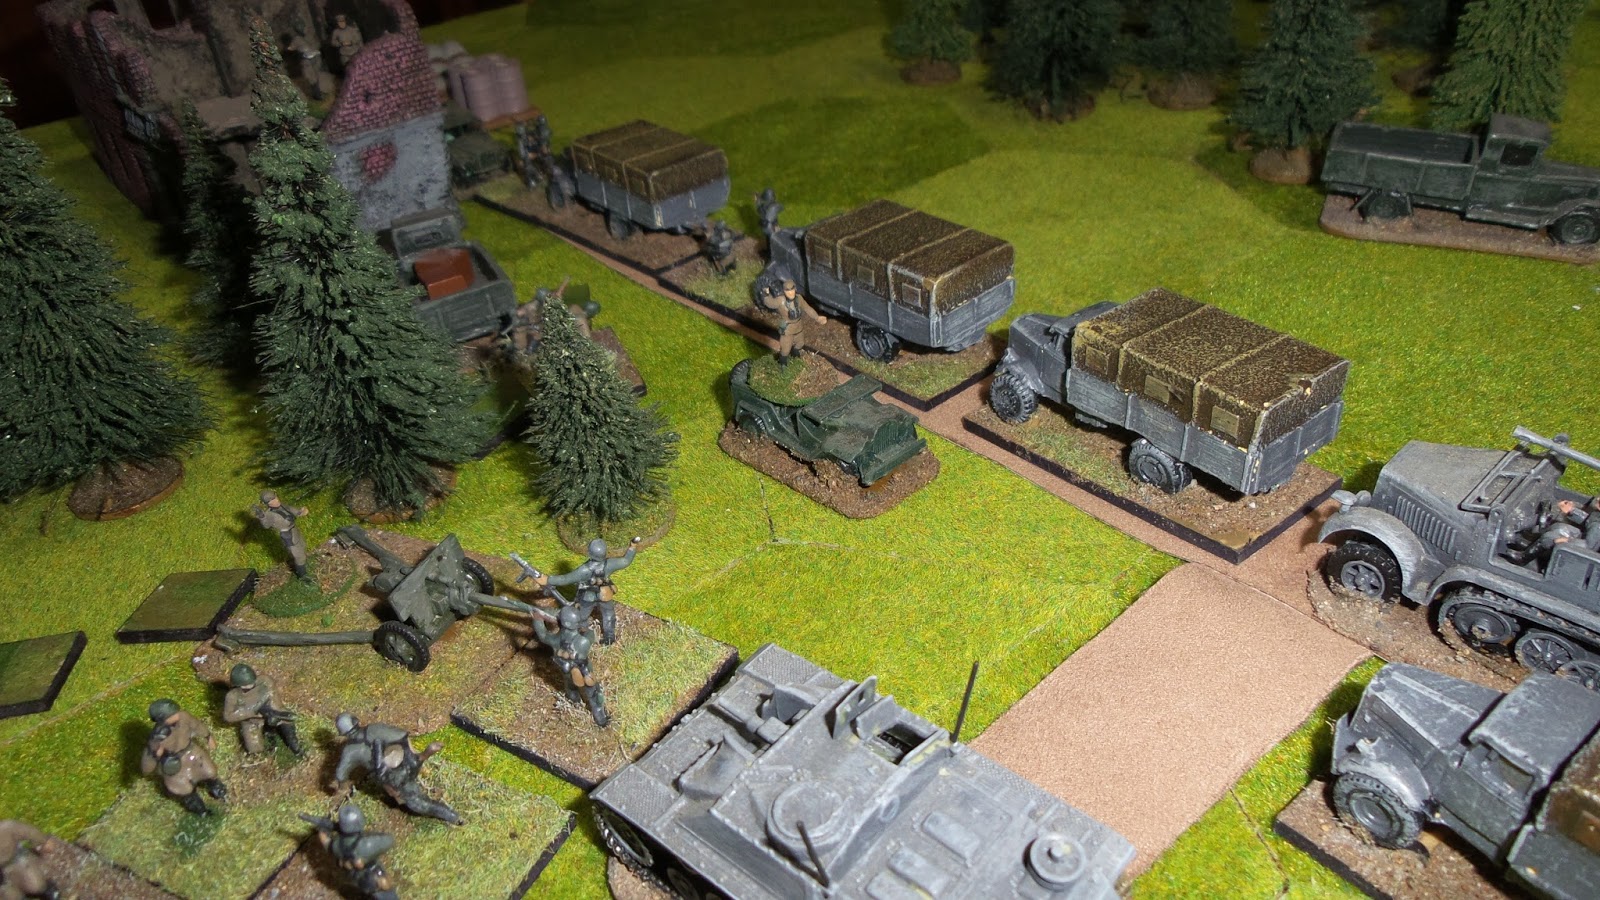
  Still some way to go, but 'most' of the division is on the road now.


Recon elements, supported by armour, makes for the left flank, where Soviet units are thought to be.

 
In the same turn as Soviet reinforcements arrive, in the form of heavy armour, they elect to use the 'Red Air' option and bomb the crossroads - effectively stopping forward progress, and forcing German armour to engage the threat.

 A 109 on a counter air mission...German air support making a big difference...


...in the form of a second JU88 mission.


Armour closes to contact.


 As the fight at the road junctions becomes desperate.


In the final assault, enough damage is done such that German units are able to advance while carrying out a holding action at the junctions...and there are still air options available to support.


All in all, this was pretty exciting as a concept, and there are some good hacks of the ideas lurking about the net. A large battle can be fought in a matter of hours, with the important issues of the day being stressed.


Market Garden, Bastogne etc – all eminently do-able with nice 20mm models and good game resource management – just what we like. A modern version, along the lines of Avalon Hill’s ‘Tac Air’ springs to mind, and some larger Vietnam scenarios from ‘Seven Firefights in Vietnam’ are applicable depending on how you adapt the SMART concept for company level etc.

Having had the hexes in place, it also made me think about how I can use them to hack the existing rules, or use a little of the 'Hexblitz' system too, and even parts of Memoir '44.

With hexes, we can see the combat unfold as above - like a Hex'n'Chit game with toys.


Also? Well, I took a leaf out of the Megablitz veteran’s book and put some of the vehicles and infantry on thick bases with a black edge – more reminiscent of large unit markers than pieces in a diorama…oh, they look nice now.

 Love those black lines...


More to follow…