Saturday, 6 July 2019

Bonnie Blue Flag

I recently purchased the Bonnie Blue Flag rules from Caliver books.

They've had great reviews and are simple rather than simplistic. I absolutely agree - and what a breath of fresh air.


Now, we have a traditional style turn sequence, where it's IGO UGO, but it works admirably, in fact reminding me of the 'simple to learn, difficult to master' style of Steve's Muskets & Mayhem rules.


So you would think that a lack of interaction - or one sided play would be a bad thing, but we didn't find that during play at all.


An initiative roll decides who goes first in the turn, and a lot rides on this, but to be honest, the randomness of this didn't ruin the game; in fact both sides made plans for winning/losing the initiative each turn, which means that the game has its own built in tactical nuance.

The key takeaways however:
  • a percentile based system, rolled by the defender based on quality of attacked vs defender. You need to roll high on % dice after some modifiers - and roll 10% or less, and your unit will quit the field. At first this seemed arbitrary, but seemed to fit the narrative well in the end. Granted, the scenario was small, so losing a unit had its effect, but it still worked.
  • I shuddered when I saw the modifiers, but to be honest, they become seamless after a few turns. 
  • The same system is used for Firing and Melee. Now, purists will say 'Impossible!' but it seems to work.
  • Attrition points for each unit, high or low depending on quality, with the commander able to add as he can, works very well. Although there is a marker (a small dice) it works beautifully as a nice little morale/resource management system, and becomes a headache as to how you manage your troops when under pressure, and assign those precious command points (as it should be).
These rules would work so well for American Revolution and Nine Years War, and especially Marlburian, with very few changes, and a few period flavour elements.
 The Edinburgh Wargames site already appears to use them for Franco Prussian and Napoleonics if you visit their website.
There is also a Sudan pack out ('Up the Nile), which I see being amended easily for Indian Wars and/or WWI.
 These would work admirably for larger games, and multi brigade games. 

 
 Early moves onto table, one regiment at a time. It's a race to the crossroads.

 
Union elects to bring on artillery/infantry combo, while Rebs race to the fence line with infantry columns...

 ...and get the better of the initiative rolls.

Reb rolls were superb in response to Union Artillery, and they hold steady.


Rebs in a very strong position at the crossroads, as calamity strikes. Union troops (a Veteran unit) roll less than 10% during a roll and quit the field.


 The Union tries to press the attack despite the loss of a unit, but the Rebs are too strong (passing almost every roll - they roll two 100s).


 ...Disaster! Another Union victim of the infamous '10% rule'.

 Union guns are pushed back. There is no infantry ion the Union right to protect them now.


 By now, Reb artillery has taken the crossroads, and is in a very good position to affect the course of the Union assault.


 With confidence gained from their efforts so far, the Rebs abandon the safety of the rail fence to charge Union guns'. 'What bravado suh!'


 The charge ultimately becomes a stalemate over a series of turns...

 ...but the Union is forced back on the left, and ultimately, can not take the crossroads.


A really good set of simple rules, with some tactical nuances, lots of tactical flavour, and ohhhh...they can be hacked for other periods so very easily. 


Sunday, 30 June 2019

More Iron Cross - Eastern Front style

Well, we tried Iron Cross again, and glad we did.
This time is was a smaller game, and based on the 800 vs 400 point 'Capture the Bridge' scenario in keeping with what Steve and Ken had done over on Sound Officers' Call.
'I'm just going to bring this pallet with me on the back of my tank comrades. You never know quite when we might need a pallet ...Komrades? Komrades? '
Much better all round this time; we had decent sized forces - with only the Russians having a lot of kit, but it was quite manageable. A great game, with twists and turns, and finally we are learning how to manipulate the rules (but in a good way), and keep some reserves (in terms of units AND command points). Also, it becomes very clear when you can commit all your command points - for instance, when a defensive flank is failing and you can commit armour there, with the knowledge that you will only lose some of it.

There are some very powerful mechanisms at work here - and there was some discussion as to how they can easily be used for modern skirmishes and/or man to man style games.

Thumbs up...and many more games to follow. Now Steve is also talking about a great way in which to register the command point use and/or morale points over at his blog, though he will have posts around this later I suspect.

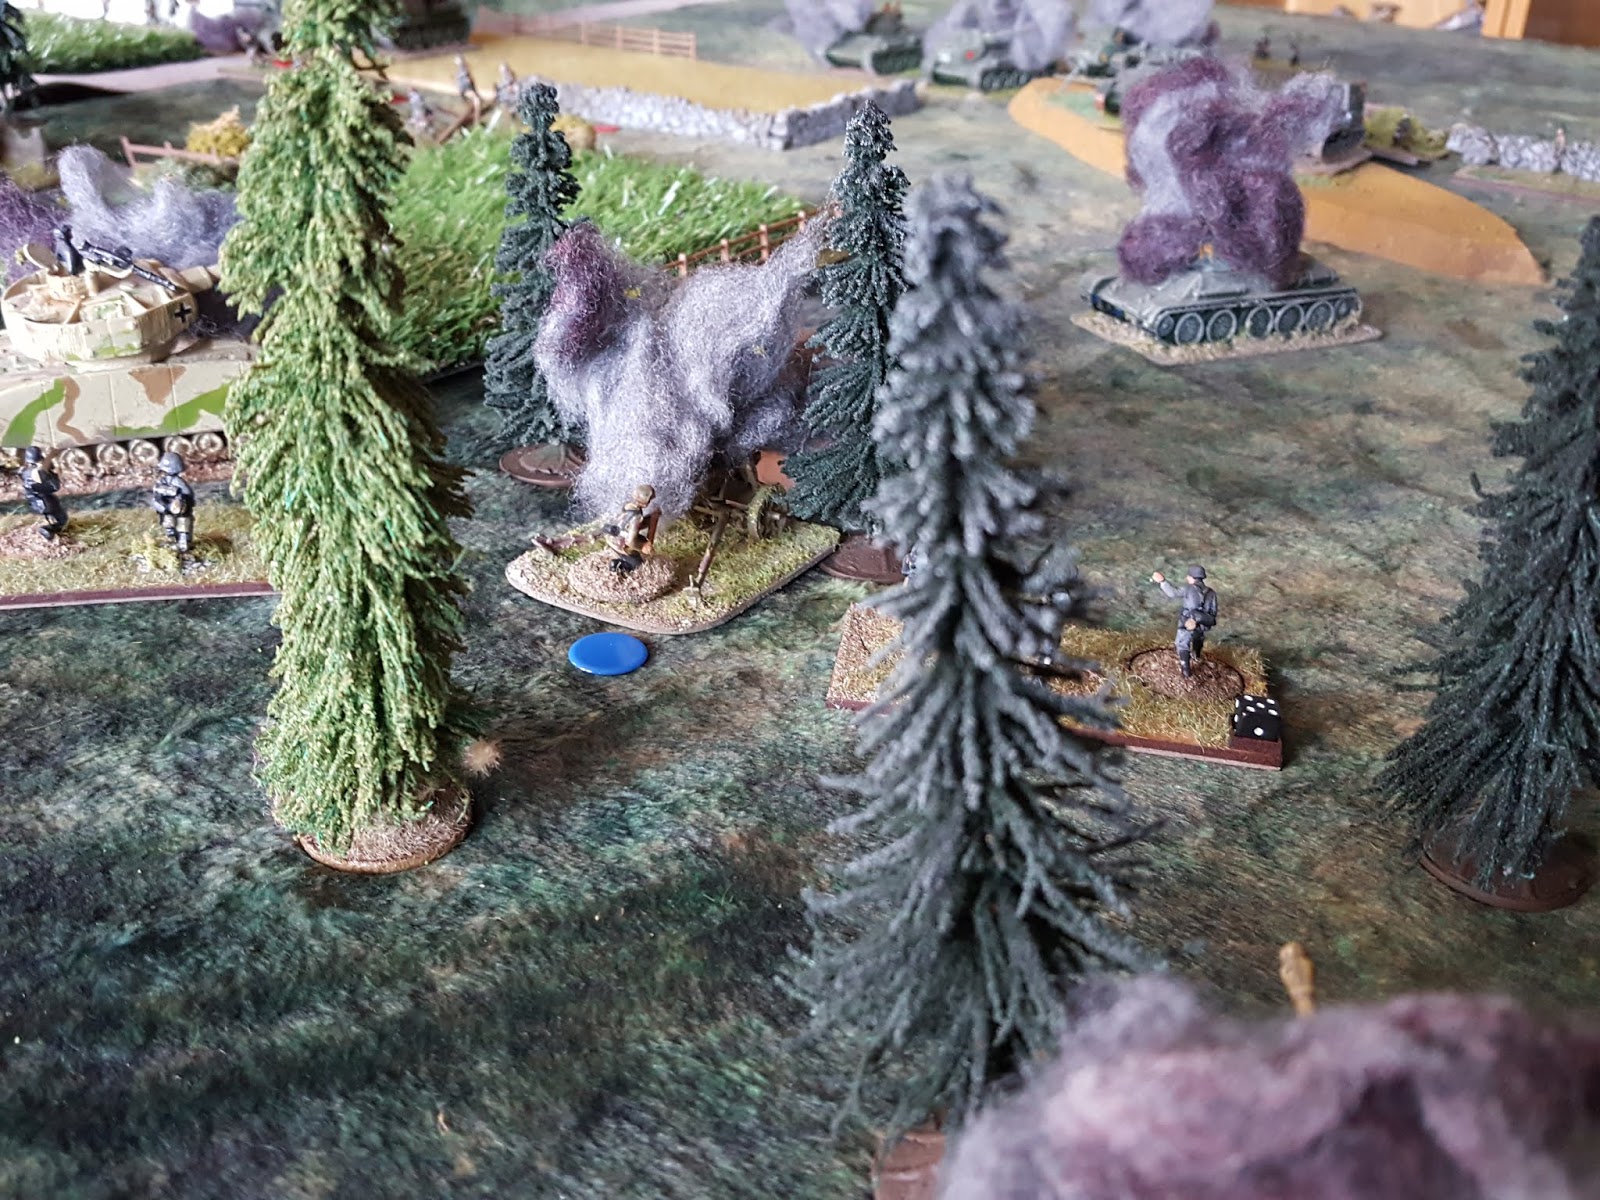
I was also watching command point markers (we used tiddlywinks) gather up on the back of Panther during the game, when I realised that a coin with spent shell casings (to scale) on it, would look superb - I have actually used these in 'Field of Battle WWII' - as originally suggested by Brent Oman in that ruleset for units that have fired. The more interrupts and firing, the more shell casings gather at the back of the vehicle - just a thought. 
'OI! Stop dropping blue markers out the back of my tank mate!'
'I'm not sure I fancy hanging around so close to the bridge Hans, uhhh...'
The scenario is 800vs400 point German defenders in a capture the bridge style game. It was tough going until a German flank failed...then, things seemed to fall apart.
Infantry in cover can be tough to shift, until you blatter* them with SU152 fire that is!

(* blatter is a well known technical term in this neck of the woods...used in a similar vein to decimate, flatten, pancake, splurdge, destroy and give a proper seeing to...)

Now anyone who knows Piquet: Point of Attack rules will recognise these formations ;)

 The Russians will be attacking from top of screen to bottom today.

German hidden PzIV reveals itself as T34 tries the road ...

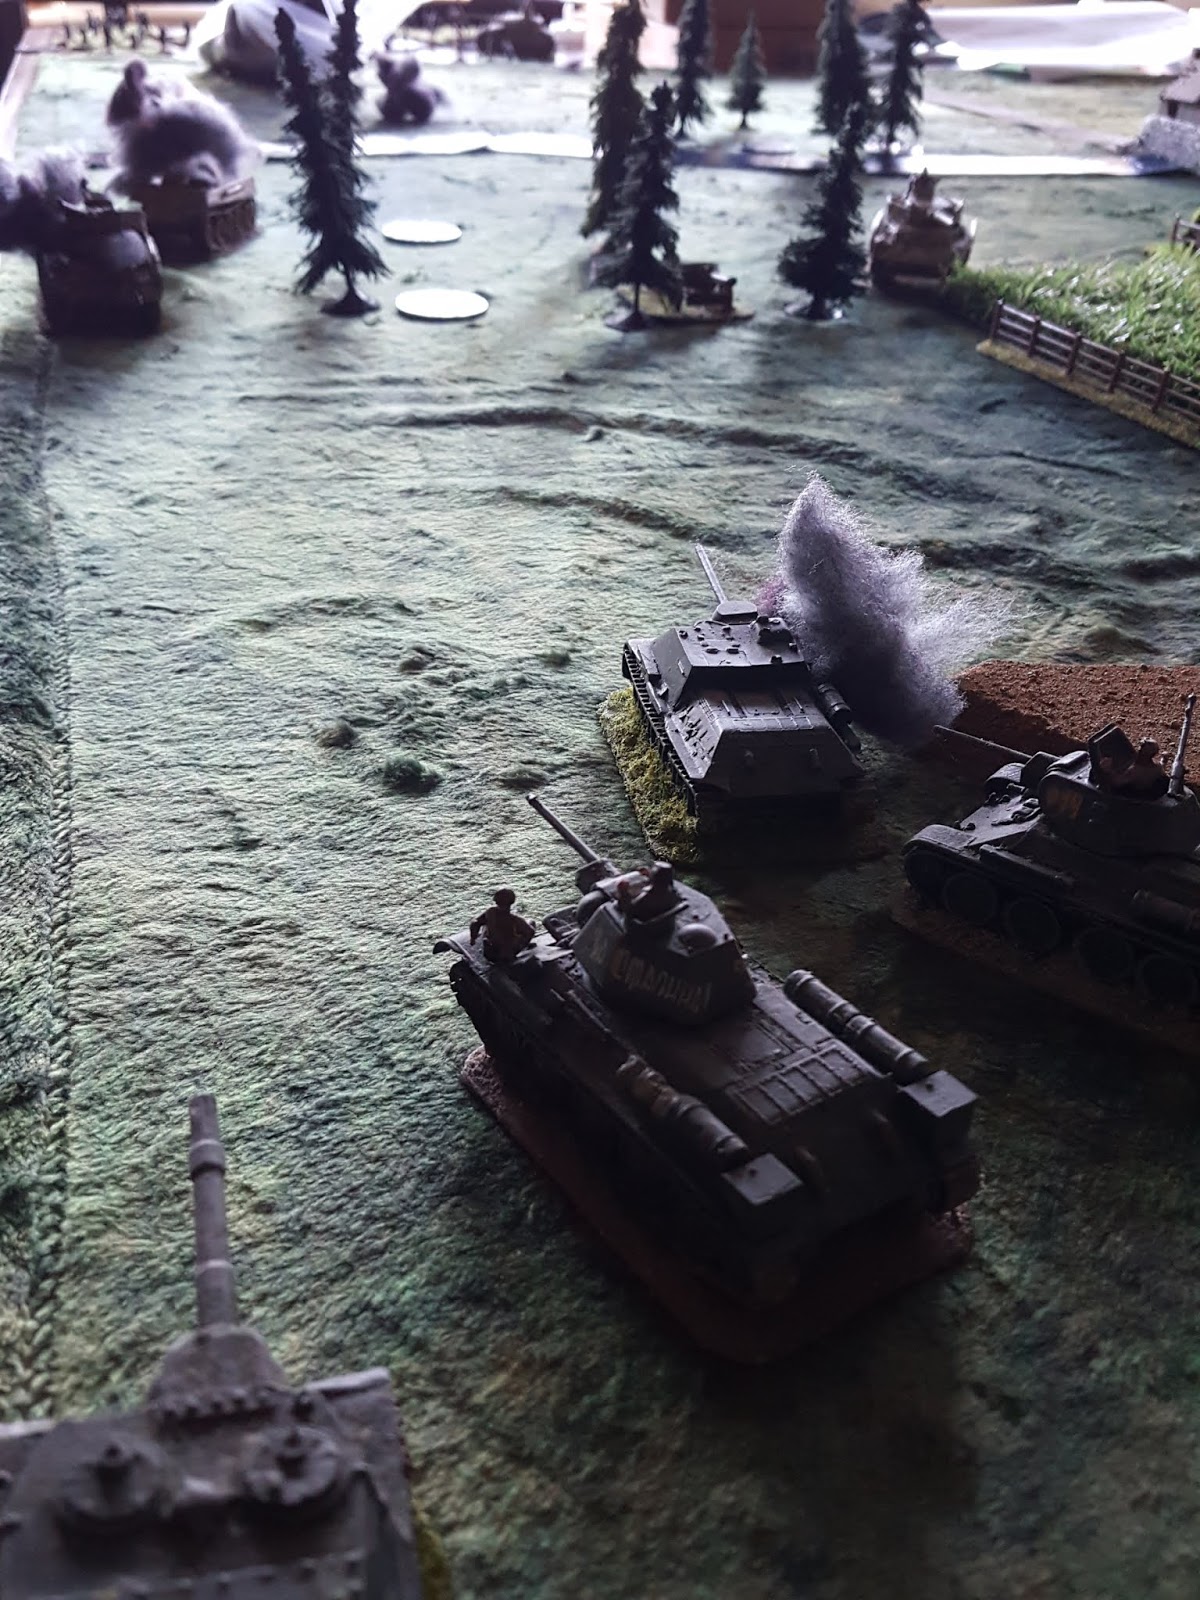
 Masses of Soviet infantry...moving to support the tanks. Well...eventually. The armour got into trouble early, all by itself.


 Panthers are not to be messed with here.

 The Panzer IVs would also give good account of themselves.


 ...pity about their armour though.


 The Panther makes the mistake of moving to reinforce the German right, and gets taken out by the Animal Killer


 This leaves the German right a little more open, though infantry and a very brave AT gun crew give good account.

 Last of the German armour.

 SU76s used in support of infantry movement from the ridgeline.

 German units pull back to the river on their right flank.

 MGs on the left largely ineffective; the Russians were massing for an assault.

 A Russian drive in the centre breaks into the collective farm.


 ...as the German right collapses along the treeline.

Soviet units in sight of the bridge, though early moves are mown down with MG and infantry fire.


But previously hidden German units are now revealing themselves to large calibre weaponry. Despite their good cover, there are a lot of Russian guns and no German armour left.
 
Calling the game...there are not enough infantry on the German right to stop the onslaught. The Soviets take the bridge.

(Yeah...sorry about that crap river guys...)

A really nice game. A lot of future development potential for the Action/Reaction system, now that we see it working seamlessly.